Get started with 8x8 Contact Center for Zoho
Once you have access to 8x8 Contact Center for Zoho, follow the checklist below in order to get started:
- Gather your credentials
- Allow pop-ups and redirects
- Allow third-party cookies
- Install the 8x8 integration from the Chrome web store
- Log in to 8x8 Contact Center
- Reconnect the integration with 8x8 Contact Center
- Integration settings
- Set up phones to receive calls
- View assigned queues
Gather your credentials
In order to use 8x8 Contact Center for Zoho, you need:
- Login access to a Zoho account.
- Login access to an 8x8 Contact Center agent account.
Allow pop-ups and redirects
- Go to your browser settings.
- Click on Privacy and Security from the side navigation menu.
- Click on Site settings.
- Click on Pop-ups and redirects.
- Click Add and enter <https://cloud8.8x8.com> to the list of allowed sites. Chrome automatically saves these settings.
Note: Ensure that a pop-up blocker is not preventing new tabs from opening from Zoho. This may not be required if your default settings has allowed all pop-ups and redirects to be displayed.
Allow third-party cookies
- Go to your browser settings.
- Click on Privacy and Security from the side navigation menu.
- Click on Site settings.
- Click on Third party cookies.
- Click Add and enter <https://cloud8.8x8.com> to the list of allowed sites. Chrome automatically saves these settings.
Note: This may not be required if your default settings allow all third party cookies.
Install the 8x8 integration from the Chrome web store
As an agent using the 8x8 integration for the first time, you must first install the 8x8 Virtual Office for Integration from the Chrome web store.
To add the 8x8 Integration Chrome extension:
- Open the Chrome web store.
- Search for <8x8> in the Chrome web store. 8x8 Virtual Office for Integrations appears in the list.
- Click Add to Chrome.
- Click Add Extension to confirm.
- A confirmation banner displays confirming the extension has been added to Chrome.
You can manage your installed extensions in Chrome by clicking Customize and control Google Chrome ![]() > Extensions > Manage extensions.
> Extensions > Manage extensions.
Log in to 8x8 Contact Center
To log into your 8x8 Contact Center integration for Zoho:
- Log in to your Zoho account.
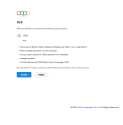
- In the new browser window that displays, select the CRM you want to connect with 8x8, and click Submit.
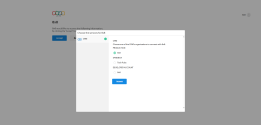
- Click Accept to allow 8x8 to access the data in your Zoho account. The window closes.
- Click
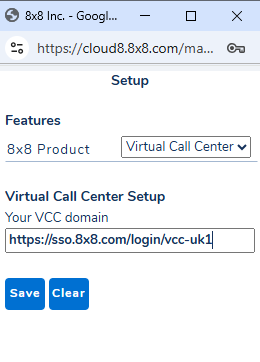
 from the bottom right corner of the page to open the 8x8 Contact Center app. The app launches in a separate floating window in Setup mode.
- Select Virtual Call Center from the drop-down list available under Features.
- In the Virtual Call Center Setup field, add your VCC domain. It is composed of the secure login url (https://sso.8x8.com/login/) followed by your VCC cluster ID. Your domain should look like this: https://sso.8x8.com/login/vcc-uk1.
If you don't know your cluster ID, reach out to your administrator. - Click Save.
- When prompted, add your agent credentials (user name, then password), and click Login.
- If set up by the admin, select an authentication method and verify your identity.


Note: If SSO is enabled, and you’re already logged in with the agent account in another browser tab, you are automatically logged in to the 8x8 Contact Center integration app.
You are now logged in the 8x8 Contact Center app. The app places you On Break status when you log in. Click Ready to work to make yourself available to handle interactions. For details on agent status, refer to the 8x8 Agent Workspace User Guide.
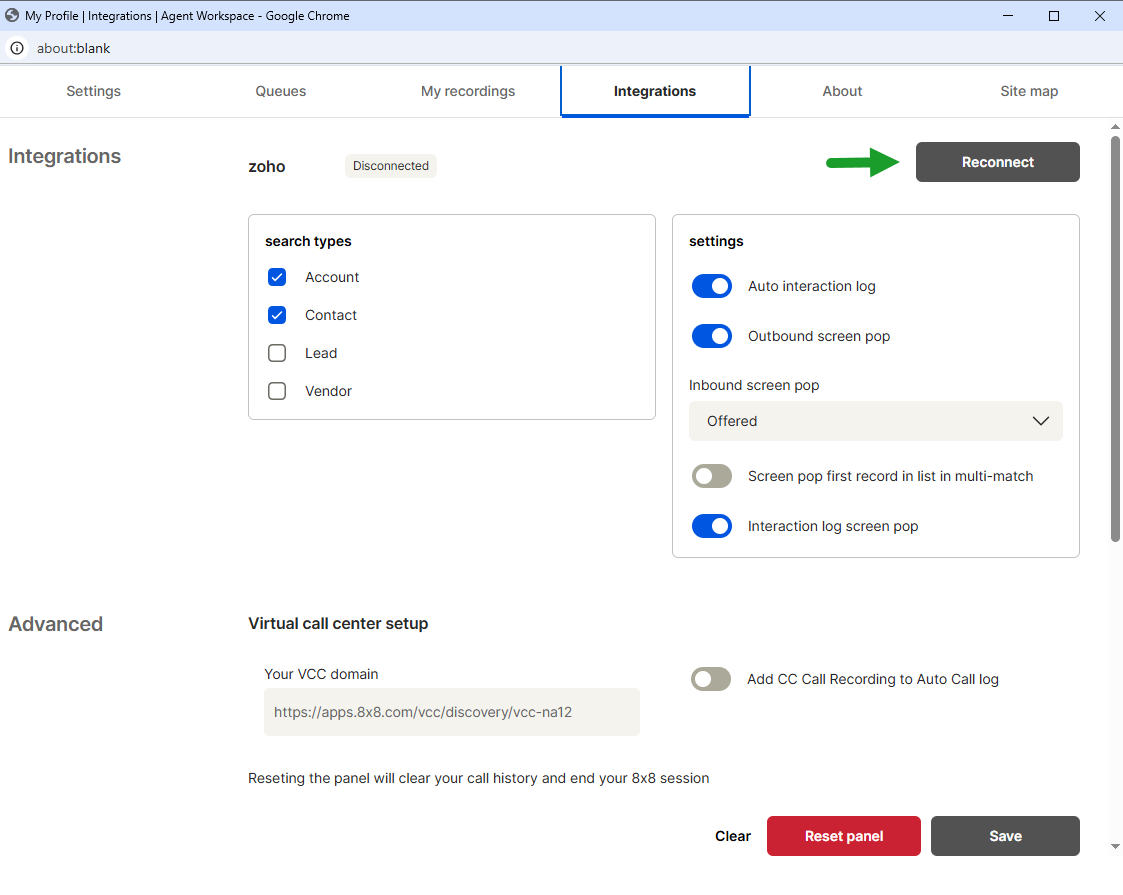
Reconnect the integration with 8x8 Contact Center
If your admin has configured the integration, when you log in to the 8x8 Contact Center app, it automatically connects to Zoho CRM. The authentication window displays in a separate tab. When connected to Zoho, the window closes. If the integration disconnects, you can manually reconnect it.
To reconnect the integration:
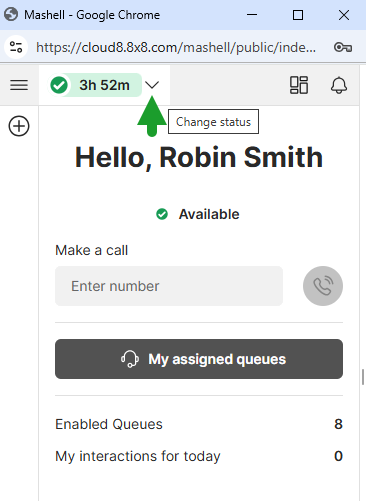
- In the 8x8 Contact Center app, go to Change status
 > My profile.
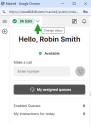
- In the window that displays, click the Integrations tab.
- Click Reconnect.

- You are prompted in a separate window to select the environment you wish to connect the CRM to, and accept to allow 8x8 to access data in your Zoho account.
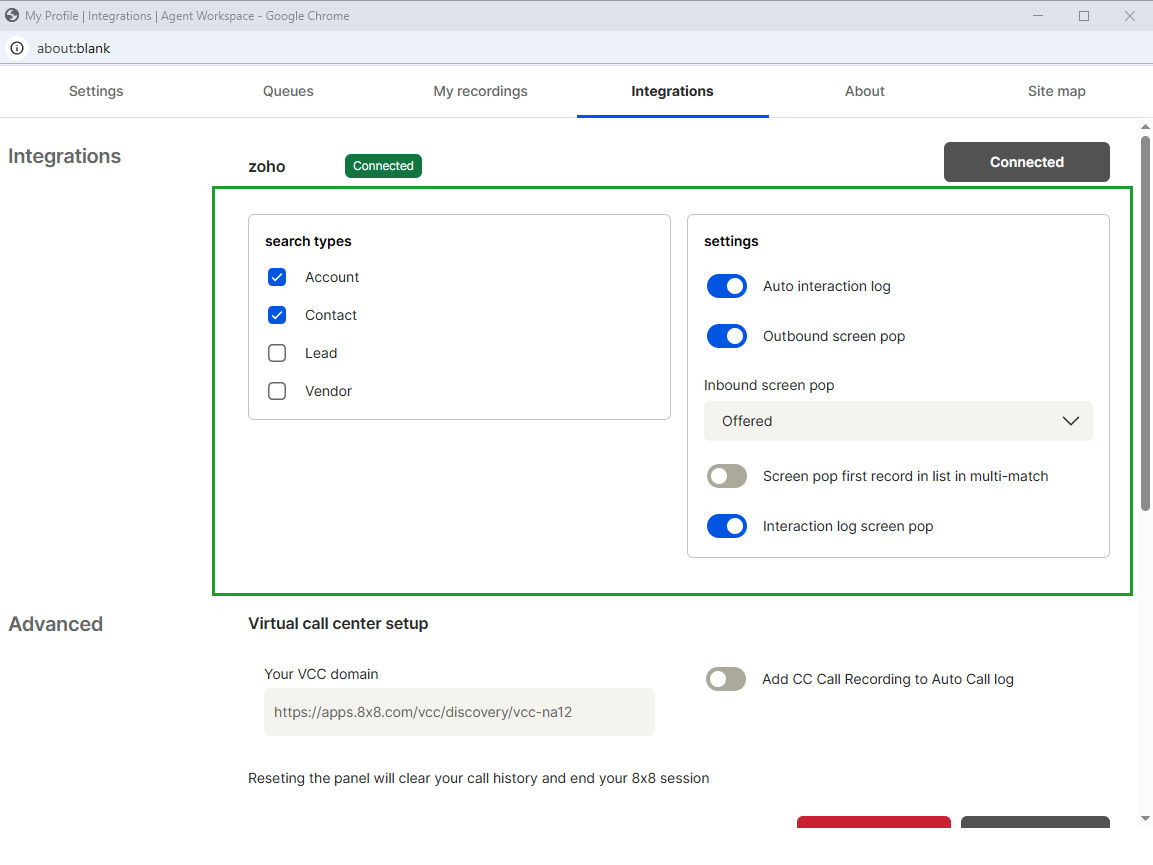
When connected, the system displays Connected in green in the Integrations section.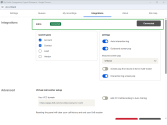

Integration settings
You can enable several integration settings in the 8x8 Contact Center app.
To customize your integration:
- Log in to the 8x8 Contact Center app.
- Click Ready to work or Work Offline to start the session.
- Go to Change status > My profile.
- In the window that displays, click the Integrations tab.
-
Customize the integration:
- Under Search types:
- Account: When enabled, the integration searches the CRM for an existing Account record whenever a call or interaction occurs. This option is enabled by default.
- Contact: When enabled, the integration searches the CRM for an existing Contact record whenever a call or interaction occurs. This option is enabled by default.
- Lead: When enabled, the integration searches the CRM for an existing Lead record whenever a call or interaction occurs. This option is disabled by default.
- Vendor: When enabled, the integration searches the CRM for an existing Vendor record whenever a call or interaction occurs. This option is disabled by default.
- Under Settings:
- Auto interaction log: When enabled, the CRM automatically generates a log for all phone calls, chat interactions, and voicemails without requiring input from the agent. The interaction log includes information about the time a call was initiated, terminated, duration, and more. A chat log includes the chat time and transcript. Just like a phone log, the voicemail log includes information about the time a call was initiated, terminated, duration, and more. This option is enabled by default.
- Outbound screen pop: Controls the contact screen pop for outbound calls. When enabled, a screen pop displays for outbound calls that have an existing single matching record in the CMS.
- Inbound screen pop: Allows you to set a screen pop when the interaction is:
- Offered: A screen pop displays for a single-matching record during an interaction when the agent's phone rings.
- Connected: A screen pop displays for a single-matching record when an inbound interaction connects with the agent.
- Never: The screen pop is disabled for single-matching records during inbound interactions.
- Screen pop first record in list in multi-match: When enabled, the CRM automatically displays the first record from the list of matches. This option is disabled by default.
- Interaction log screen pop: When enabled, the CRM automatically displays an interaction log where the agent can log important details of the interaction (notes, call outcome, etc.).
Note: Auto interaction log must be enabled for the screen pop to work.
- Under Search types:
Set up phones to receive calls
To receive calls, you must ensure you must set up a phone.
To set up a phone to receive calls:
- Log in to the 8x8 Contact Center app.
- Click the status menu option and change your status to Work Offline. The app makes you unavailable for new interactions.
- Go to My Profile. A new window opens.
- From the Settings tab, click Change next to Phone setup.
- Select an endpoint from the drop-down list:
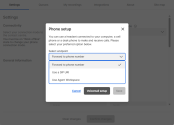


- Forward to a phone number: Use to add your work phone number.
- Use a SIP URI: Use to add your SIP URI.
- Use Agent Workspace: Use the embedded 8x8 Agent Workspace softphone.
- If you choose to use Forward to a phone number or Use a SIP URI, you must validate your workplace setting to begin processing phone interactions. See how to validate your workplace number.
- Click Save.
Note: If you don't have permission to change your phone number or the SIP Phone URI, the phone number fields are disabled.

Validate your workplace number
In 8x8 Contact Center, when changing the Phone setup (workplace Phone and workplace SIP URI), you must validate the phone number changes to be able to handle calls. When the validation process is initiated, you receive a phone call to the updated phone number. A PIN code is then communicated to you via phone. You must enter the PIN code to validate the changes and continue.
To validate your phone:
- Log in to 8x8 Agent Workspace.
- Change your status to Work Offline.
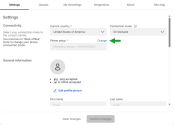
- Go to Change status > My profile.
- In the floating window that displays, navigate to Settings > Connectivity.
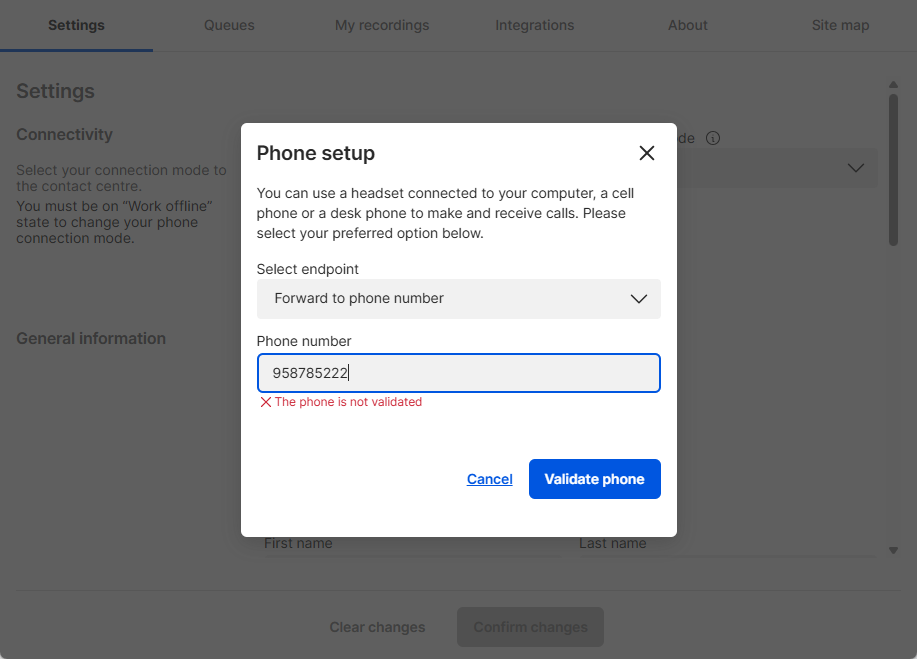
- Click Change next to Phone setup.
- From the dialog that displays, select the relevant endpoint from the drop-down list.
- Based on your selected endpoint, enter the phone number or the SIP URI in the editable field below.
- Click Validate phone and follow the prompts to validate the workplace phone.

- After the validation session, depending on the result, the following messages may display:
- Phone is validated appears under the phone/SIP URI field when the validation is successful.
- The phone is not validated appears if you make any changes to the workplace setting and the phone/SIP URI used is not yet validated.
- The phone couldn't be validated appears if the validation process failed or if there was a connection error during the validation process. Retry to validate the phone number to troubleshoot.
- Click Save.
View assigned queues
To process phone and chat interactions from the 8x8 Contact Center, you must be a member of phone and chat queues.
Note: Phone queues are separately defined for inbound and outbound communication.
To view your assigned queues:
- Log in to the 8x8 Contact Center app.
- Click Ready to work or Work Offline to start the session.
- Click My assigned queues to view the status of the queues you are a member of.
-OR-
Select Show menu > My assigned queues.
 - Select the desired media queue such as chat queue or phone queue to assign them to yourself, or clear the queue assignment check box to opt out of a queue.
- Click Confirm selections and continue to work.
Note: If no queues are listed, go to Change status ![]() > My Profile > Queues. Click the check-box to enable the desired media queue such as chat or phone queue and click Save queues. You can change the settings in My profile or in your assigned queues if permitted by your tenant administrator.
> My Profile > Queues. Click the check-box to enable the desired media queue such as chat or phone queue and click Save queues. You can change the settings in My profile or in your assigned queues if permitted by your tenant administrator.