When you process an interaction in 8x8 Contact Center with an existing customer, you create or edit a case record of the interaction either during or after the interaction. You can create, edit, and save a case record that the CRM pulls out during your next interaction with the same customer, enabling you to process the case efficiently. Create follow-up records to handle subsequent interactions with the customer regarding the same case. When the customer needs information, you may notify them of the follow-up.
The following describes the use of the default follow-up attribute fields and lists. Depending on how your contact center administrator has configured your Local CRM, the follow-up creation tool may display non-default follow-up attributes.
8x8 Contact Center creates follow-up records automatically when you respond to an email interaction. Replying to a case also creates a new follow-up record.
To create a follow-up record:
- Click the Cases tab, and open a case you would like to follow up on.
- Click Reply or New Follow-up.
8x8 Agent Workspace The brand new interface for 8x8 Contact Center agents to receive and process customer interactions. displays the Create New Follow-up page.
If your administrator enables HTML support for Local CRM, the CRM rich text editor shows.
For details on using the CRM rich text editor, see Understand your rich text editor. If you are processing an email interaction, you can also use the Email tab in the Control Panel to create a follow-up record. For details about creating a follow-up record while processing an email interaction, see Process email interactions. - In the Create New Follow-up page, update follow-up properties.
Note: Case Status must be open before you can assign the case.
- In Notification, select Reply or Reply All to notify the customer with an email of the follow-up message.
- Select the From address. It can be an agent's or group's email address. Email addresses can have up to 254 characters.
- Select the To address from the list of recipients, such as the customer, if not populated automatically. Select Cc and Bcc recipients if needed.
Note: Based on the configuration of your contact center, the To email addresses may populate automatically, eliminating the need to manually enter the information. You still need to add the Cc and Bcc addresses from the available list of recipients, or manually.
- For Subject and Description, enter the subject of your email and your message regarding the case.
Note: If HTML support is enabled, you can create content in the Description field using the CRM rich text editor. For details on using the CRM rich text editor, see Understand your rich text editor.
- Click
 to add an image. Copy and paste the URL link of the page or image you would like to insert, and enter a descriptive name for the image in the Alternative Text box.
Alternatively, you can drag and drop the images or paste them from your clipboard quickly. When you embed a high resolution image in your case, a follow-up, or FAQ, they are compressed automatically for faster processing and for saving bandwidth. If needed, open the Image Properties dialog box from the right-click menu to adjust the image size. The maximum size allowed for image attachments is 20 MB. With drag and drop, you can add images up to 10 MB.

Known issue: Copying (Ctrl-C) and pasting (Ctrl-V) images is currently not supported on Internet Explorer 11. You can drag and drop the images.
- Select Signature for the email message.
Note: You must set the right values for the Default From and Default Signature fields in your profile to automatically populate the From and Signature fields in the Notification tab.


You can insert FAQs using shortcuts or by browsing through the FAQ knowledge base. Shortcuts link to the FAQs. For details, see Insert FAQ responses into emails.
- To insert an FAQ shortcut, enter the shortcut in the FAQ field and click Insert.
- Click Browse to browse through the FAQ knowledge base, and insert the desired FAQ responses either as full text or links.
- Attach files by browsing or by dragging files from the local file system.
- Drag and drop your images or paste them from your clipboard quickly. Open the Image Properties dialog box from the right-click menu to adjust the image size.
Perform one of the following tasks:
- Click Save as Draft to save a draft of an incomplete case record.
- Click Save to save a completed case record. You can access and edit the case record later.
- Click Send to mail the case record. If the To and From addresses populate automatically, the mail is sent, successfully creating a case record.
Note: Based on the configuration of your contact center, the To and From email addresses may populate automatically, eliminating the need to manually enter the information.
If your contact center configuration does not allow automatic populating, clicking Send takes you to the Notification tab.
View follow-up records
A list of follow-ups related to each case appears under the case record. You can see the follow-ups listed in a tabular format when you open each case record. By default, the most recent follow-up appears at the top of the list. To check the follow-up details, change the table view (default) to the unitary view, by clicking Switch to unitary view. Table view lists all follow-ups in a tabular format. Unitary view shows one follow-up at a time, and can be navigated using the pagination tools.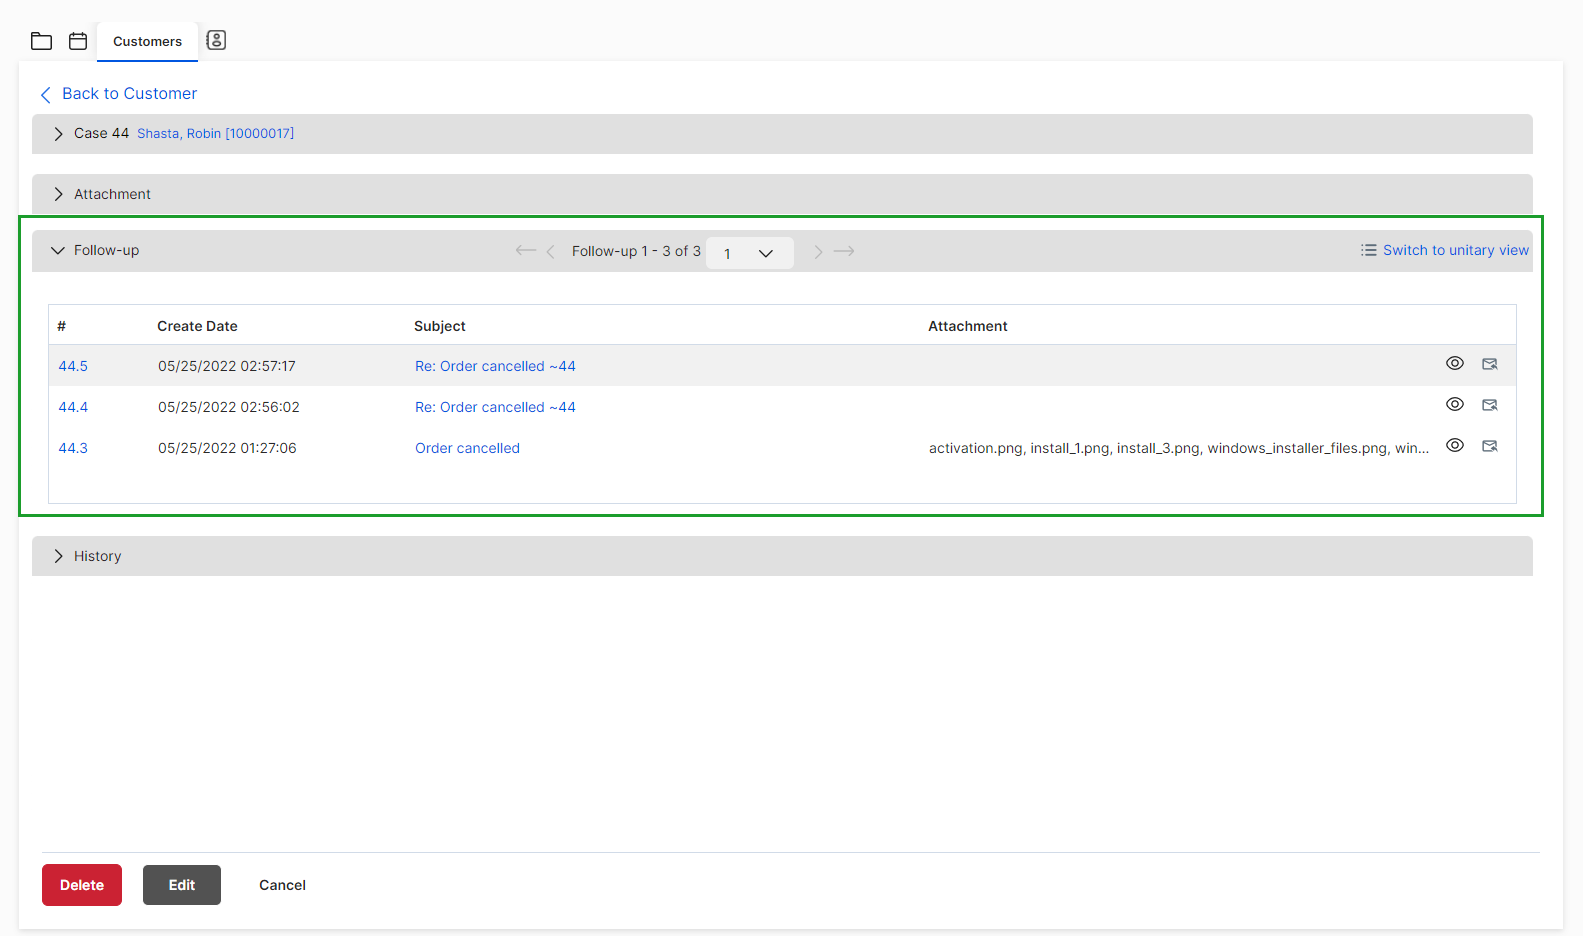
Click on a follow-up link to view the details. To see the complete description, click  in the follow-up comment pane.
Note: You cannot edit a follow-up record.