Log calls with 8x8 Work for Bullhorn
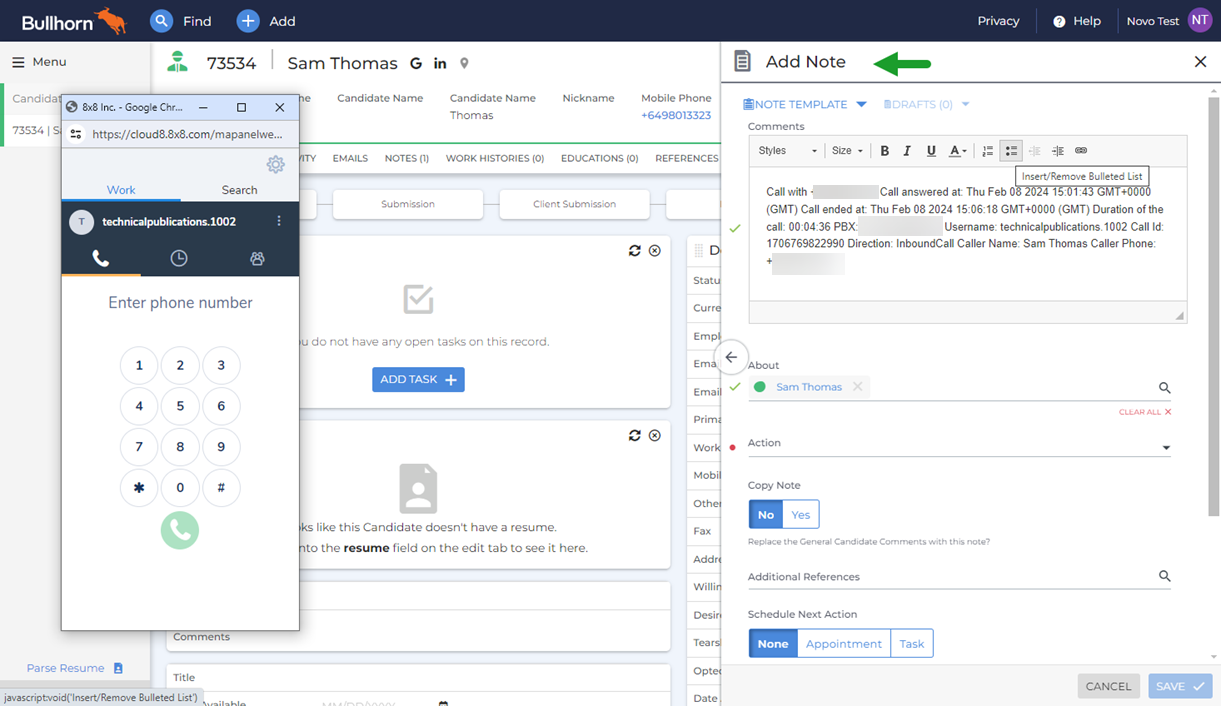
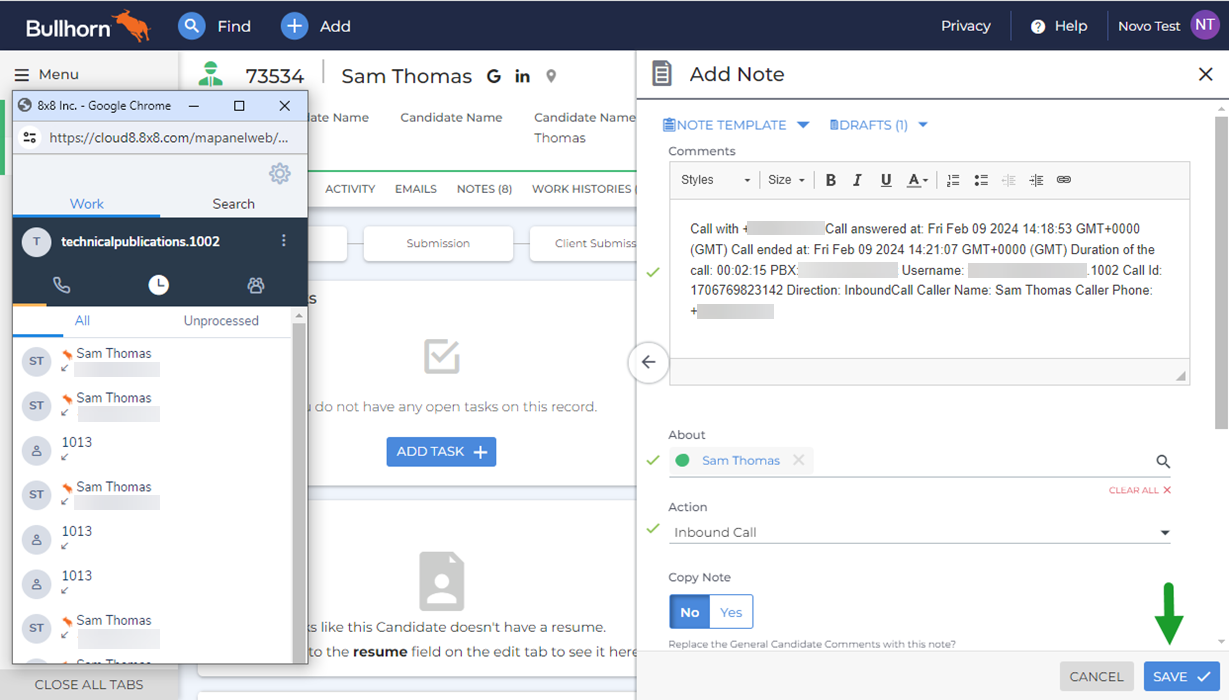
When a call with an identified Bullhorn contact ends, the Add Note panel pops, a call log with information on the caller, call time and duration, and more. From this panel, you can fill in additional information to give the call log more context for future reference.
Note: Before 8x8 Work for Bullhorn screen pops a matching record or a call log, a new window temporarily displays in a new browser tab. When the screen pop or call log opens successfully, you are redirected to Bullhorn and the window closes.
Note: The Auto call log and Call log pop integration settings are enabled by default. To change your integration settings, click Settings ![]() > Integrations > Bullhorn.
> Integrations > Bullhorn.
The system logs calls for existing contacts from Bullhorn and 8x8 Work, as well as for unknown numbers. These call logs are available for future reference, and can be updated as necessary.
The best time to add information to a call log is immediately after the call ends. If you do not log a call immediately after it ends, you can access your unfinished call notes from the Bullhorn CRM, or by clicking the Call Log ![]() icon from the Work tab in 8x8 Work for Bullhorn, hovering over the contact, and clicking the Notes
icon from the Work tab in 8x8 Work for Bullhorn, hovering over the contact, and clicking the Notes ![]() icon.
icon.
Complete call logs immediately
We recommend that you complete and save your call logs immediately after a call ends; this ensures that the call log is as complete and accurate as possible.
Note: If your call is with an unknown number or a number that has multiple matches in your contact directory, you must assign the call to the correct contact in the call log if you have not done so during the call.
For details on assigning contacts to calls, see our content on placing and receiving calls.
To save a call log immediately:
-
When a call with a customer ends, the Add Note panel pops, allowing you to add notes or make any necessary changes to the call log.
Note: The Auto call log and Call log pop integration settings are enabled by default. To change your integration settings, click Settings
 > Integrations > Bullhorn.
 - If the call was with an unknown number or a number that has multiple matches in your contact directory, assign the call to the correct contact if you have not done so during the call.
- Edit the comments section manually by typing anything, then click Save.
Note: If you select Task from the Next Schedule Action section, when you save your changes, the Add Task page displays.
Finish incomplete call logs
8x8 Work for Bullhorn enables you to quickly return to your incomplete call logs and add details to them. After this, you can clean up your integration's list of unassigned and incomplete call logs.
Note: If your call is with an unknown number or a number that has multiple matches in your contact directory, you must assign the call to the correct contact in the call log if you have not done so during the call.
For details on assigning contacts to calls, see our content on placing and receiving calls.
To finish and save a previously-uncompleted call log:
-
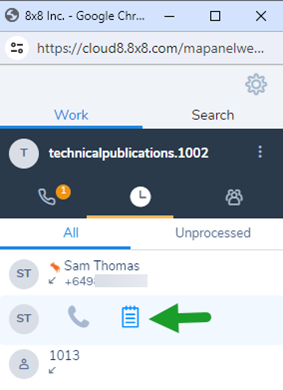
Select the Work tab in 8x8 Work for Bullhorn.
- Click the Call Log
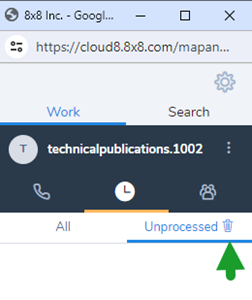
 tab of the integration, and go to the Unprocessed sub-tab to view calls you have not finished assigning to a contact or logging.
 - In the list of unassigned and incompletely-logged calls, hover over the desired call, and click the Notes
 icon to open the Add Note panel containing a call log with information on the caller, call time and duration, and more.
- Edit the comments section manually by typing anything, then click Save.
- Once you have logged all noteworthy calls, click the delete
 icon next to the name of the Unprocessed tab of the integration to clear the list.
Access call logs from Bullhorn
From Bullhorn, you can access call logs for any contact you have spoken with via 8x8 Work for Bullhorn.
To access call logs:
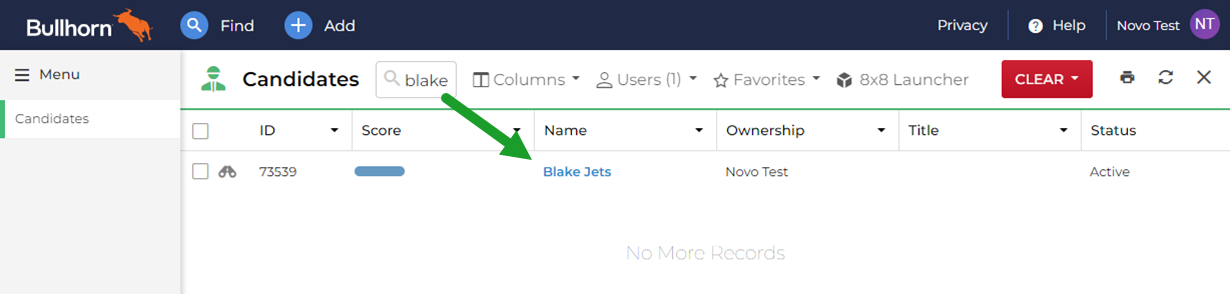
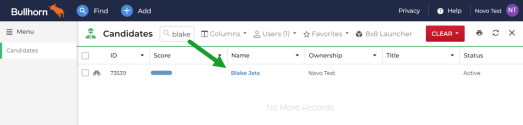
- In the header of a CRM object page in Bullhorn (such as Contacts), click the search bar to open a search window.
- In the search window, enter the name of the contact or entity that you have logged a call with, and confirm to start the search.
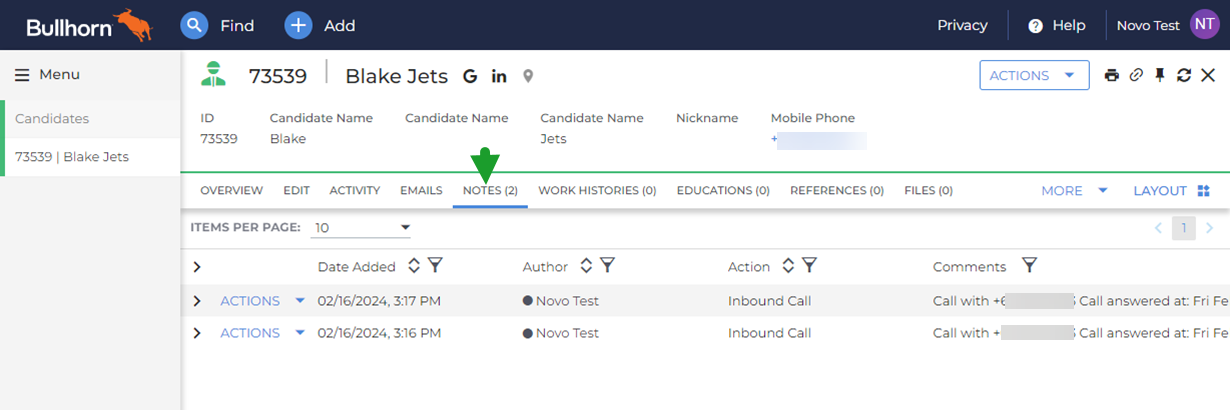
- In the search results, click the name of the desired contact or entity to open a details page.
- From the details page, open the Notes tab to view all notes associated with the contact or entity.