Enable user provisioning
When you enable user provisioning with 8x8 and Okta, you enable 8x8 Admin Console to import administrator-selected user information from Okta and quickly sync up with any changes you make to Okta users. These users show up in 8x8 8x8 Admin Console. You can then add 8x8 services to these users. Updates to user attributes such as username, first name, and last name can only be made via user management pages in Okta.
To enable user provisioning:
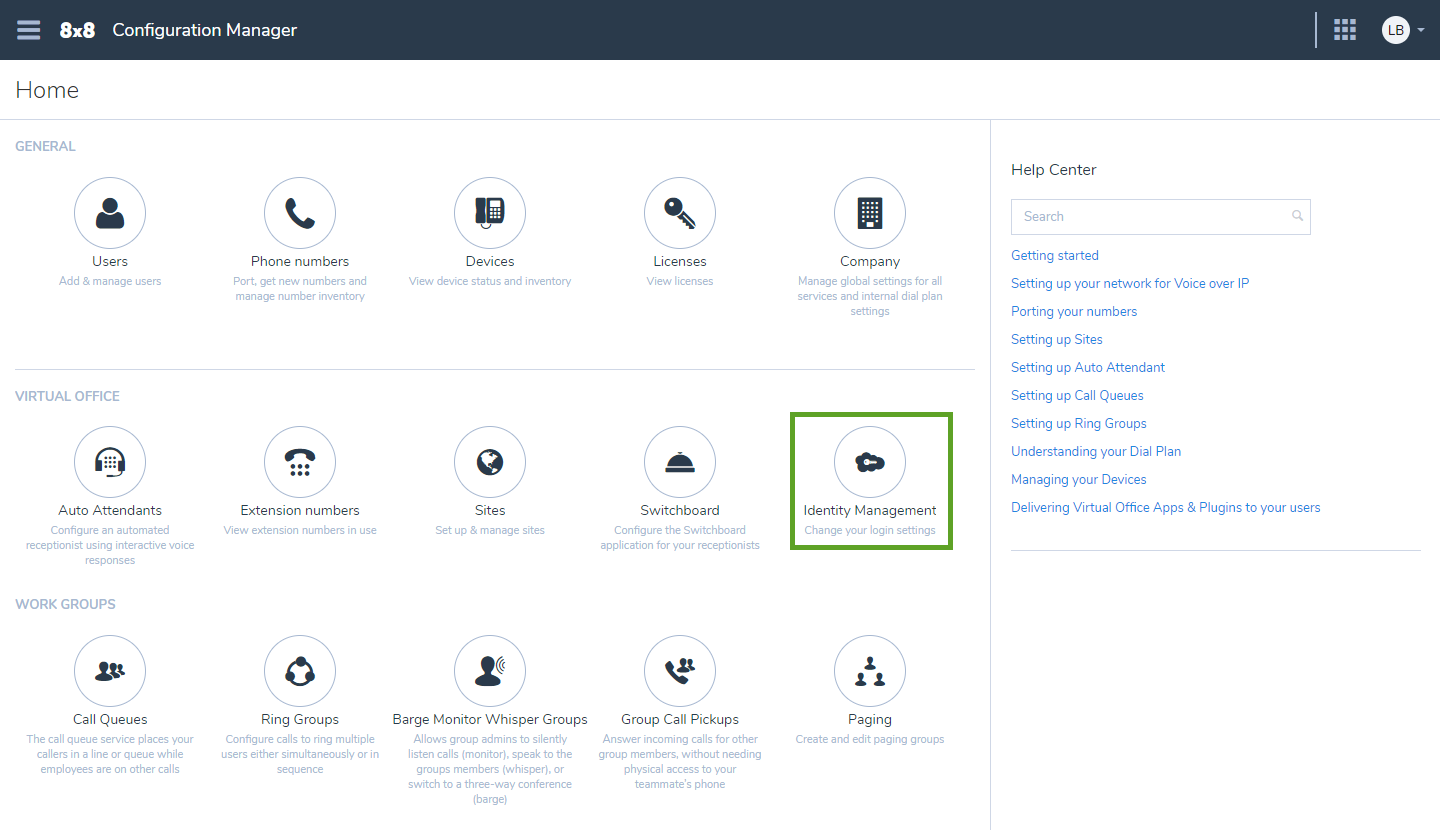
- From the 8x8 Admin Console home page, open the Identity Management page.

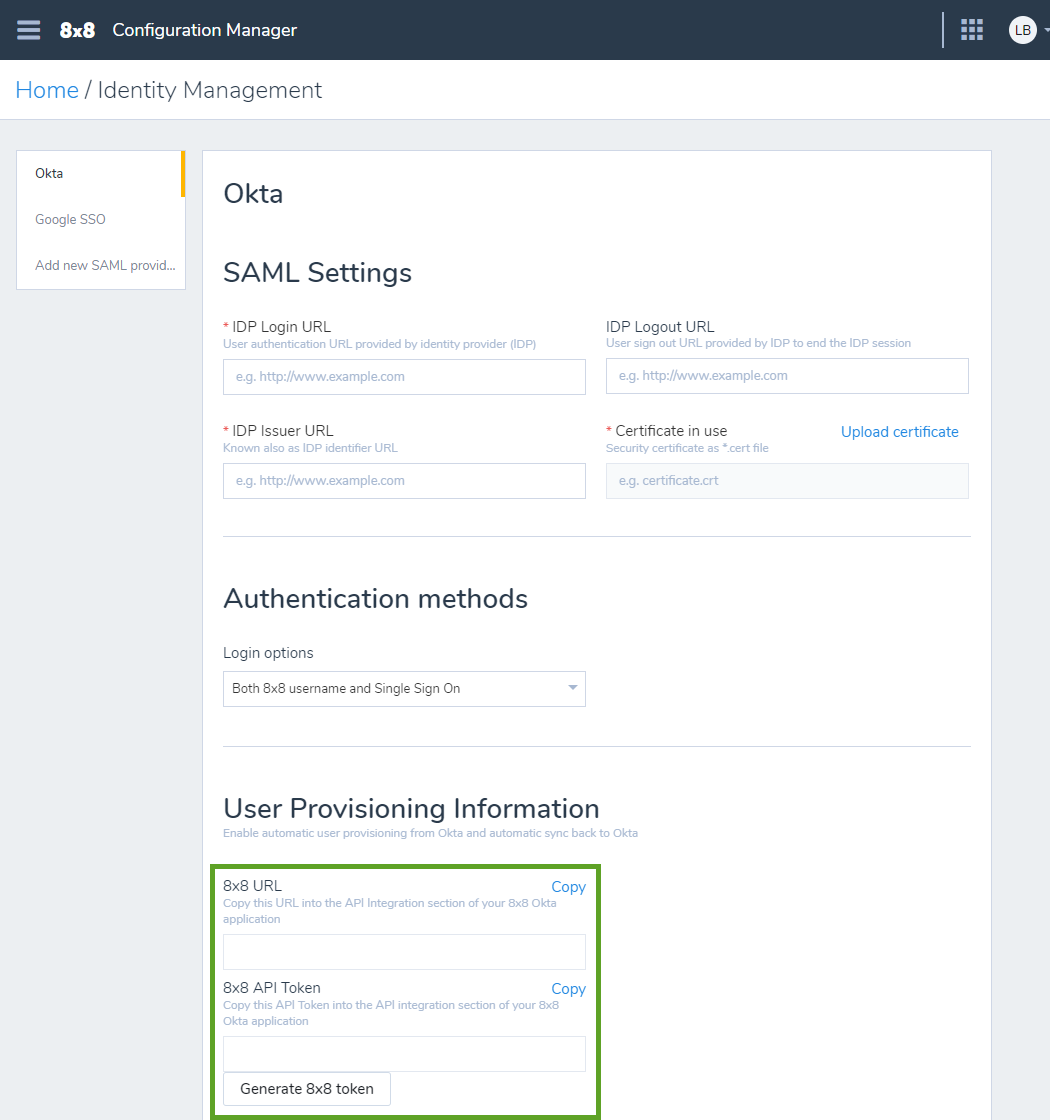
- From the page that opens, select Okta.
- Under User Provisioning Information, click Generate 8x8 Token to generate an 8x8 URL and an API token. Copy the URL and token, and keep 8x8 Admin Console open.
- In another browser window or tab, log in to Okta as an administrator.
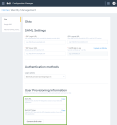
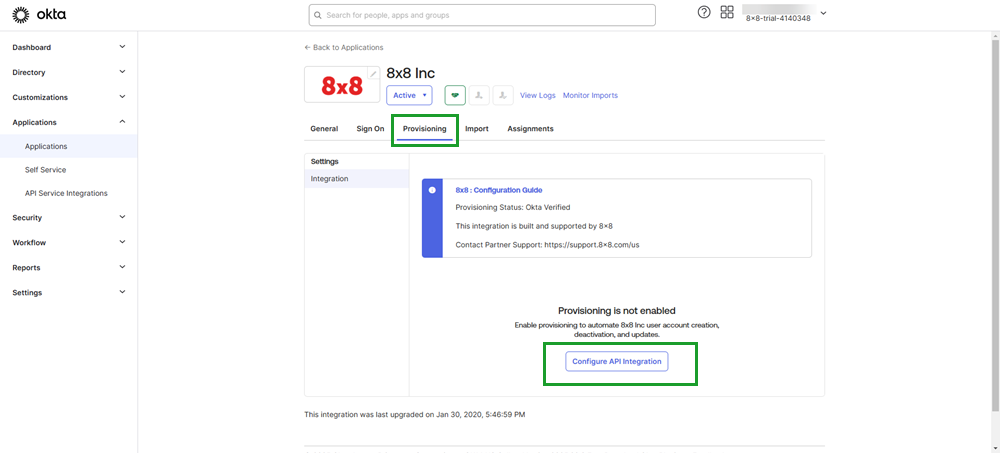
- In Okta, go to the Provisioning tab of the app settings, and click Configure API Configuration to open configuration options.

- In the configuration page that displays:
- Select the Enable API integration check box.
- Paste the 8x8 URL and 8x8 API Token you copied from 8x8 Admin Console into their respective fields in Okta.
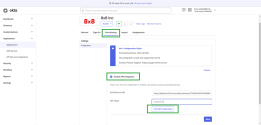
- Click Test API Credentials. You see a confirmation that the API credentials work.
- Click Save.

You are now ready to configure user provisioning settings.