Install the 8x8 Network Utility 2.3
When upgrading from a previous version of the 8x8 Network Utility, 8x8 provides multiple methods of deploying the 8x8 Network Utility; you can install manually, deploy as an administrator in a larger enterprise, or run the stand-alone version of the utility.
System requirements
The 8x8 Network Utility has the following requirements:
- For Windows: Windows 10 or newer
- 1 gigahertz (GHz) or faster 32-bit (x86) or 64-bit (x64) processor*
- 1 gigabyte (GB) RAM (32-bit) or 2 GB RAM (64-bit)*
- For Mac: Mac OS 10.11 (El Capitan) or newer
Install the 8x8 Network Utility manually
As a user with admin rights on your computer, you can download and install the 8x8 Network Utility manually.
Note: If you are upgrading from a previous version of the 8x8 Network Utility, 8x8 recommends fully uninstalling the previous version. Launching the installer begins the installation process.
- For Windows:
- Download the installer package.
- Unzip the installer package, and double-click the 8x8 Network Utility Setup.exe installation file in order to begin the installation. At the prompt, confirm to open and run the installation wizard.

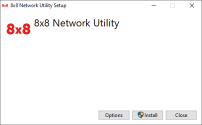
- The installer extracts and prepares all files for installation. Click Install to continue the installation.
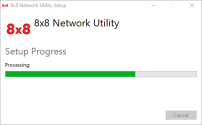
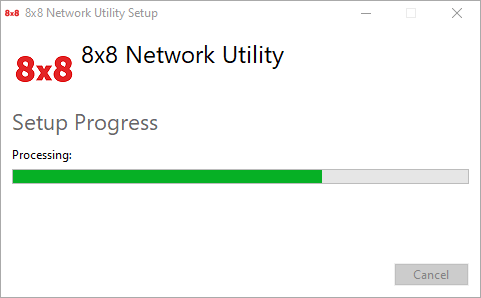
- You can track the installation via progress bar.
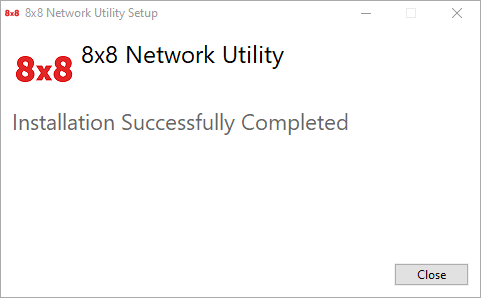
- When the utility is successfully installed, click Close to exit the wizard.

- Launch the installed application to run tests using the utility.


- For Mac:
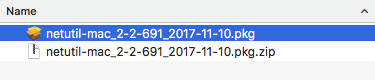
- Download the installer package.
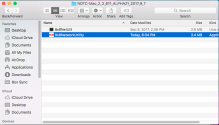
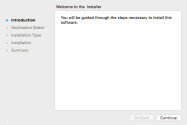
- Unzip the installer package, and right-click the PKG installation file in order to open. Note that the version number in the file name may vary.

Note: When you open the Mac installation file, you must right-click to open. If you double-click, you may receive an error.
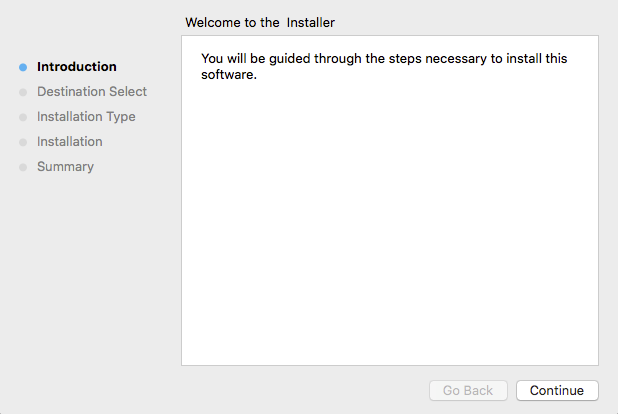
At the prompt, confirm to open and run the installation wizard. - The installer extracts and prepares all files for installation. When all files are extracted, click Continue to continue the installation.
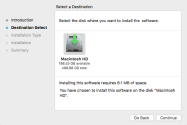
- You are notified of the default location where the utility will be installed, click Continue.
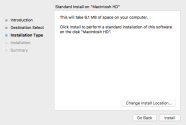
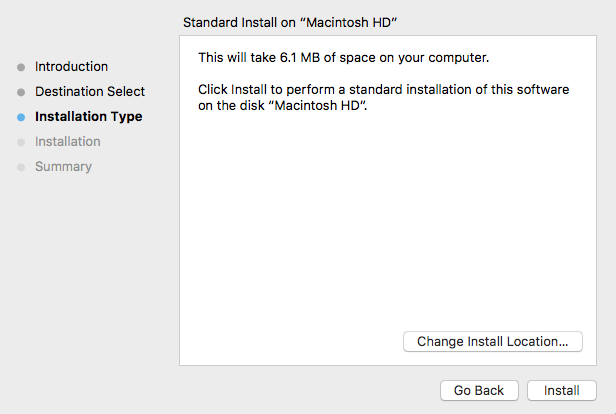
- Click Install to install the utility at the defined location. Otherwise, you can select Change Install Location if you would like to install the file elsewhere.
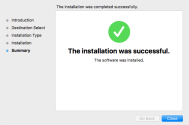
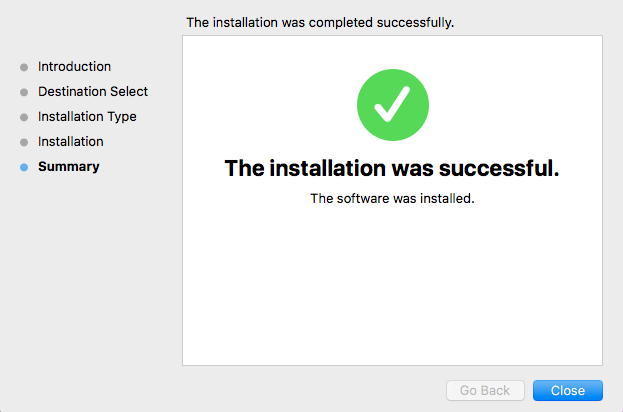
- When the utility is successfully installed, click Close to exit the wizard.
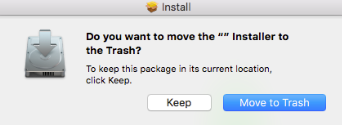
- At the prompt, you can choose whether to delete the installer file.
- Launch the installed application, and run tests using the utility.


Deploy the 8x8 Network Utility as an administrator
As a system administrator in a large enterprise, you can deploy the 8x8 Network Utility remotely through a deployment tool. Contact your 8x8 network engineer to discuss options and examples. Once the utility is deployed, users can run tests using the utility.
Note: At this time, enterprise-wide deployment is only available for Windows.
Run the stand-alone version of the 8x8 Network Utility
Extract the zip file to any destination you wish. 8x8 does not recommend running the 8x8 Network Utility from a remote network drive, or from a removable drive such as a thumb drive. The folder contains two applications; execute the required version of the utility.
Note: The stand-alone version does not require you to install the 8x8 Network Utility. Instead, the utility functions as a stand-alone executable file for Windows or Mac that can be run without the need for admin rights on your computer.
- Download for Windows, and Run tests via command line: 8x8NetUtil.exe. There is no graphical utility for the stand alone version of the Network Utility test.

For Windows:

For Mac:
- Download for Mac, and Run tests via command line: 8x8NetUtil.