Set up 8x8 Contact Center for Zendesk
8x8 for Zendesk seamlessly integrates your8x8 Contact Center and 8x8 Work solutions. To take advantage of the 8x8 integration with Zendesk, you must download the 8x8 integration app from the Zendesk marketplace and configure it. Configuring 8x8 Work or 8x8 Contact Center for Zendesk requires you to:
Installing 8x8 Work for Zendesk is a one-time task for the administrator. After the 8x8 integration package is installed, the 8x8 integration app is available to all Zendesk agents. The integration package supports integration with either 8x8 Work or 8x8 Contact Center.
To install the integration package:
- Log in to Zendesk as an administrator.
- Click the Zendesk products menu in the top bar, then select Admin Center.
- Click Apps and integrations
 in the left sidebar.
 - Click Zendesk Support apps.
- Click the Marketplace button in the top right.
- Use the search bar to find the 8x8 integration app.
- Select the 8x8 integration from the list of results and click Install.
- Select your account from the list.
- Click Next.
The app installs and opens in edit mode for you to fill in the required details as described in the step below.

For the installation to be complete, you must customize the 8x8 integration for 8x8 Contact Center users or 8x8 Work users:
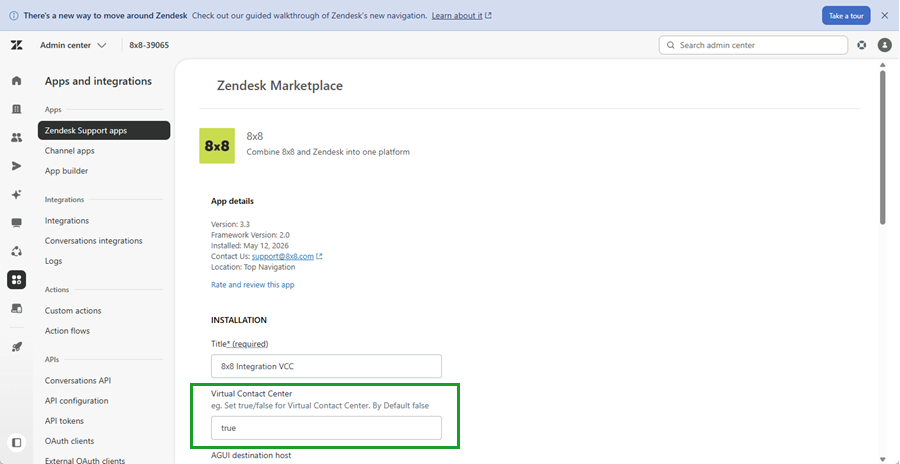
- In the 8x8 integration form add a title for your integration such as 8x8 Integration VCC.
- For Virtual Contact Center, enter true. By default, the setting is false.
Note: Your answer is case sensitive.
-
Enter the AGUI destination host URL for VCC tenants:
- For a mode 1 tenant, enter the base URL such as vcc-na1.8x8.com.
- For tenants in other modes, leave it blank.
- Enter your Tenant’s name:
- For VCC modes 2 and 3 to enable Single Sign-On.
- For VCC mode 1, leave it blank.
-
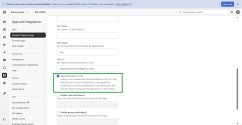
Enter the VCC Mode. Mode 3 tenant is selected by default. If you do not add a mode or leave the field blank, the system will default to mode 3.
- Set SSO Mode to true for mode 2 or 3 tenant. Mode 1 does not support Single Sign-On. The default SSO mode is false.
-
If you set the SSO Mode as true for mode 2 or 3 tenants in the previous step, enter the SSO Url such as https://sso.8x8.com/login/vcc-na1.
Note: If a customer is on an na6 cluster and a mode 3 tenant, the vccDomain is:
https://sso.8x8.com/login/vccinstead ofhttps://sso.8x8.com/login/vcc-na6. - Click Install.
Note: If you move away from this page before you click Install, the information you entered in this page will be lost.
-
In the 8x8 integration form add a title for your integration such as 8x8 Integration Work.
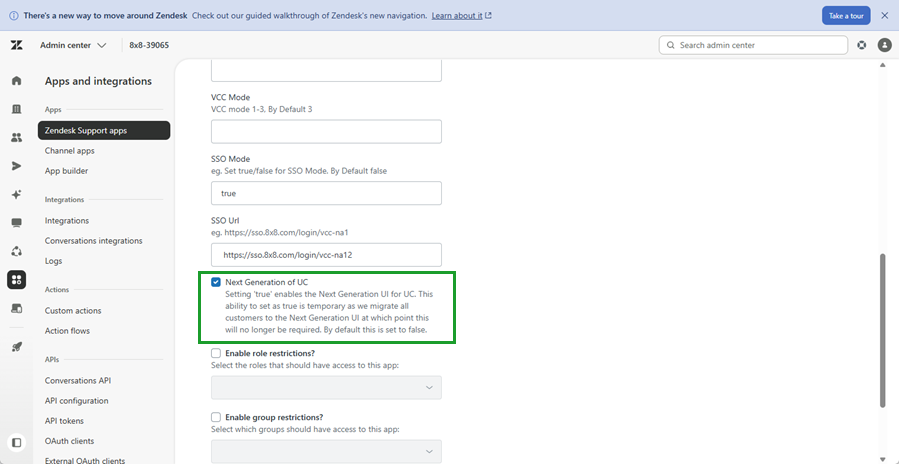
- Set SSO Mode to true
- Enter the SSO Url such as https://sso.8x8.com/login/vcc-na1.
- Click the check box to enable Next Generation of UC. This enables the new integration experience.
- Click Install.
Note: If you move away from this page before you click Install, the information you entered in this page will be lost.