Troubleshooting: 8x8 integration for NetSuite 3.1
Check out the following troubleshooting items for 8x8 integration with NetSuite 3.1:
Activity in 8x8 Work and 8x8 Contact Center does not trigger screen pop or call logs in NetSuite
- Under Settings
 > Integrations > NetSuite in the integration, make sure that you are connected to integration with NetSuite.
 - Under Settings > Integrations > NetSuite in the integration, enable the Auto Call Log option to automatically generate a call, chat, and voicemail log. A call log includes information about the time a call was initiated, terminated, duration and more. A chat log includes the chat transcript as well.
- Make sure that a pop-up blocker is not preventing new tabs from opening from NetSuite.
My screen pop fails in CRM integration with 8x8 Work and 8x8 Contact Center
A screen pop failure is commonly attributed to browser caching issues, blocked pop-ups, and blocked websites.
- Click the More
 icon in the top-right corner of your Chrome browser window.
 - Select Settings from the menu.
- Click Advanced at the bottom of the page.
- Under Privacy and security, select Clear browsing data.
- Select the following check boxes from the list:
- Cookies and other site data.
- Cached images and files.
- Click Clear data.
- Click the More icon in the top-right corner of your Chrome browser window.
- Select Settings from the menu.
- Click Advanced at the bottom of the page.
- Under Privacy and security, select Site settings.
- Under Unsandboxed plugin access, click Add next to the Allow section.
- Enter <cloud8.8x8.com>, and confirm.
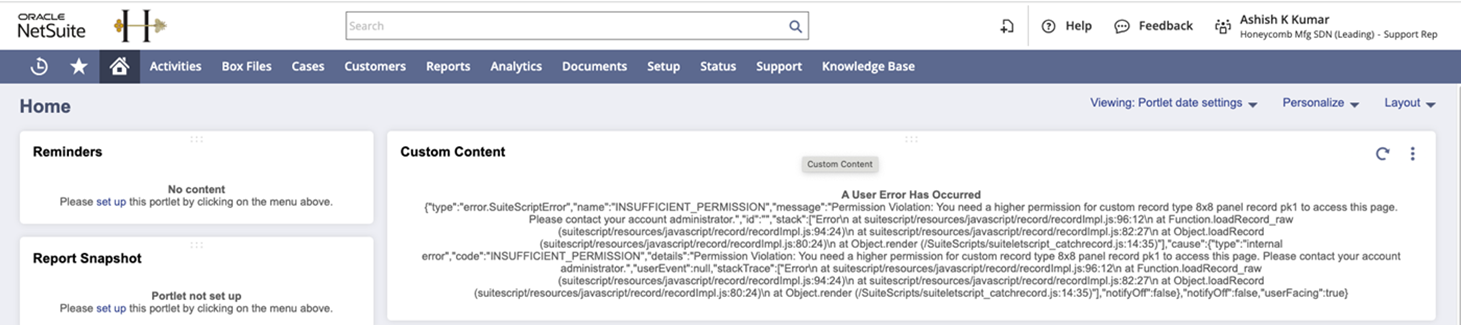
The Insufficient permission error message displays on the screen for agents
If an agent using the integration for NetSuite receives the Insufficient permission error message when they log in to their account, the Custom Record Entries permission is missing for the role assigned to the agent.
- Log in to your NetSuite admin account.
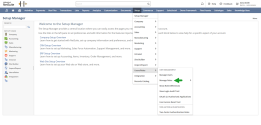
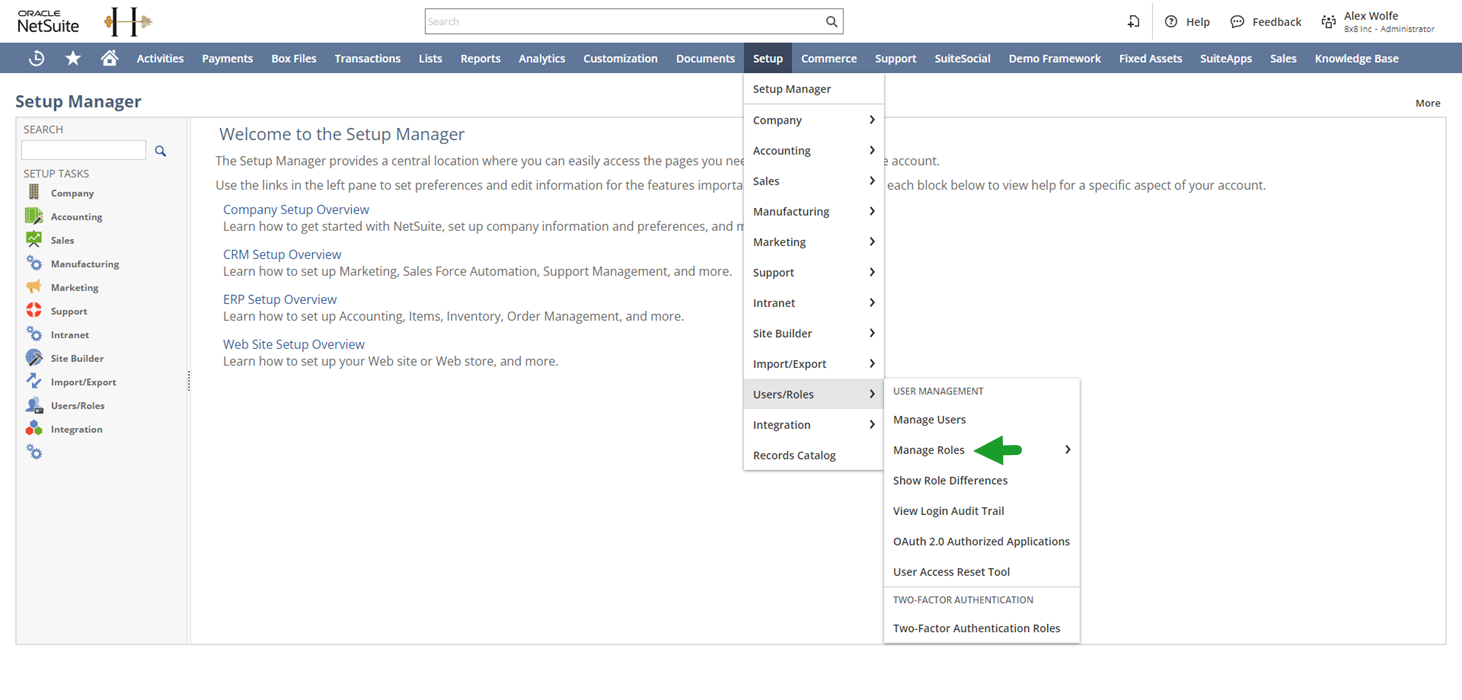
- From the menu bar at the top of the NetSuite Home screen, hover over Setup and navigate to User/Roles > Manage Roles. A new page displays.
- Click Edit next to the relevant role or create a new role.
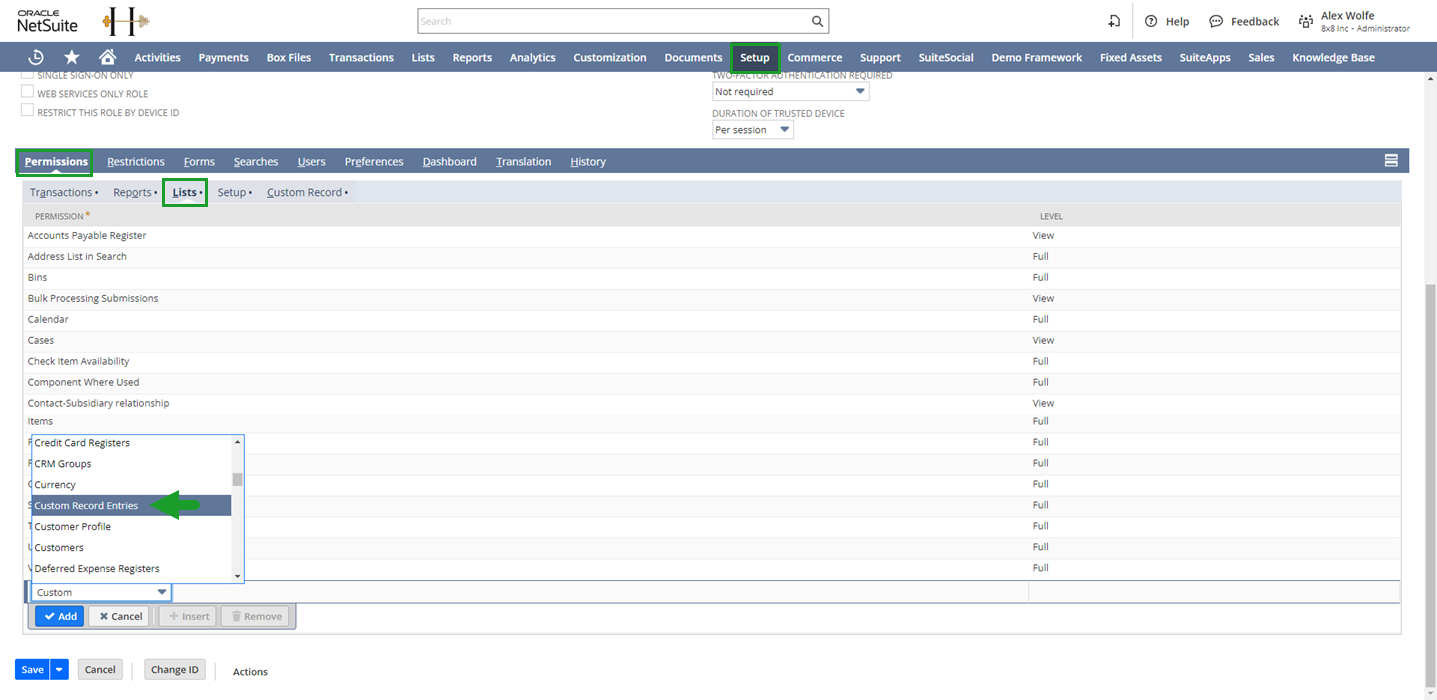
- Scroll down to the Permissions tab and click on the Lists sub-tab.
- Click the blank line at the bottom of the list of permissions and select Custom Record Entries.
- Choose the level for the permission.
- Click Add. The permission is added to the list.
- Click Save.

Note: The minimum permission level required is View. Refer to the list of minimum permission levels for each permission category.
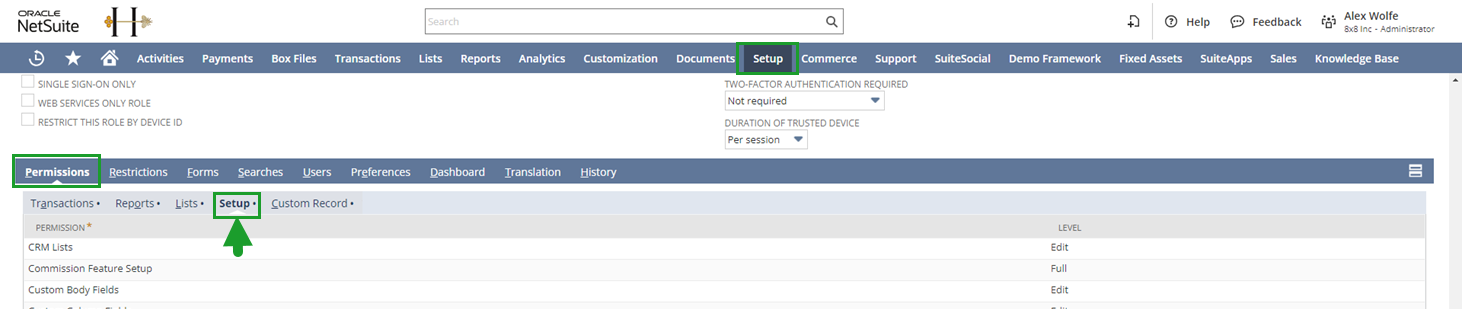
The wrong role or account error message displays on the screen
If an agent using the integration for NetSuite is notified that their role doesn’t support OAuth2 login, you must ensure that the agent’s role has the REST Web Services and Log in using OAuth 2.0 Access Tokens permissions assigned.

- Log in to your NetSuite admin account.
- From the menu bar at the top of the NetSuite Home screen, hover over Setup and navigate to User/Roles > Manage Roles. A new page displays.
- Click Edit next to the agent’s role or create a new role.
- Scroll down to the Permissions tab and click on the Setup sub-tab.

- Check if the following permissions are assigned:
- REST Web Services
- Log in using OAuth 2.0 Access Tokens
- If the permissions are missing, click the blank line at the bottom of the permissions list.
- Select the REST Web Services permission.
- Choose the level for the permission.
- Click Add.
- Click the blank line at the bottom of the list of permissions.
- Select the Log in using OAuth 2.0 Access Tokens permission.
- Choose the level for the permission.
- Click Add.
- Click Save.
Note: The minimum permission level required is Full.
Note: The minimum permission level required is Full.