Install 8x8 integration for NetSuite
For your organization to take advantage of 8x8 integration with NetSuite, you must install the integration bundle and assign the required permissions to the appropriate user roles.
If you have previously installed the integration, we recommend using the latest installation bundle available to benefit from the latest features and bug fixes, maintain compatibility with systems, and more. Before updating an existing installation bundle, you must first assign the required permissions to user roles, then proceed to update the installation bundle (existing customers).
Assign required permissions to user roles
Before installing the new NetSuite bundle as a new customer, you must assign the following permissions to one of the user roles:
- User role permissions (specific)
- Custom Record Entries
- REST Web Services
- Log in using OAuth 2.0 Access Tokens
For the 8x8 integration for NetSuite to work as expected, you must assign user roles a specific set of permissions.
Note: The Level column displays the minimum permission level required for each permission.
| Permission category | Permission | Level | Required |
|---|---|---|---|
| Transactions | Find Transaction | View | Always |
| Reports | SuiteAnalytics Workbook | Edit | Always |
| Lists | Custom Record Entries | View | Always |
| Lists | Perform Search | Full | Always |
| Lists | Phone Calls | Full | For Auto interaction log |
| Lists | Cases | View | For the Case search type |
| Lists | Contacts | View | For the Contact search type |
| Lists | Customers | View | For the Customer, Lead, and Prospect search types |
| Lists | Employees | View | For the Employees search type |
| Lists | Employee Record | View | For the Employees search type |
| Lists | Partners | View | For the Partner search type |
| Lists | Vendors | View | For the Vendors search type |
| Setup | Log in using OAuth 2.0 Access Tokens | Full | Always |
| Setup | REST Web Services | Full | Always |
- Log in to your NetSuite admin account.
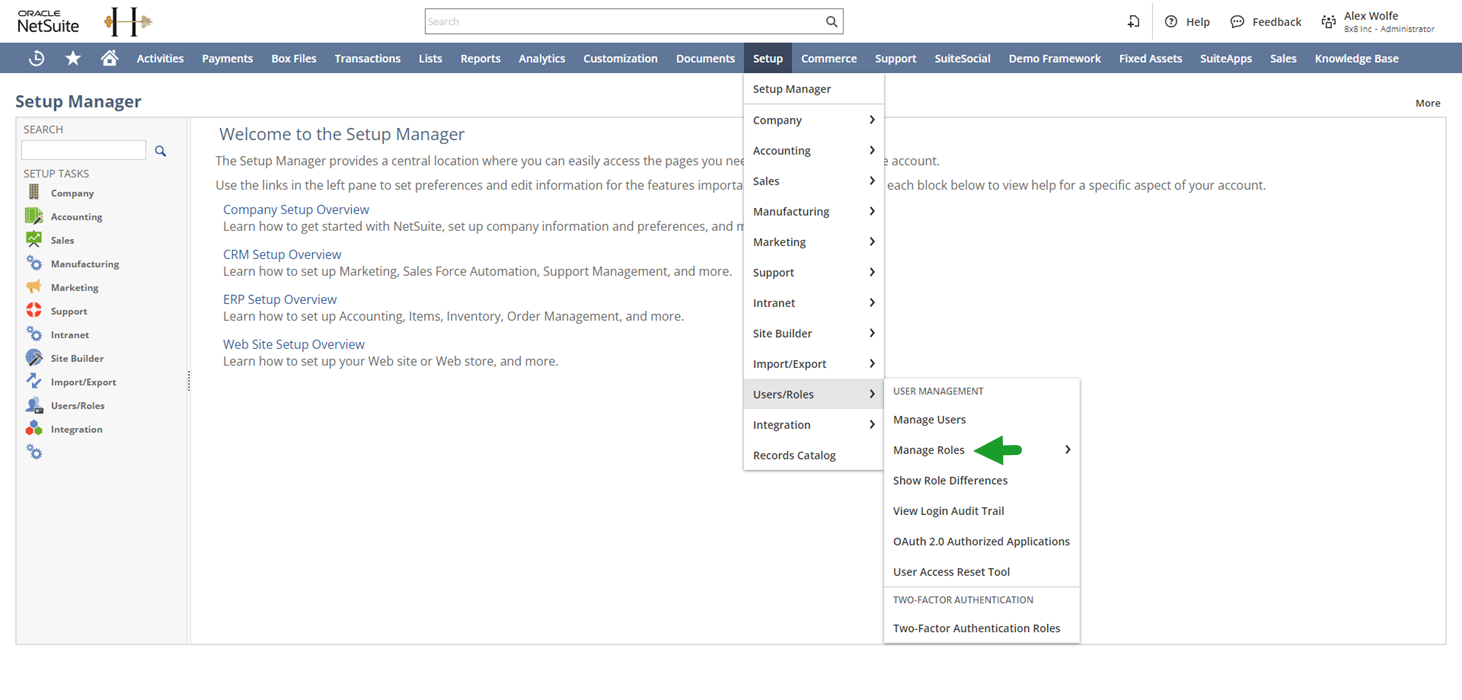
- From the menu bar at the top of the NetSuite Home screen, hover over Setup and navigate to User/Roles > Manage Roles. A new page displays.
- Click Edit next to the relevant role or create a new role.
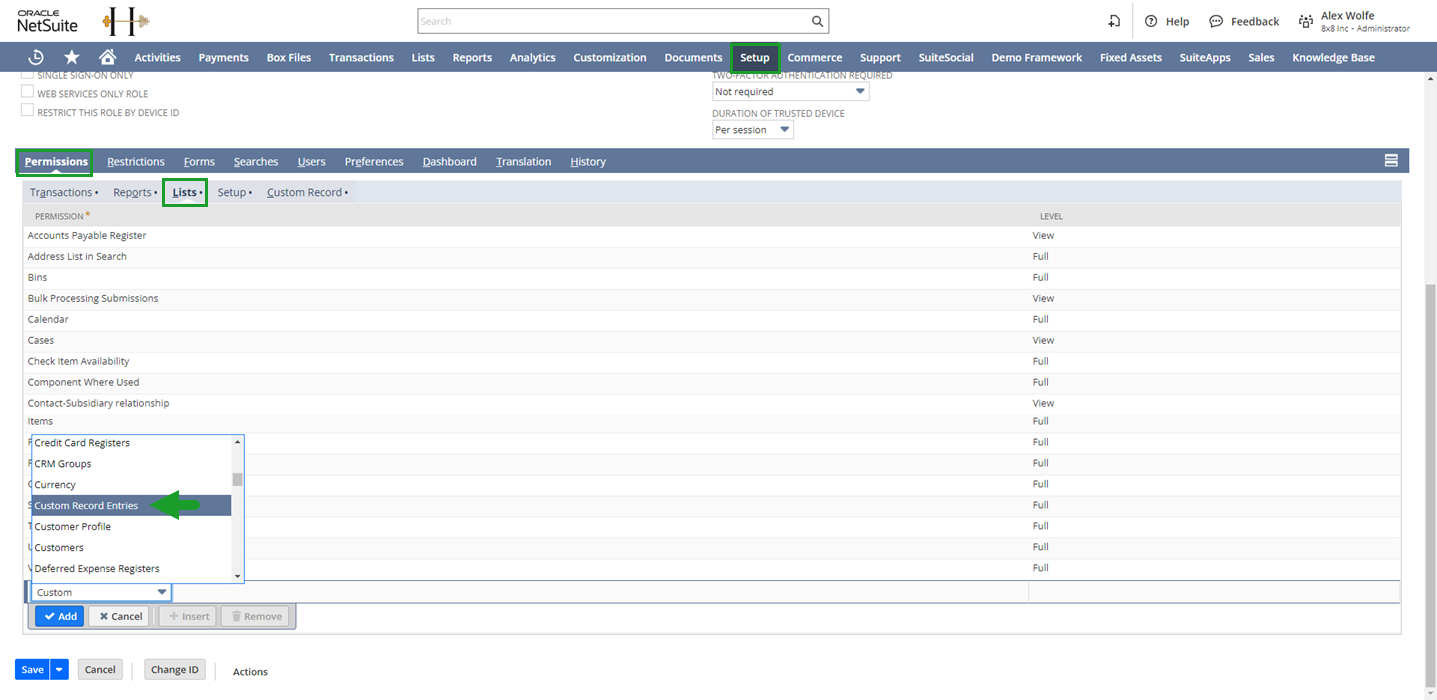
- Scroll down to the Permissions tab and click on the Lists sub-tab.
- Click the blank line at the bottom of the list of permissions and select Custom Record Entries.
- Choose the level for the permission.
- Click Add. The permission is added to the list.
- Click Save.

Note: The minimum permission level required is View. Refer to the list of minimum permission levels for each permission category.
- From the menu bar at the top of the NetSuiteHome screen, hover over Setup and navigate to User/Roles > Manage Roles. A new page displays.
- Click Edit next to the relevant role or create a new role.
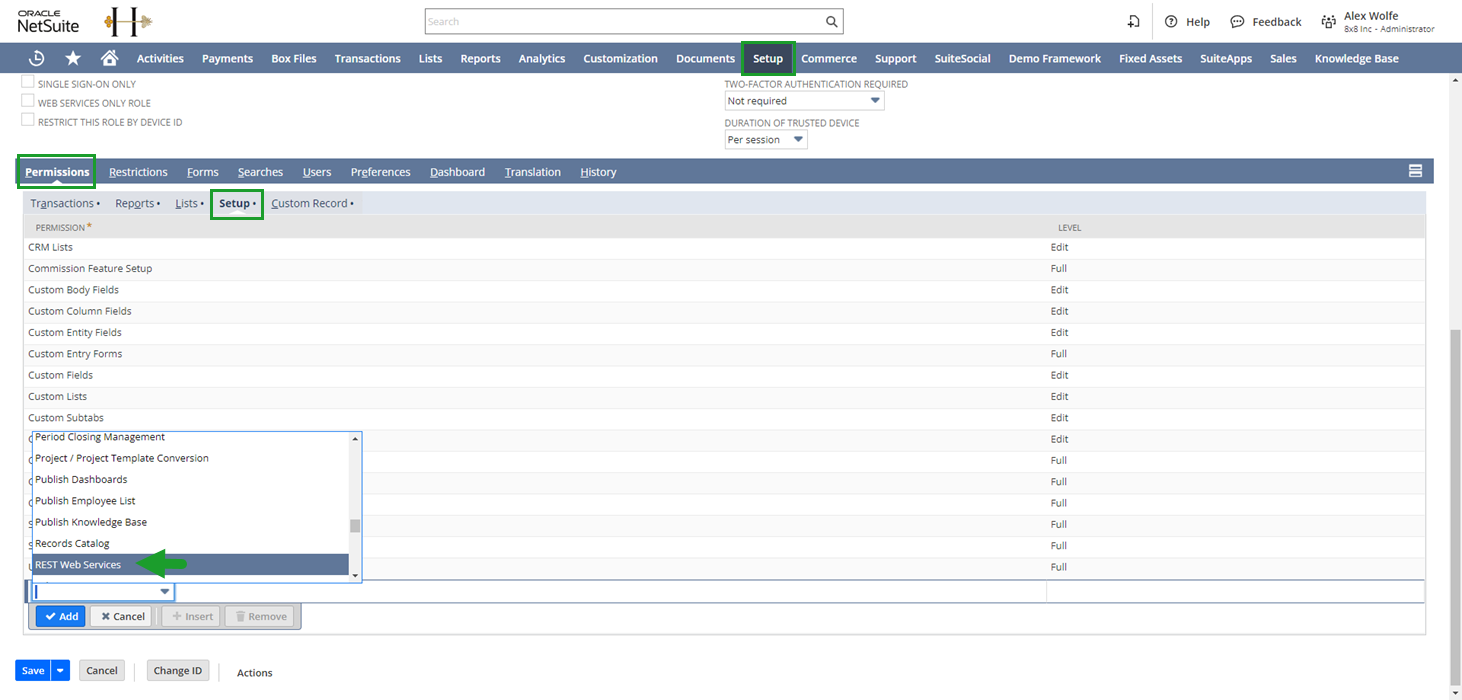
- Scroll down to the Permissions tab and click on the Setup sub-tab.
- Click the blank line at the bottom of the list of permissions and select REST Web Services.
- Choose the level for the permission.
- Click Add. The permission is added to the list.
- Click Save.

Note: The minimum permission level required is Full.
- From the menu bar at the top of the NetSuiteHome screen, hover over Setup and navigate to User/Roles > Manage Roles. A new page displays.
- Click Edit next to the relevant role or create a new role.
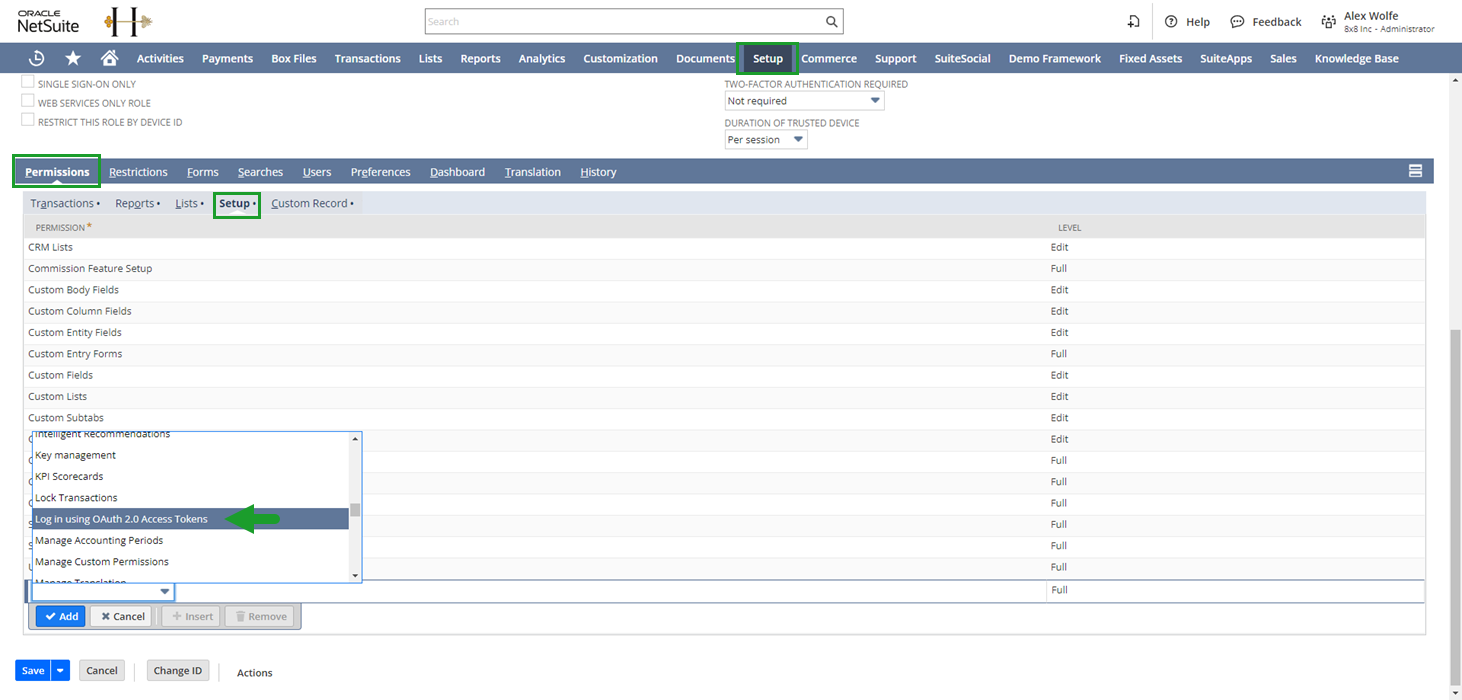
- Scroll down to the Permissions tab and click on the Setup sub-tab.
- Click the blank line at the bottom of the list of permissions and select Log in using OAuth 2.0 Access Tokens.
- Choose the level for the permission.
- Click Add. The permission is added to the list.
- Click Save.

Note: The minimum permission level required is Full.
Install the integration bundle (new customers)
As a new customer, you must install the integration bundle to enable agents to use the 8x8 integration app:
To install NetSuite integration:
- Log in to your NetSuite administrator account.
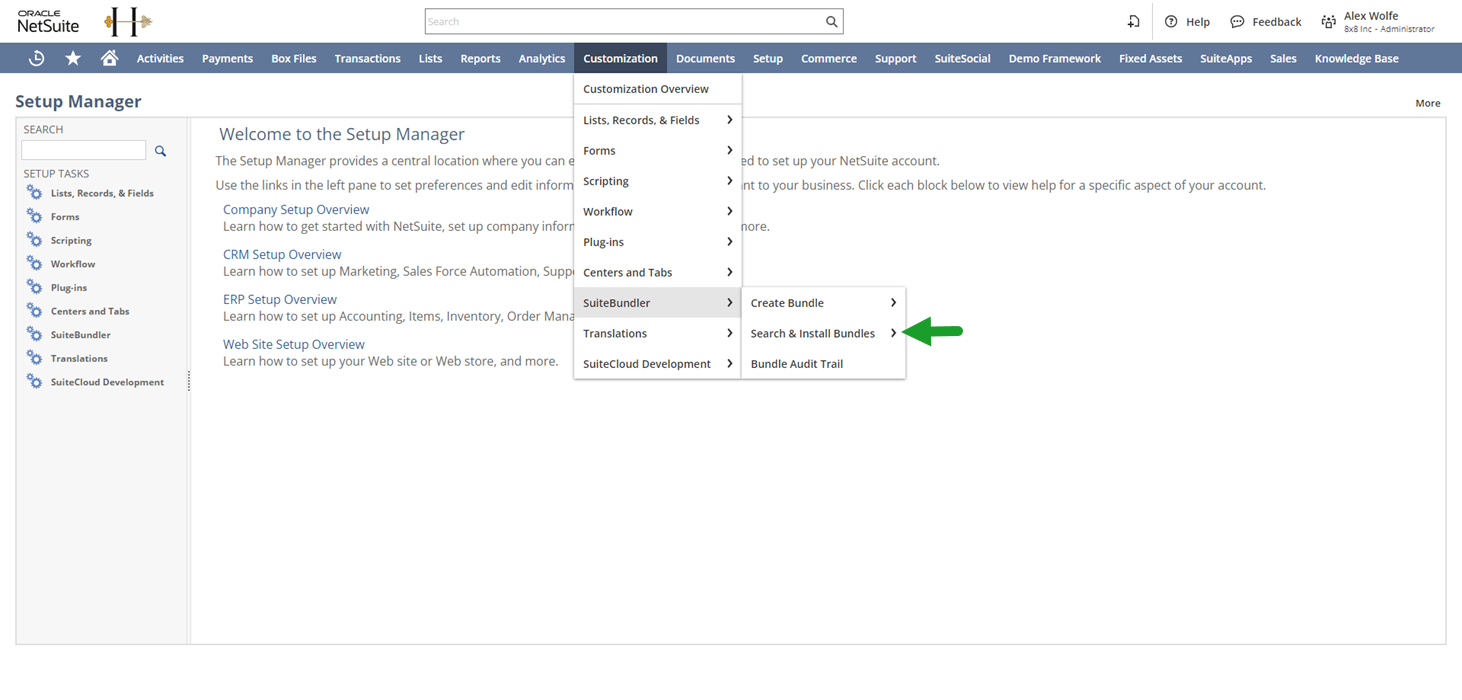
- From the menu bar at the top of the NetSuite Home screen, hover over Customization and navigate to SuiteBundlers > Search & Install Bundles. The Search & Install Bundles screen displays.
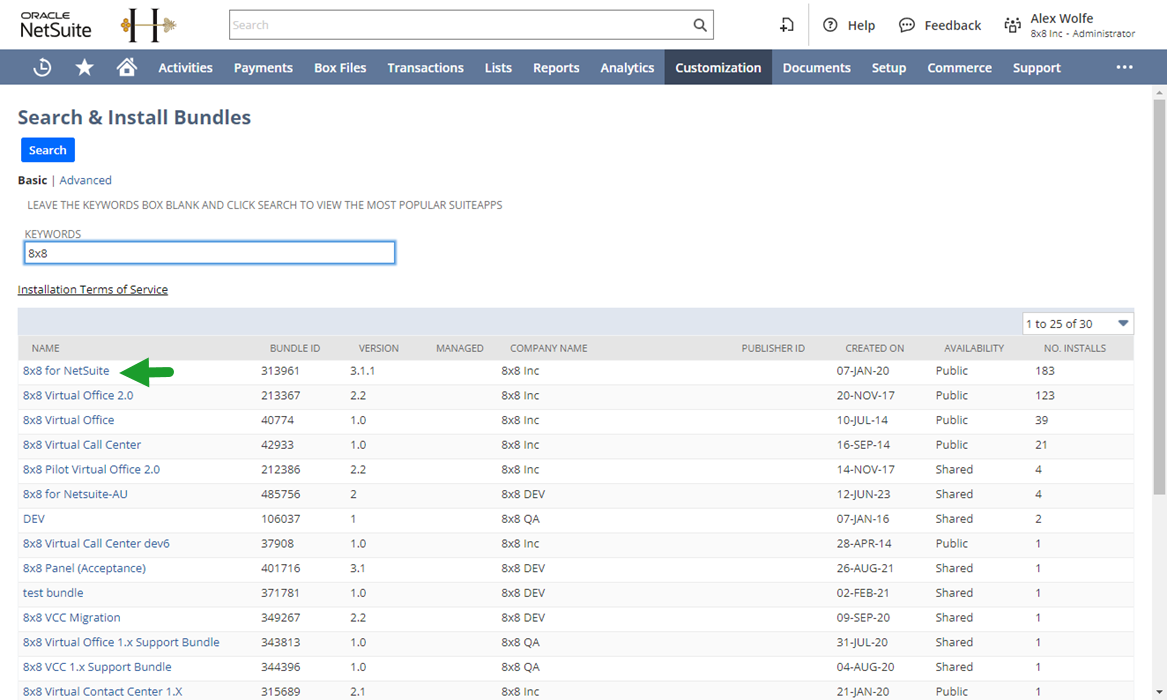
- Enter 8x8 in the KEYWORDS field.
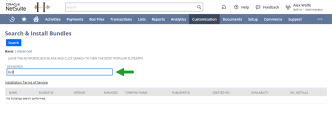
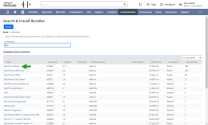
- Click Search. A list of bundle names displays.
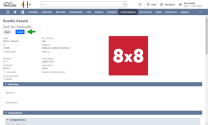
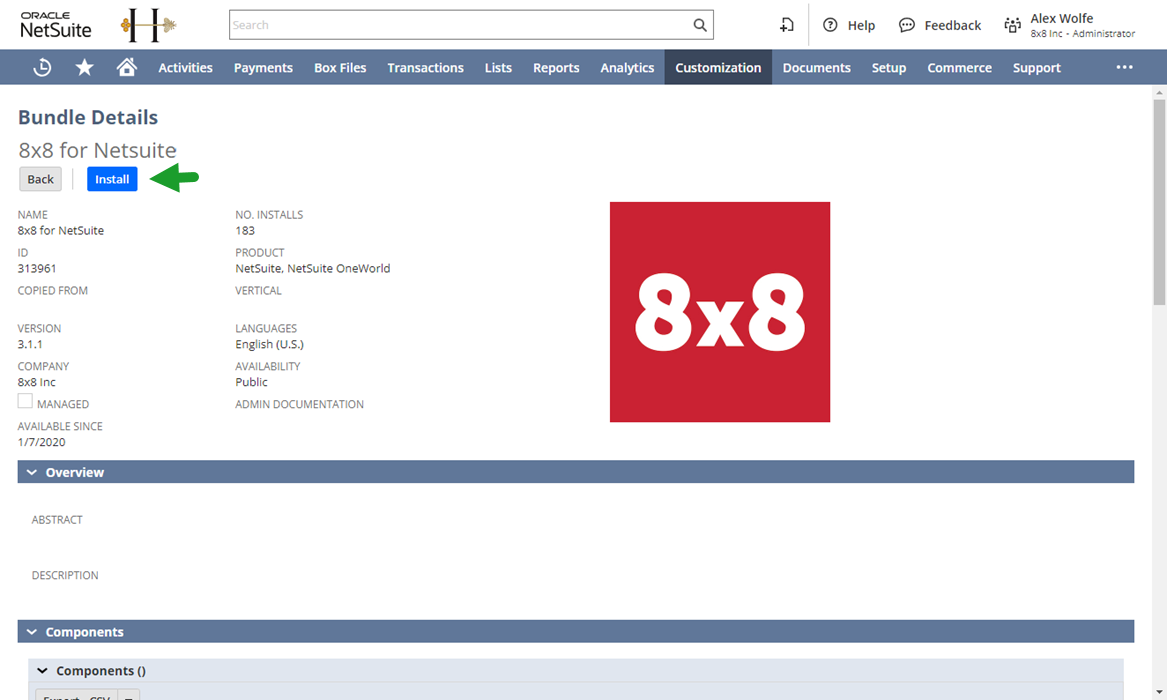
- Select the bundle name 8x8 for NetSuite. The Bundle Details screen displays.
- Click Install.
- The Installed Bundles screen displays with a pending status next to the bundle being installed or updated.

- A green check mark displays in the Status column next to the bundle name indicating that it is now installed or updated. You may need to click Refresh to update the screen.
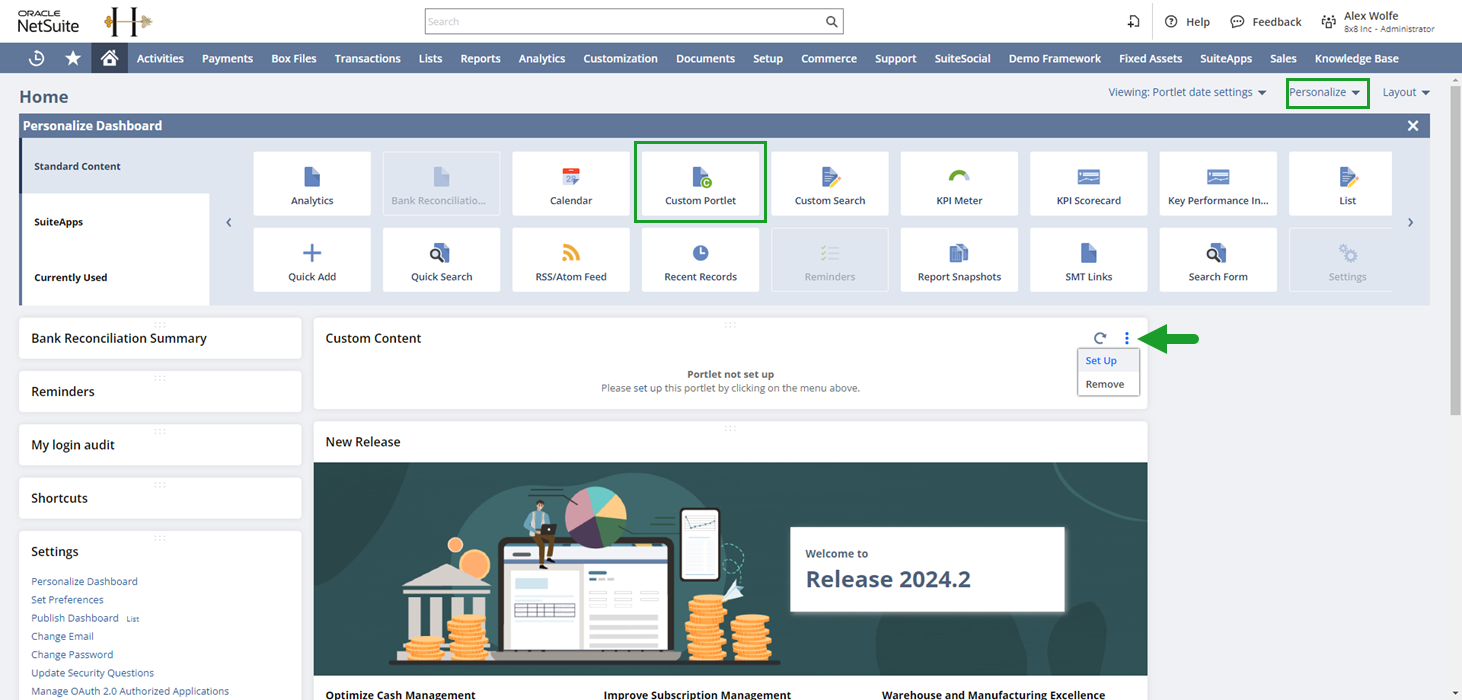
- From the upper right side of the NetSuite Home screen, select Personalize.
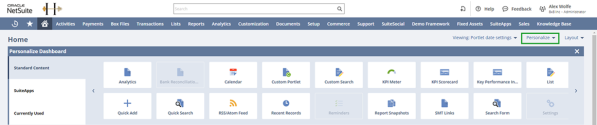
- Select Custom Portlet. The Custom Content section displays on the screen.
- Hover over the Custom Content section, click the more options
 icon, and select Set Up.
- Select 8x8 for NetSuite (OIDC) from the list of sources.
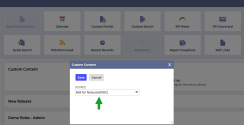
- Click Save.
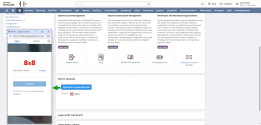
- Select the Click here to open 8x8 panel button to launch the 8x8 integration app. The app launches in a floating browser window.


Update the installation bundle (existing customers)
If you already have the integration for NetSuite installed and you need to update the installation bundle, use the Update option available from your installed bundle.
We recommend using the latest installation bundle available.
Note: Before updating your installed bundle, you must assign required permissions to user roles.
To update an existing bundle:
- Log in to your NetSuite administrator account.
- From the menu bar at the top of the NetSuite Home screen, hover over Customization and navigate to SuiteBundlers > Search & Install Bundles. The Search & Install Bundles screen displays.
- Locate the installed 8x8 for Netsuite bundle using the search bar or browsing the list.
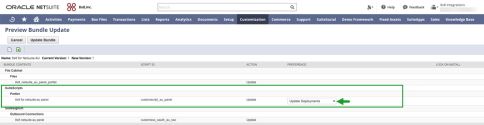
- Under SuiteScripts, in the Portlet subsection, find the Portlet entry (for example, 8x8 for netsuite-au panel).
- In the portlet row, go to the Preference column and select Update Deployments from the drop down list.
- Click Update Bundle from the top of the page.
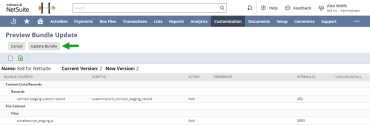
- When prompted to confirm the update, click OK. The Installed Bundles screen displays with a pending status next to the bundle being installed or updated.
- You may need to refresh the page to see when the update is complete. A green check mark in the status column indicates that the update is complete.
- Go to the NetSuite Home page and select Personalize from the upper right-corner of the page.
- Select Custom Portlet. The Custom Content section displays on the screen.
- Hover over the custom portlet section, click the more options icon, and select Set Up.
- Select 8x8 for NetSuite (OIDC) from the list of sources.
- Click Save.
- Select the Click here to open 8x8 panel button to launch the 8x8 integration app. The app launches in a floating browser window.


Configure click-to-dial
8x8 click-to-dial enables agents to dial from the CRM page by clicking on the phone number.
To configure click-to-dial:
- Hover over
 and navigate to Set Preferences > Telephony.
 - The CTI URL field on the Telephony screen must contain this click-to-dial URL: https://cloud8.8x8.com/mashell/public/click2dial.html?phone={phone}
- Click Save to save the click-to-dial CTI URL.
View the CTI URL used
Let's say that after setting up the integration, a fellow admin asks you confirm the correct CTI URL is used. You can easily access the CTI URL from your NetSuite account.
To access the CTI URL:
- From the menu bar at the top of the NetSuiteHome screen, hover over Customization.
- From the Customization drop-down list, select Lists, Records, & Fields > Record Types.
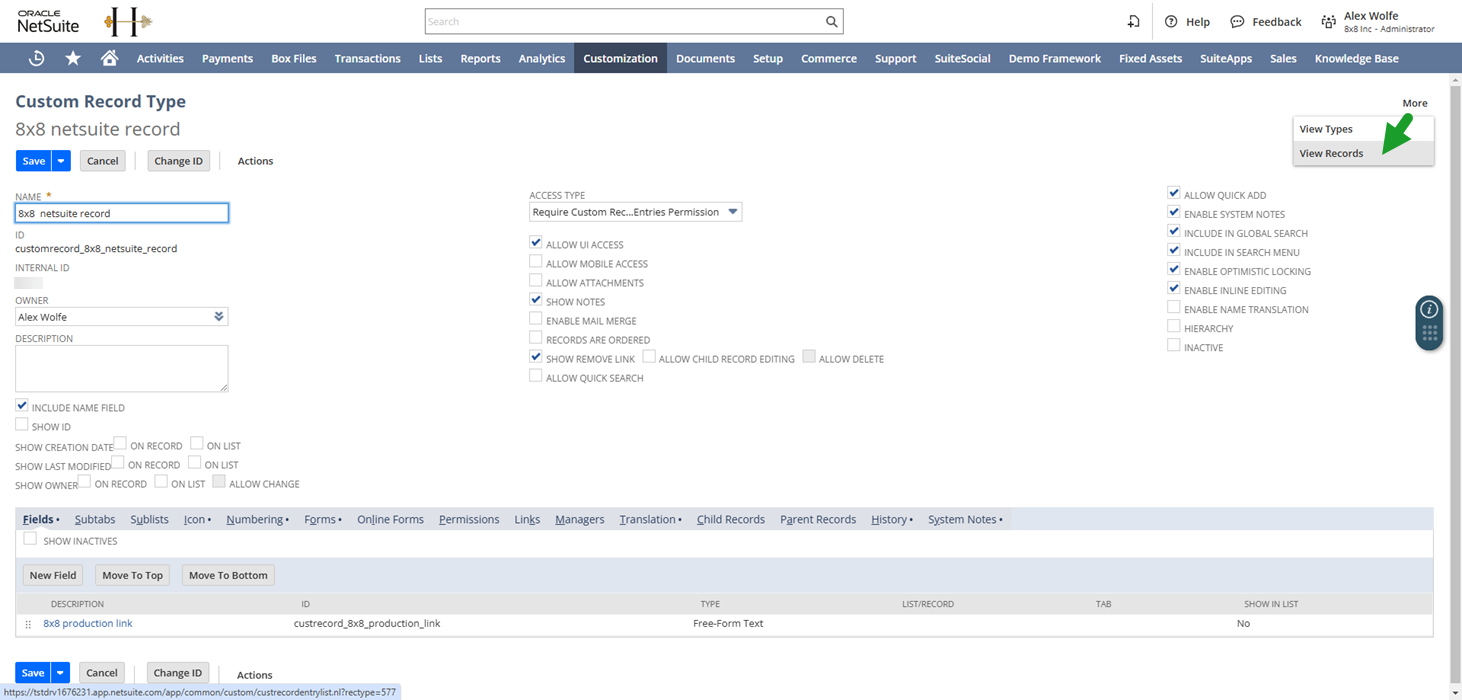
- From the Record Types page, click the 8x8 netsuite record. The record opens.
- Click More from the upper right side of the Custom Record Type page.
- Select View Records. The 8x8 netsuite record List page displays.

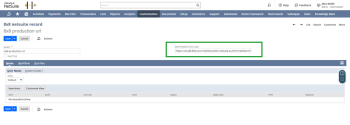
- Click Edit.

- On the 8x8 netsuite record page, locate the 8x8 Production link and ensure the following link is used:
https://cloud8.8x8.com/mashell/public/netsuite-au.html?nextGen=true&env=netsuite-au