Get started with 8x8 Work for Zoho
Once you have access to 8x8 Work for Zoho, follow the checklist below to get started:
- Gather your credentials
- Allow pop-ups and redirects
- Allow third-party cookies
- Install the 8x8 integration from the Chrome web store
- Log in to the integration
- Tour the interface
- Access your integration settings
- Change your integration settings
- Configure searching for objects
- Log out of the integration
Gather your credentials
In order to use 8x8 Work for Zoho, you need:
- Login access to a Zoho account.
- Login access to an 8x8 Work extension.
8x8 Work for Zoho is dependent on your 8x8 Work extension also being logged in to either on your desktop or a mobile device.
Allow pop-ups and redirects
- Go to your browser settings.
- Click on Privacy and Security from the side navigation menu.
- Click on Site settings.
- Click on Pop-ups and redirects.
- Click Add and enter <https://cloud8.8x8.com> and Zoho to the list of allowed sites. Chrome automatically saves these settings.
Note: Ensure that a pop-up blocker is not preventing new tabs from opening from Zoho. This may not be required if your default settings has allowed all pop-ups and redirects to be displayed.
Allow third-party cookies
- Go to your browser settings.
- Click on Privacy and Security from the side navigation menu.
- Click on Site settings.
- Click on Third party cookies.
- Click Add and enter <https://cloud8.8x8.com> and Zoho to the list of allowed sites. Chrome automatically saves these settings.
Note: This may not be required if your default settings allow all third party cookies.
Install the 8x8 integration from the Chrome web store
As a Zoho agent, you must add a Google Chrome extension for integration with 8x8.
To add the 8x8 Integration Chrome extension:
- Open the Chrome web store.
- Search for <8x8> in the Chrome web store. 8x8 Virtual Office for Integrations appears in the list.
- Click Add to Chrome.
- Click Add Extension to confirm.
- A confirmation banner displays confirming the extension has been added to Chrome.
You can manage your installed extensions in Chrome by clicking Customize and control Google Chrome ![]() > Extensions > Manage extensions.
> Extensions > Manage extensions.
Log in to the integration
To log into your 8x8 Work integration for Zoho:
- Log in to your Zoho account.
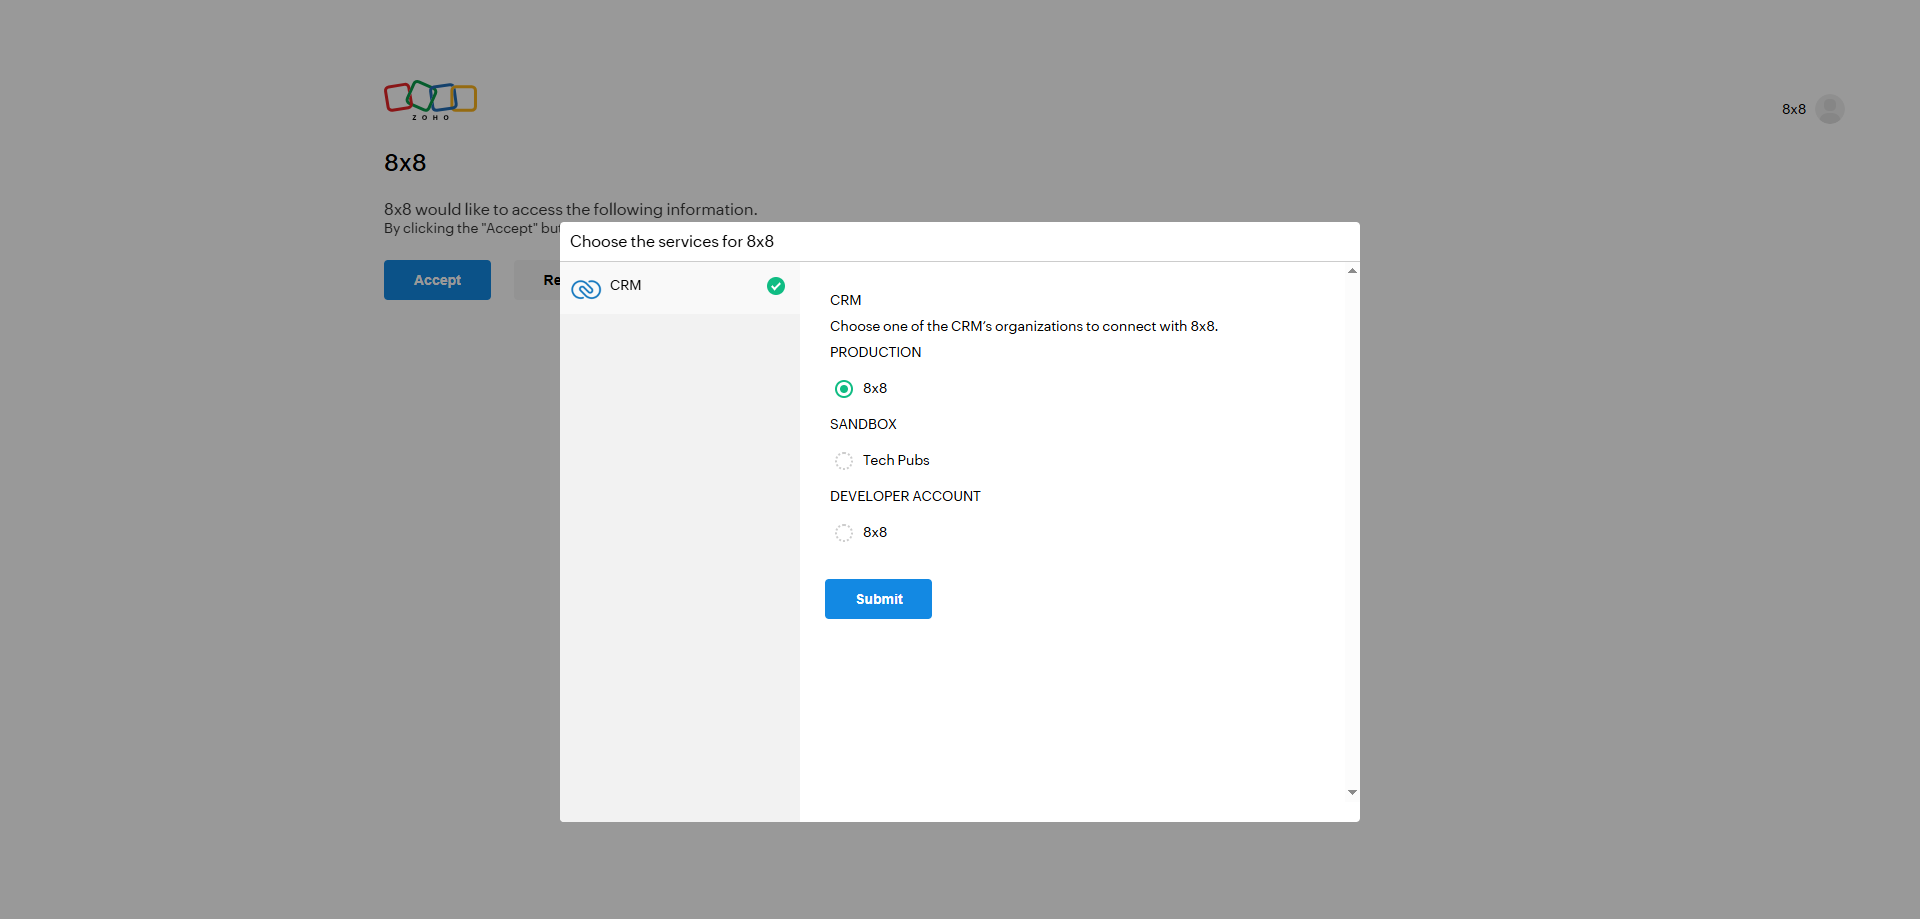
- In the new browser window that displays, select the CRM you want to connect with 8x8, and click Submit.

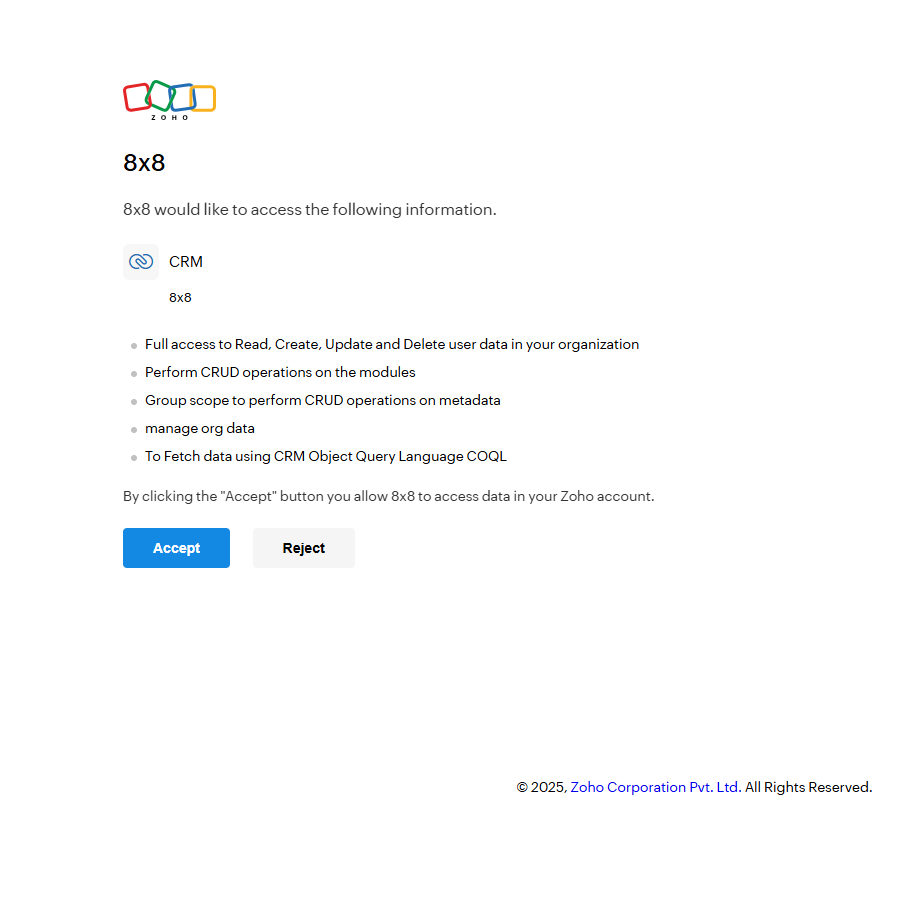
- Click Accept to allow 8x8 to access the data in your Zoho account. The window closes.

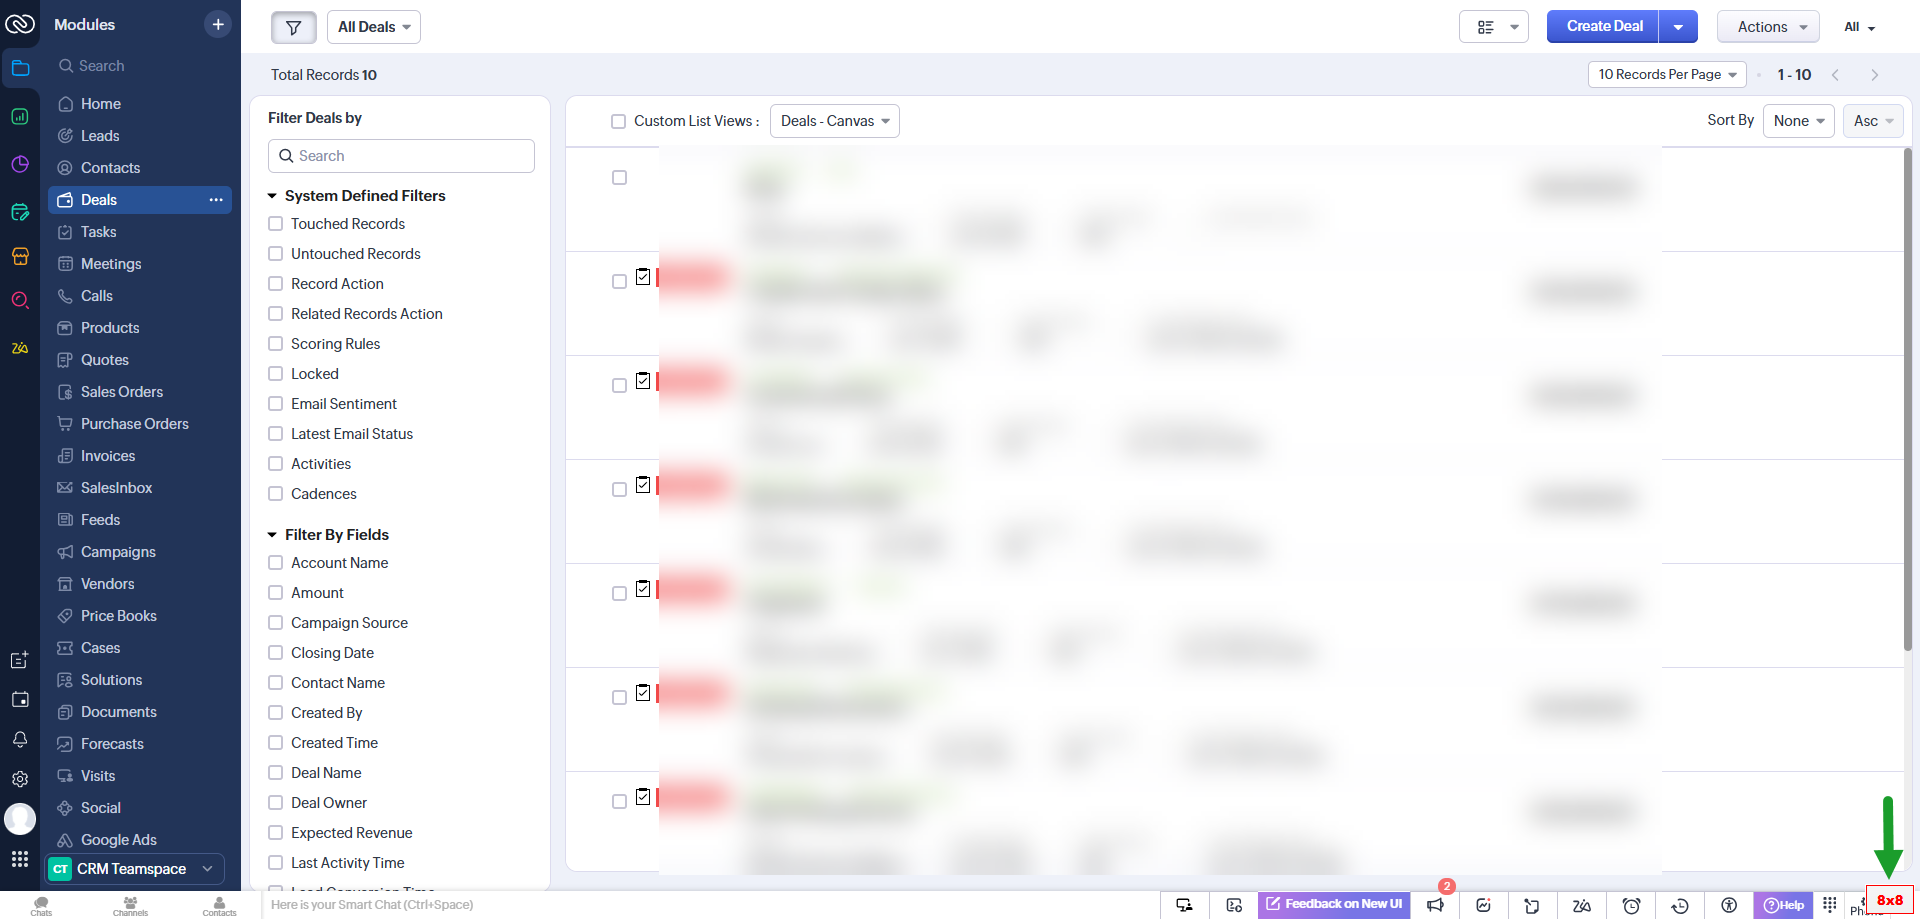
- Click
 from the bottom right corner of the page to open the 8x8 Work app. The app launches in a separate floating window in Setup mode.
- In the floating window, select Virtual Office from the drop-down list available under Features.
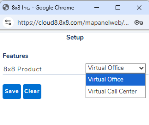
- Click Save.
- When prompted, add your agent credentials (username, then password), and click Login.
- If set up by the admin, select an authentication method and verify your identity.

Note: If SSO is enabled, and you’re already logged in with the agent account in another browser tab, you are automatically logged in to the 8x8 Work integration app.
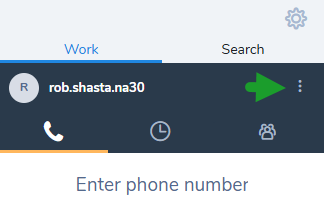
Tour the interface
The interface of the 8x8 Work integration app for Zoho consists of a dial pad with two tabs and the following menu items: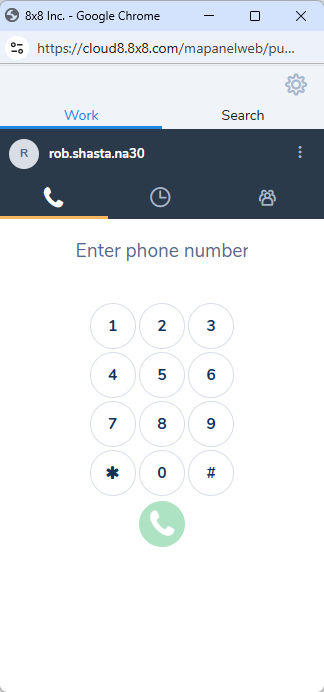
The Work tab
Under the Work tab, you can find the following tabs:
- Phone
 : Access the dial pad to dial numbers.
 - Call Log
 : View your recent call activity. If you have pending call log activity, these call logs are listed as Unprocessed. For details, see Log calls
 - Contacts
 : View all your company contacts. In addition, you can search and find your contacts here.
 - Log out
 : Log out of the 8x8 Work for Zoho app.
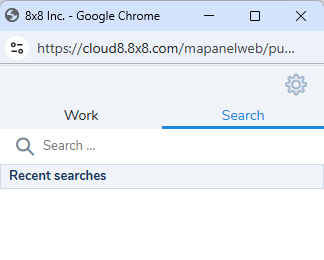
The Search tab
The Search tab allows you to enter notes and save them in the call log while you are still in the call. You can also assign the call to the right record in case of multiple matches.
Access your integration settings
You can enable several integration settings in the floating browser window.
To access the integration settings, click the settings ![]() icon. The following menu options are available:
icon. The following menu options are available:

- Integrations > Zoho: Manage your integration settings for call logging and screen pop. For more information, see Change your integration settings, and Configure searching for objects.
- Locale: Displays the language of the application.
- Report a Problem: If you encounter problems with the app, report the problem by giving us some information. It sends an automatic log to the 8x8 support team.
- Advanced: Reset the panel to clear call history and end your 8x8 session.
- About: View details on your user extension and the app.
Change your integration settings
You can control the screen pop behavior and other CRM related settings from the integration app:
- From the 8x8 Work for Zoho integration, click the settings icon.
- Go to Integration > Zoho.
- From the Settings section, you can enable or disable the following features:
- Answer hard phone: Allows calls to be automatically answered if the headset supports it. This option is enabled by default.
- Auto interaction log: Allows the integration to automatically create an interaction log containing a detailed log of interaction data.
For the integration with 8x8 Work only the following states are supported: Offered, Connected, and Terminated.
If Complete is set then the default Terminated state will apply.
If Complete is set and the interaction is abandoned before the Complete state is reached the interaction log will be created on the default Terminated state.
This option is enabled by default. - Outbound screen pop: Controls the screen pop for outbound interactions. If enabled, when a user initiates an outbound interaction and a single-match record is found, the matched record automatically displays. This option is enabled by default.
- Inbound screen pop: Controls screen pop for inbound interactions. This option is enabled by default. When the option is disabled, single-matching records are not displayed for inbound interactions.
Select one of the options to control when the screen pop displays for inbound interactions:- Offered: A single-match record automatically displays when an interaction is ringing.
- Connected: A single-match record automatically displays when an interaction is connected.
- Screen pop first record in list in multi-match: When enabled, automatically pop the first identified record in a multiple-match scenario when an inbound interaction is offered or an outbound interaction is initiated. This option is disabled by default.
- Interaction log screen pop: Automatically pops the newly created interaction log. This option is enabled by default.
Note: Auto interaction log must be enabled.
Configure searching for objects
8x8 Work for Zoho supports searching for different objects.
To enable/disable CRM search for an object:
- From the 8x8 Work for Zoho integration, click the settings
 icon.
icon. - Go to Integration > Zoho.
- From Search Types , you can enable or disable the following:
- Account: Enable this option to allow the integration to search for an existing Account record. This option is enabled by default.
- Contact: Enable this option to allow the integration to search for an existing Contact record. This option is enabled by default.
- Lead: Enable this option to allow the integration to search for an existing Lead record. This option is disabled by default.
- Vendor: Enable this option to allow the integration to search for an existing Vendor record. This option is disabled by default.
Log out of the integration
To log out of the 8x8 Work for Zoho integration:
- Click on the top-right corner of the app.
- Click Logout to log out of the 8x8 Work app.