Get started with 8x8 Work for Vtiger
Once you have access to 8x8 Work for Vtiger, go through the following steps to get started:
- Gather your credentials.
- Add the Chrome extension.
- Log in to the integration.
- Ensure the integration is activated.
- Tour the interface.
- Access contacts.
Gather your credentials
In order to use 8x8 Work for Vtiger (previously known as Virtual Office for Vtiger), you need:
- Login access to a Vtiger account.
- Login access to an 8x8 Work extension.
8x8 Work for Vtiger is dependent on your 8x8 Work extension also being logged in to either on your desktop or a mobile device.
Add the Chrome extension
As an agent, you must add a Google Chrome extension for integration with 8x8.
To add the 8x8 Integration Chrome extension:
- Open the Chrome web store.
- Search for <8x8> in the Chrome web store. 8x8 Virtual Office for Integrations appears in the list.
- Click Add to Chrome.
- Click Add Extension to confirm.
- In the Chrome browser, click the More
 menu and go to More Tools > Extensions. 8x8 Integrations now shows up, and is enabled by default.
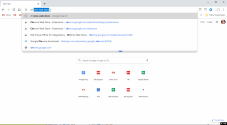

Log in to the integration
Single Sign-On is not supported in 8x8 Work for Vtiger; you must also log in to the 8x8 integration after you log in to Vtiger.
To log in to the integration:
- Log in to your Vtiger account.
- In the bottom-right corner of the People screen, click 8x8 integration
 . Simultaneously, Vtiger CRM launches another login window and the application Advanced screen launches in a floating browser window.
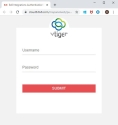
- In the Vtiger CRM login window, enter your email in the User Email field.
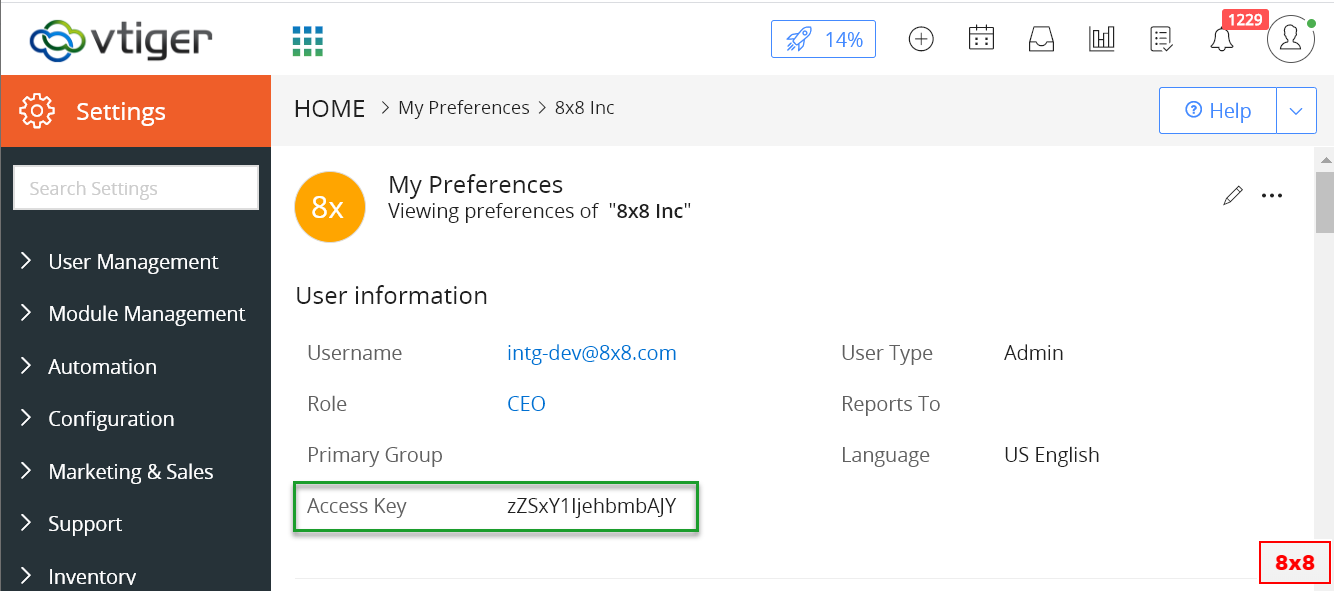
- Enter an access key (you obtain from your supervisor) in the Access Key field. If you cannot obtain the access key from your supervisor, you can view it directly. To do this:
- Click Profile
 , which is located in the upper right-hand corner in the Vtiger CRM screen. The My Preferences option displays.
- Click My Preferences to display the My Preferences screen. The Access Key is listed in the User Information section.

- Click Profile
- Click Submit.
-
In the Advanced settings in the floating window browser:
- Select VO from the drop-down menu in the upper right-hand corner.
- Click Save.
The Advanced setup screen appears the first time you log in, and after you clear your browser cache. You can access it in the integration by clicking the Settings
 icon and going to Advanced.
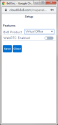
- The 8x8 Work login page appears. Enter your username and password, and click Login to launch 8x8 Work for Vtiger.


Note: Multiple invalid login attempts may lock you out.
Ensure the Integration is Activated
In order for your integration to function, ensure that the integration is connected with Vtiger via your settings. The integration is enabled by default.
To activate the integration:
- Click the Settings icon in your integration panel.
- Go to Integrations > Vtiger > Connect. If connected successfully, you see a message summary.
- Click X to return to the main screen of the integration. Your integration is now active.
Tour the interface
The 8x8 Work for Vtiger interface consists of a navigation menu with the following menu items.
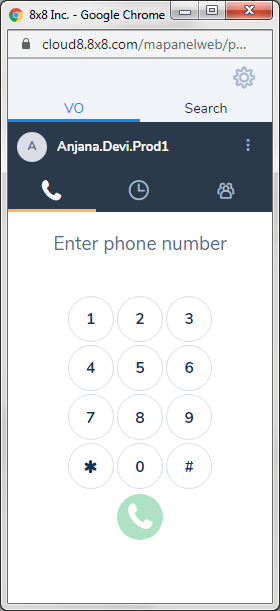
- VO tab: Access the primary features of the integration.
- Phone
 : Access your dial pad, view your active calls, and take notes to log calls.
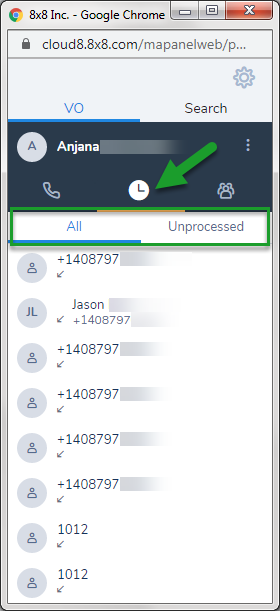
 - Call Log
 : Access all historic inbound and outbound calls to the extension. From here, you can also access notes that you have created for each of your calls in Vtiger.
 - Contacts
 : Access contacts from Vtiger and the 8x8 Work contact directory.
 - More
 : Click to access the option to log out of the app.
- Phone
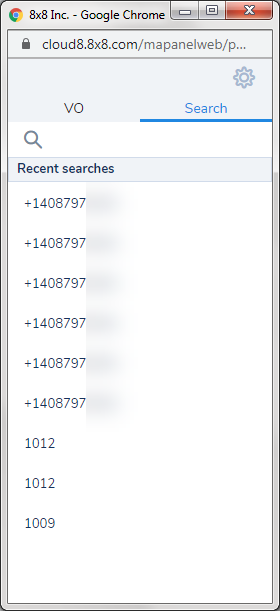
- Search tab: Assign contacts to active calls with unknown numbers or numbers that have multiple contact matches.

- Settings : Customize your app settings.
- Integrations > Vtiger: Manage your Vtiger integration settings for call logging and screen pop, and manage which CRM objects are available to be searched from the integration. Auto call log, Account, and Contacts are enabled by default. Other objects such as Lead and User must be enabled by the agent.
- Locale: Specify your locale.
- About: View details on your user extension and the app.
Access contacts
From the Contacts ![]() tab, browse or search for contacts from your 8x8 contact directory and/or Vtiger to make calls. Simply hover over the desired contact, and click the icon to call.
tab, browse or search for contacts from your 8x8 contact directory and/or Vtiger to make calls. Simply hover over the desired contact, and click the icon to call.