Configure Click-to-Call in 8x8 Work for ServiceNow
Click-to-call enables you to click phone numbers within ServiceNow user records and initiate calls via 8x8 Work for ServiceNow.
You can set up click-to-call either from a ServiceNow user page or from an incident page.
Note: For click-to-call setup, there are two different scripts:
- click2calluser( )configuration for setup from a user profile page
- click2call( )configuration for setup from an incident page
Configure Click-to-Call from a user’s profile page
The following instructions describe how to configure click-to-call from a ServiceNow user’s profile page.
To set up click-to-call from a user’s profile page:
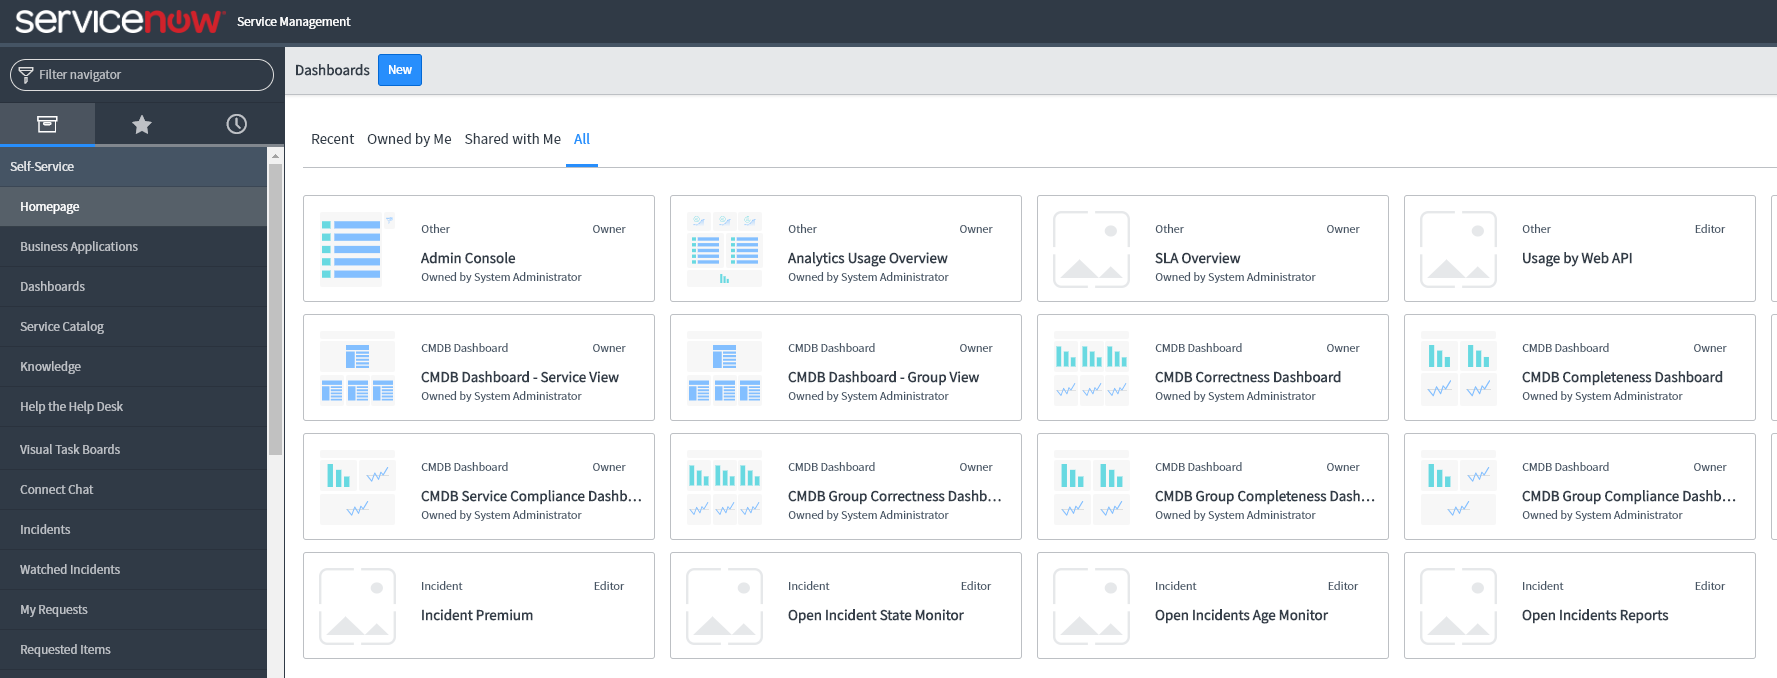
- Log in to ServiceNow as an administrator. Your ServiceNow dashboard displays.

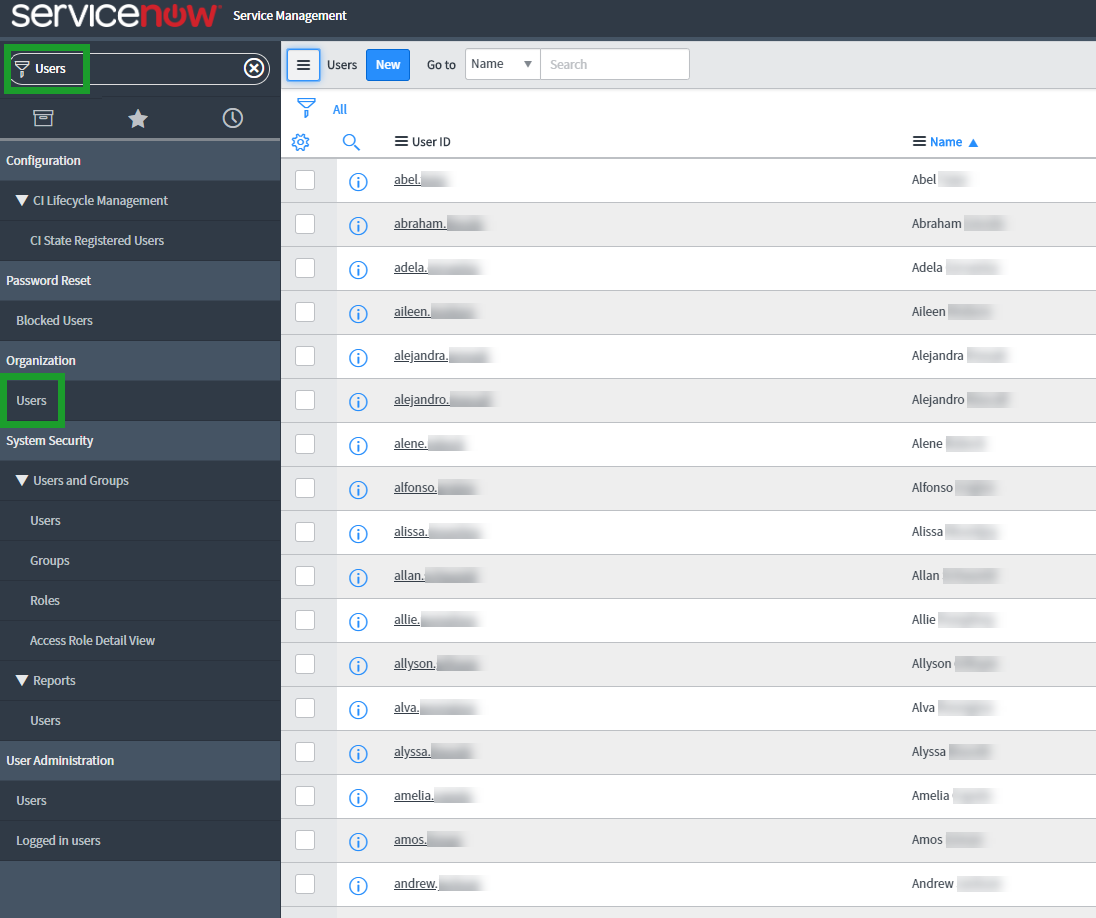
- Access the Filter Navigator search field.
- Enter <Users> in the search field.
- Click Users again (under Organization) in the left navigation pane. The full list of users in your organization displays.
- Select the user to add click-to-call to.
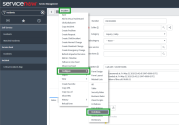
- Open the Additional Actions menu.
- Go to Configure > UI Actions.
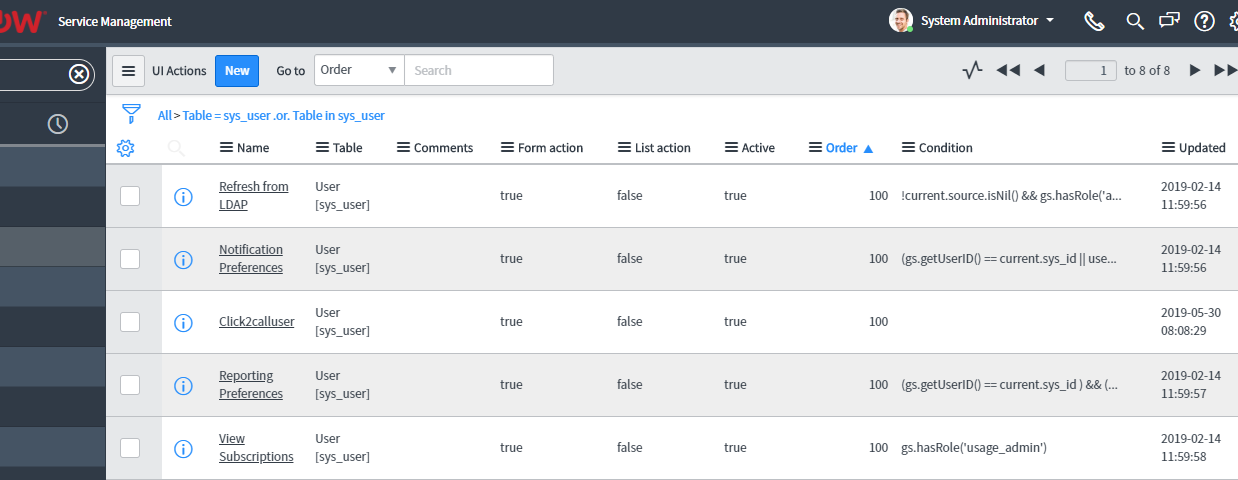
The list of UI actions displays.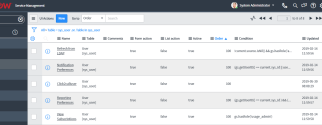
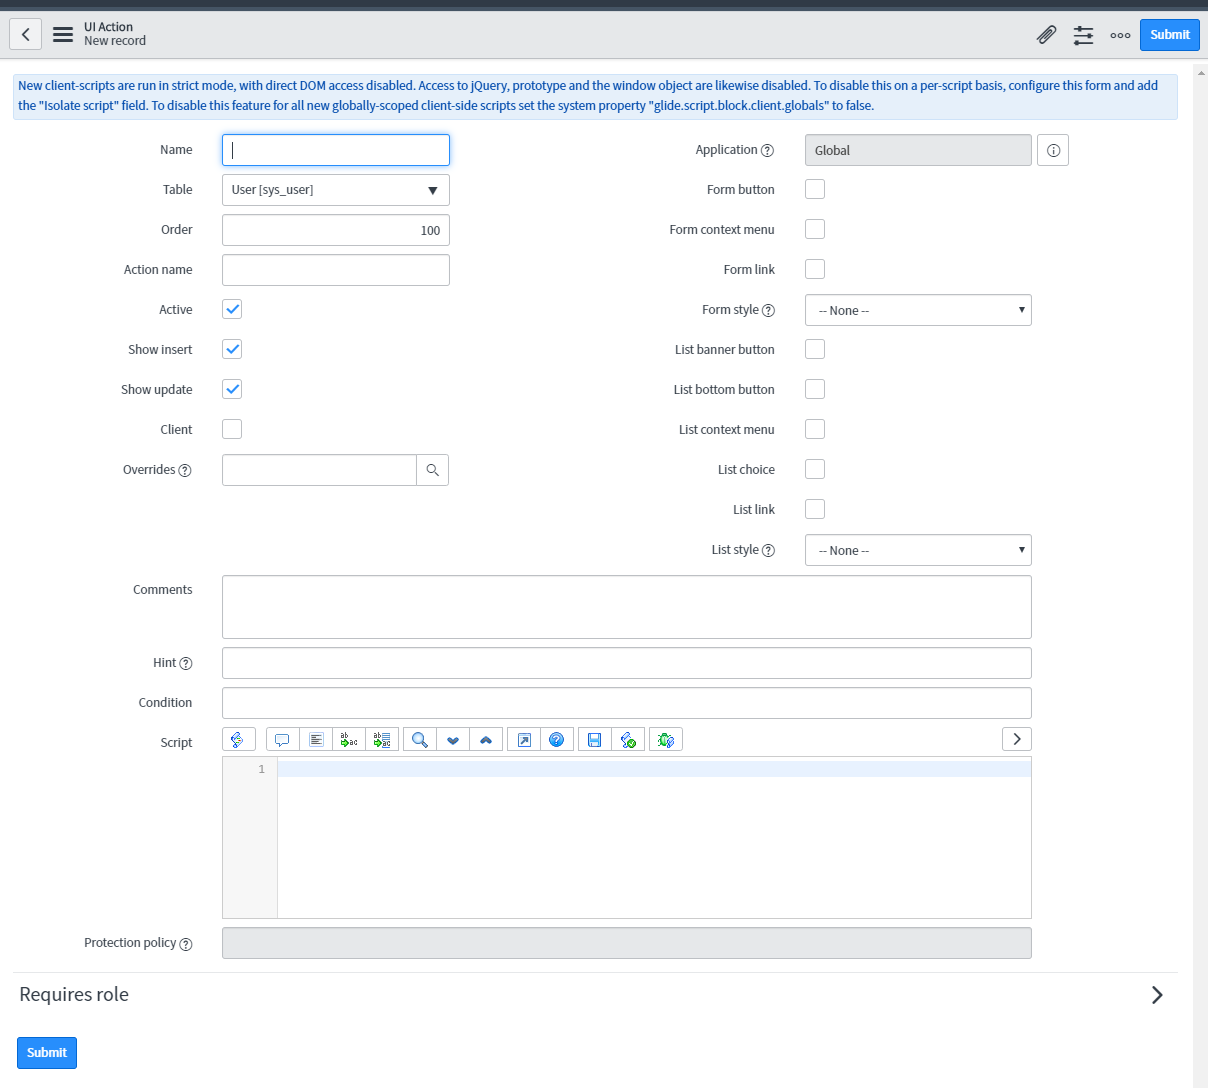
- Click New. The UI Action New record form displays.
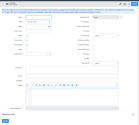
-
Complete the form with the following information:
- Enter a name in the Name field (e.g., <click2calluser>).
- Confirm that User [sys_user] is selected in the Table field drop-down menu.
- If it is not present, confirm that a value of <100> is entered in the Order field.
- Provide a name for the action in the Action name field.
- Select the following check boxes:
- Form button
- Active
- Show insert
- Show update
- Client
- After you select the Client check box, click List v2 Compatible.
- Enter the JavaScript function name <click2calluser()> in the Onclick field.
- Using the List style drop-down menu confirm the value is Primary.
-
Paste the following
click2calluser( )JavaScript code inside the Script field:function click2calluser()
{
console.log('click2calluser called');
var phone=g_form.getValue('phone')||g_form.getValue('mobile_phone');
console.log('test***',phone);
phone = phone.replace(' ',''); //varparentURL=encodeURIComponent(parent.window.document.URL);
var parentURL = parent.window.document.URL;
//var url ='https://cloud8-staging.8x8.com/mapanelweb/public/launcher/click2dial.html?phone=' + phone + '&contextId=' + parentURL;
var url ='https://cloud8.8x8.com/mapanelweb/public/launcher/click2dial.html?phone=' + phone + '&contextId=' + parentURL;
//var url ='https://127.0.0.1:8282/launcher/click2dial.html?phone=' + phone + '&contextId=' + //parentURL + '&crm=servicenow';
console.log("Test********", url);
console.log("test***", window);
console.log("test**** parentURL ", parentURL);
parent.window.open(url);
}
- Click Submit to save your configuration.
- Confirm that your configuration is operational by accessing the subject ServiceNow user and clicking the click2calluser
 button you created on the user’s page.

Configure Click-to-Call from an Incident page
The following instructions describe how to configure click-to-call from a ServiceNow incident page.
To set up click-to-call from an incident page:
- Log in to ServiceNow as an administrator. Your ServiceNow dashboard displays.
- Access the Filter Navigator search field.
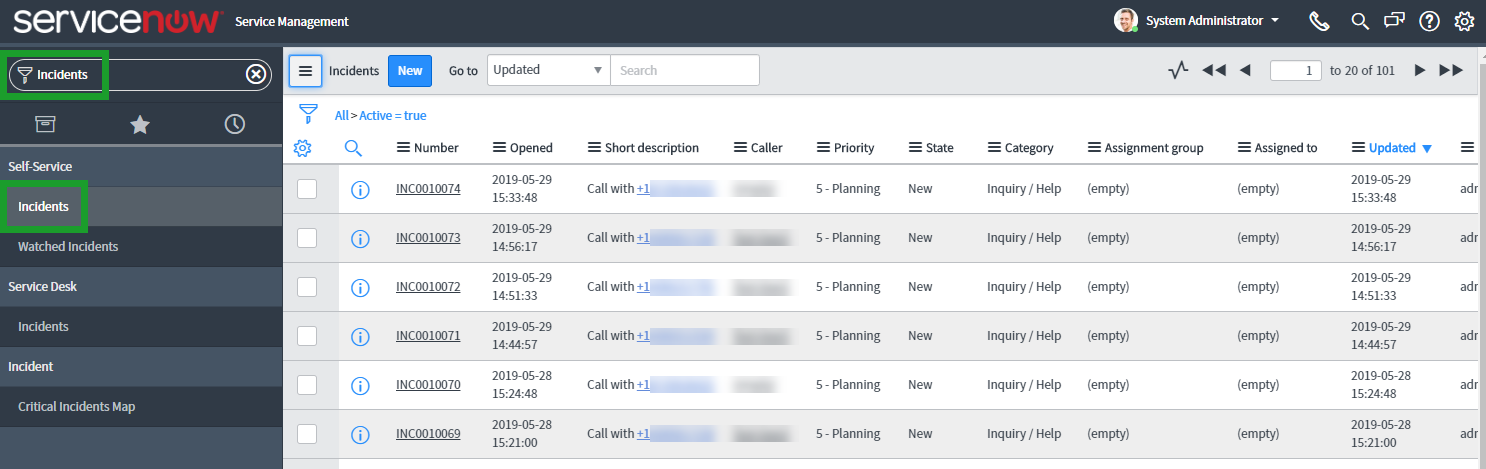
- Enter <Incidents> in the search field.
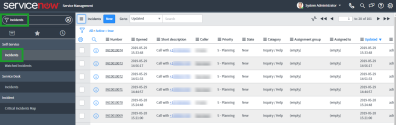
- Click Incidents again in the left navigation pane. The list of your recorded ServiceNow incidents displays.
- Access the incident to add click-to-call to.
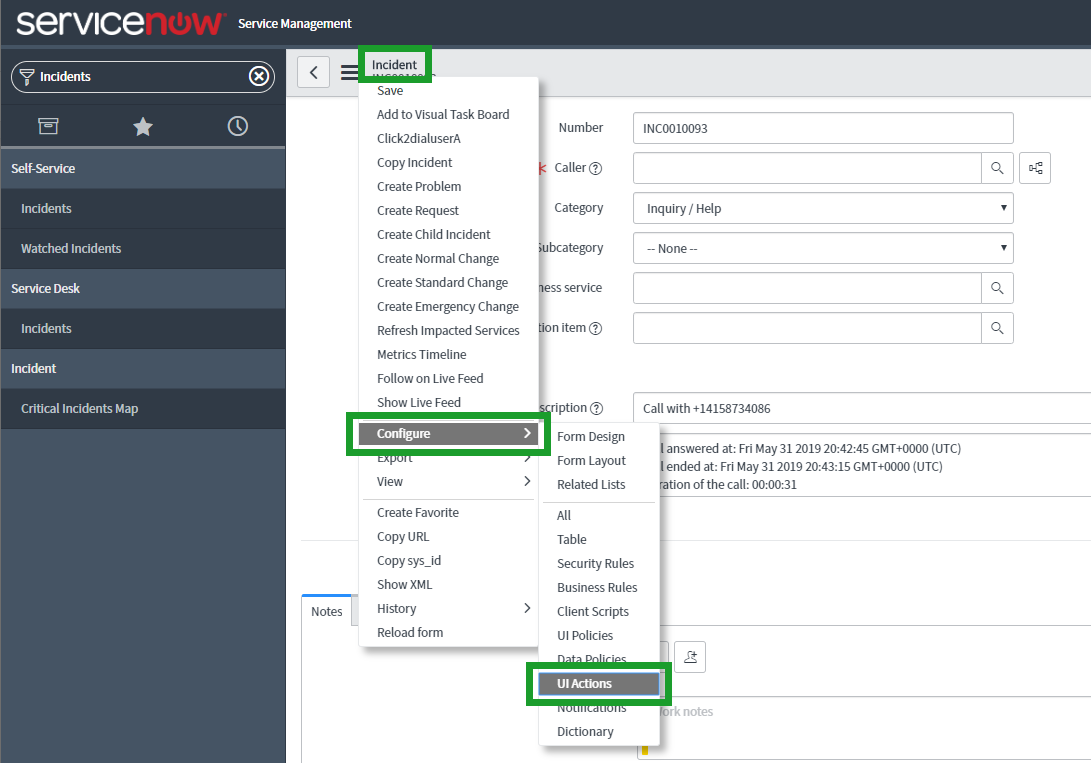
- Open the Additional Actions menu.
- Go to Configure > UI Actions.
- Click New. The UI Action New record form displays.
-
Complete the form with the following information:
- Enter a name in the Name field (e.g., <click2call>).
- Confirm that Incident is selected in the Table field drop-down menu.
- If it is not present, confirm that a value of <100> is entered in the Order field.
- Provide a name for the action in the Action name field.
- Select the following check boxes:
- Form button
- Active
- Show insert
- Show update
- Client
- After you select the Client check box, click List v2 Compatible.
- Enter the JavaScript function name <click2call()> in the Onclick field.
- Using the List style drop-down menu confirm the value is Primary.
-
Paste the following
click2call( )JavaScript code inside the Script field:function click2call()
{
var userToCall=g_form.getReference('caller_id',function(res) {
console.log('test*** res',res);
var phone = res.phone || res.mobile_phone;
console.log('test***',phone);
phone = phone.replace(' ','');
//parent.window.open('https://cloud8.8x8.com/mapanelweb/public/launcher/click2dial.html?phone=' + phone + '&contextId=' + parentURL;);
parent.window.open('https://cloud8.8x8.com/mapanelweb/public/launcher/click2dial.html?phone=' + phone);
//parent.window.open('https://127.0.0.1:8282/launcher/click2dial.html?phone=' + phone);
});
}
- Click Submit to save your configuration.
- Confirm that your configuration is operational by accessing the ServiceNow user related to the incident you selected, and clicking the click2call
 button you created on the user’s page.