Handle chats in 8x8 Contact Center for Zendesk
A chat channel facilitates communication of interactions in and out of a 8x8 Contact Center tenant. When an interaction comes to the channel via chat, it is directed to the appropriate queues via skill-based routing rules.
To receive or send chats using the 8x8 Contact Center for Zendesk, you must:
- Be a member of the chat queue to which the chat is routed.
- Place yourself in the Available status.
The data lookup for searching the CRM is via an email address. To trigger a chat request, customers must enter an email ID.
Chat flow
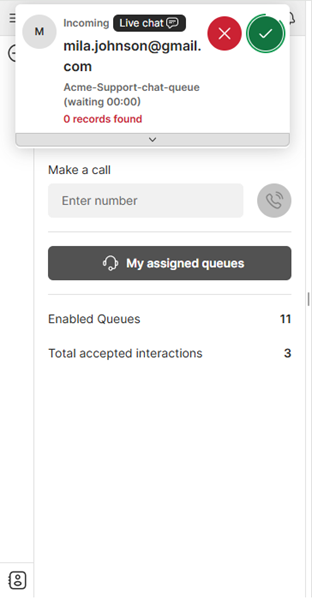
If the application is open, when a chat is offered, the call panel displays indicating an incoming interaction.
To accept a chat:
- When an interaction is offered, accept the chat from the call panel.

- The avatar indicates the number of matching records. Click the avatar
 to access the list of matches.
 -
Answer the customer in the chat window and click
 to send your message.
 - To add your notes for the interaction, select Notes from the bottom of the 8x8 Contact Center app.
- Click End
 to finish the chat. The post-processing time initiates if your administrator has set it up for your tenant. Post-processing gives you time to add more notes for the chat.
- If required, select a disposition code.
- Click Wrap up, or wait for the chat to terminate.
- Click Work Offline if you need more time to complete any post-processing tasks.
- At the termination of the chat interaction, the chat log pops. The log includes information about the time the chat was initiated, accepted, and terminated, along with the chat transcript.

Note: Your administrator sets the post-processing timer. If the post-processing countdown interval reaches zero, 8x8 Contact Center for NetSuite automatically sets your status to Available.