Install and set up the integration for ServiceNow
Installing 8x8 Contact Center for ServiceNow is a one-time task for the administrator.
See how you can:
Note: At this time, email queues for agents are not available with this version of 8x8 Contact Center for ServiceNow. Future versions will provide this capability.
Install the integration package
Once installed and configured, the integration is available to all your ServiceNow agents.
To install the integration package:
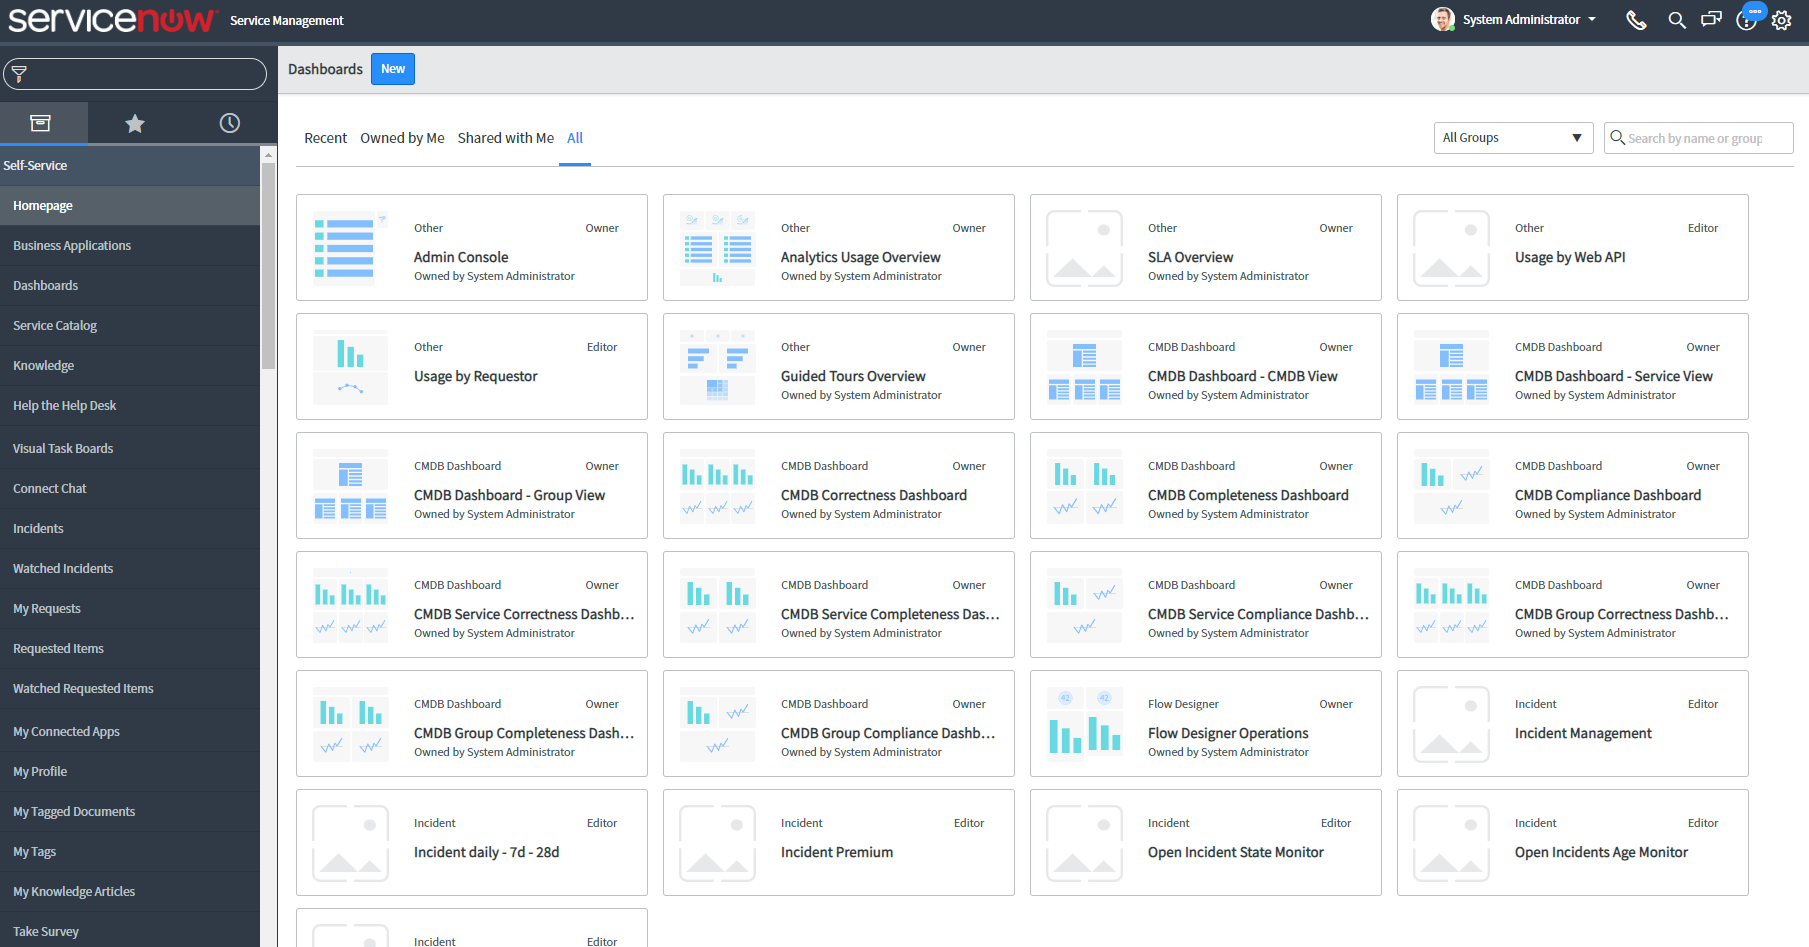
- Log in to ServiceNow as an administrator. Your ServiceNow dashboard displays. Note the domain URL of your ServiceNow instance in the URL bar of your browser.

-
In a new tab, enter a URL of the following format, and include the name of your own ServiceNow instance in the appropriate section:
<Domain URL of your ServiceNow instance>/v_plugin.do?sys_id=com.sn_openframe
For example, the following URL would be used for the ServiceNow instance <https://dev72734.service-now.com>:
<https://dev72734.service-now.com>/v_plugin.do?sys_id=com.sn_openframe
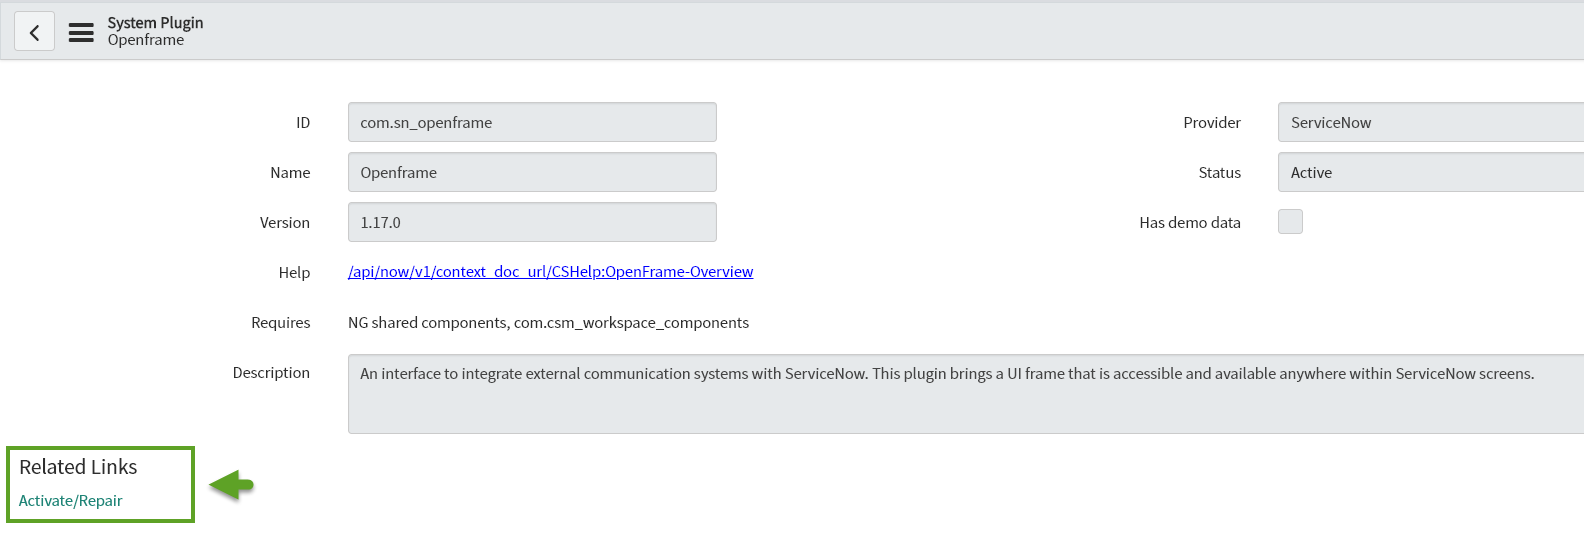
- Under the Related Links section of the System Plugin > Openframe page that opens when you enter your URL, click Activate/Repair to open a prompt.
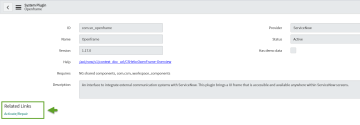
- At the prompt, click Activate to confirm. You see a progress bar that fills in as Openframe is activated.
- When Openframe is activated, click Close & Reload Form.
- Open your ServiceNow dashboard, and access the Filter Navigator search field. If you had it previously opened, refresh the browser screen.
- Search for <Openframe>.
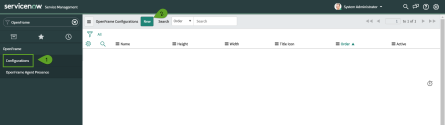
- Select Configurations under OpenFrame.
Note: Make sure you click the word Configuration instead of
 to achieve the right results at the end.
 -
Click New.
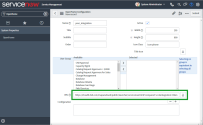
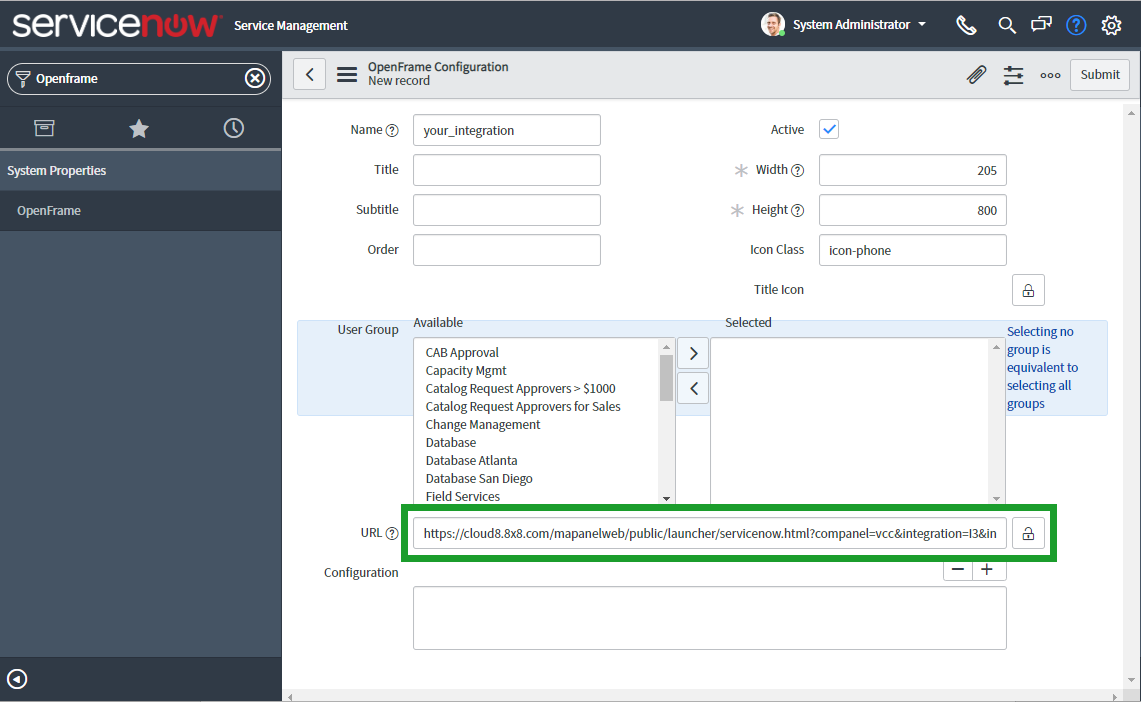
The OpenFrame Configuration page displays. - In the displayed fields enter the following information:
- Enter the Name of your 8x8 Contact Center-OpenFrame configuration (such as "8x8 Integration").
- Click and select the Active field.
- Enter the Width and Height size (in pixels) for the phone icon associated with your integration. The default values are as follows:
- Width: 205
- Height: 800
URL: Click the associated Lock
 icon and enter a 8x8 Contact Center URL of the following format into the URL field, and enter your own ServiceNow instance and 8x8 Contact Center tenant in the appropriate sections:
https://cloud8.8x8.com/mapanelweb/public/launcher/servicenow.html?companel=vcc&integration=I3&instanceUrl=<Domain URL of your ServiceNow instance>&vccDomain=<VCC domain URL>&env=servicenow
For example, the following URL would be used for the ServiceNow instance <https://dev72734.service-now.com>, integrated with the 8x8 Contact Center tenant <https://sso.8x8.com/login/vcc-na2>:
https://cloud8.8x8.com/mapanelweb/public/launcher/servicenow.html?companel=vcc&integration=I3&instanceUrl=https://dev72734.service-now.com&vccDomain=https://sso.8x8.com/login/vcc-na2&env=servicenow
Note: If a customer is on an na6 cluster and a mode 3 tenant, the vccDomain is:
https://sso.8x8.com/login/vccinstead ofhttps://sso.8x8.com/login/vcc-na6.
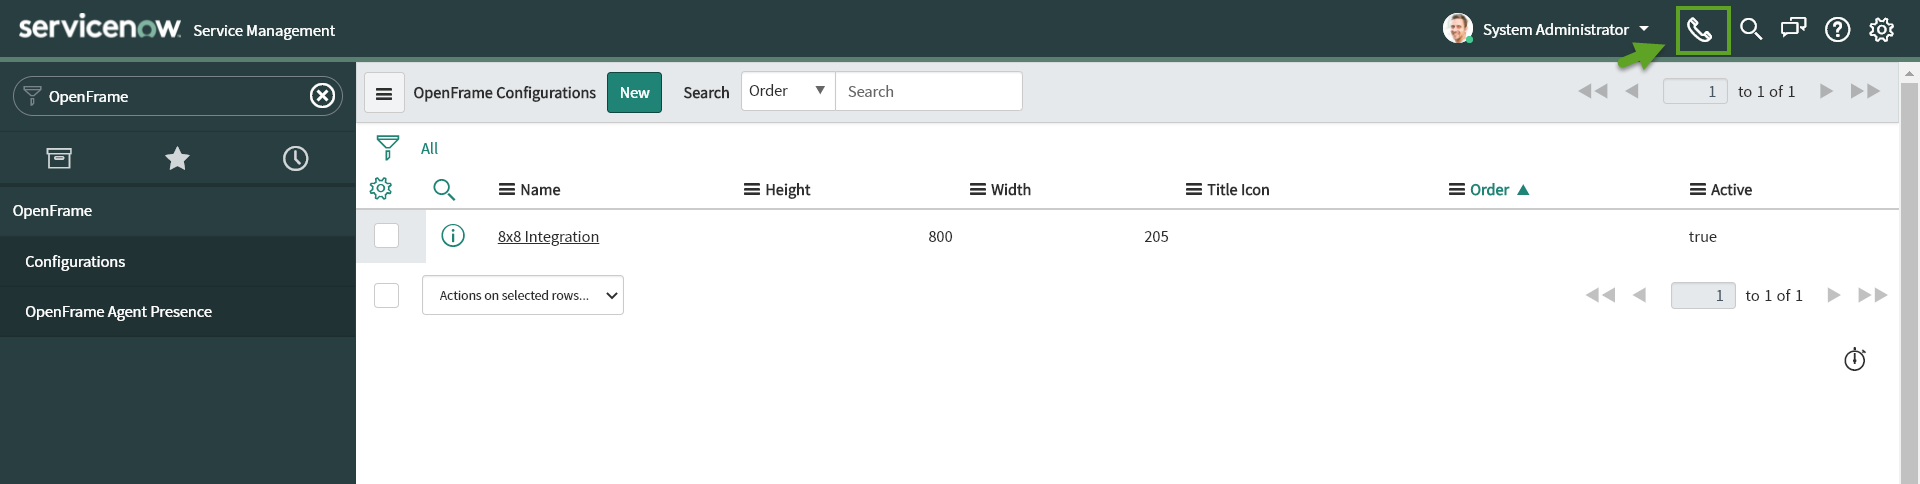
- Click Submit to finish your integration installation. Refresh your browser.
-
Click the Phone
 icon to confirm successful integration.
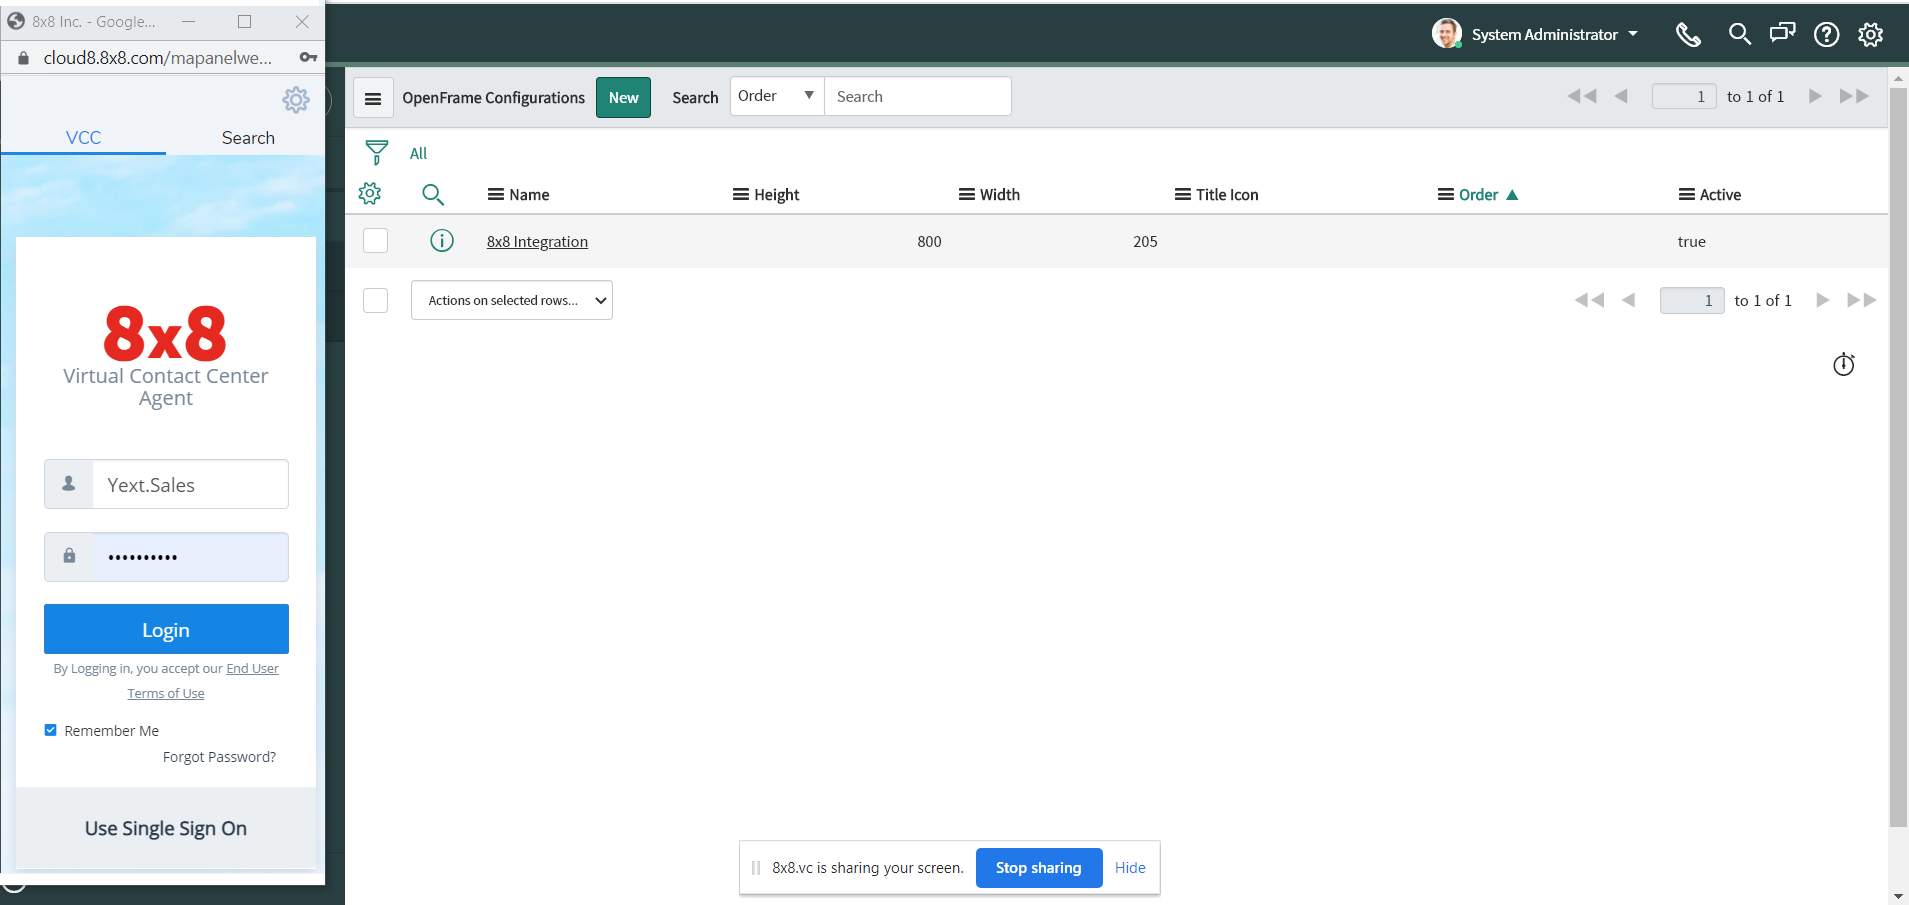
The 8x8 Contact Center integration panel pops and displays. You have successfully installed the integration package when you see the 8x8 Contact Center integration app.
Important: If you are on Chrome and do not see 8x8 Contact Center for ServiceNow, verify whether you have configured Chrome for the integration. Allow pop-up window to open and then click the URL before you click "Done" to relaunch the required pop-up for this application. If you still have not received the pop-up window, clear browsing data (cookies, and other site data) for the last number of hours to delete browsing data for all sites for that period.

Set up Open Authorization (OAuth)
Open Authorization (OAuth) is an open standard for token-based authentication and authorization on the Internet. OAuth enables an end user's account information to be used by third-party services without exposing the user's password.
To set up OAuth, you must:
- Import the XML file containing the integration Client ID and Client Secret.
- Set up OAuth settings in your ServiceNow domain.
To import and access the Client ID and Client Secret needed for OAuth setup:
- Download the XML file provided to you by 8x8. This XML file contains the Client ID and Client Secret values you need in order to set up OAuth.
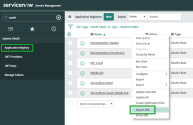
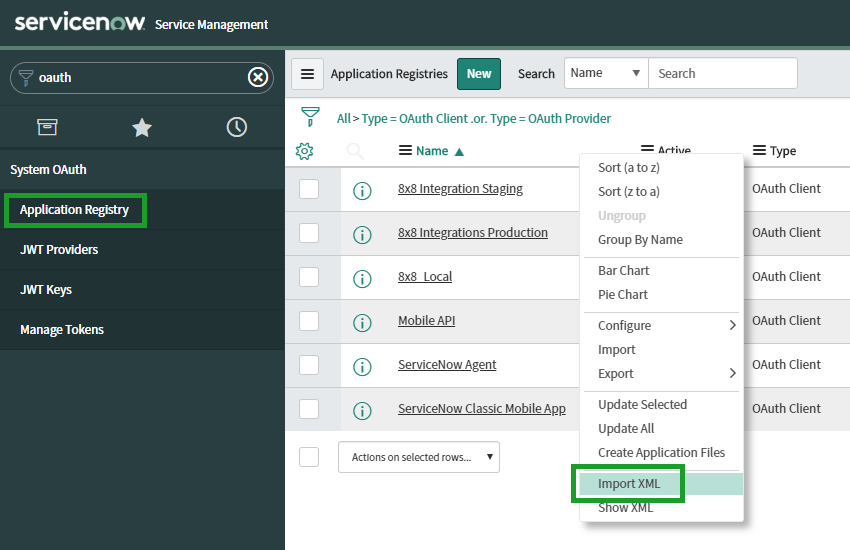
- In your ServiceNow homepage, search for <OAuth> in the Filter Navigator field.
- From the search results, click Application Registry to display your Application Registries list.
- Right-click in the header of the registry list to open a drop-down menu.
- From the drop-down, select Import XML to open an import prompt.
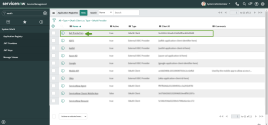
- At the prompt, click Choose file, select the XML file you downloaded, and click Upload to confirm. Your Application Registries list now shows the XML file, which is called 8x8 Production.
-
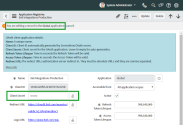
From the registry list, click the 8x8 Production file to open a page that includes the Client ID and Client Secret information you need to set up OAuth in your ServiceNow domain.
Note: If the Client Secret value shows up as blank, ensure that you are editing the file via your ServiceNow Global application.


To set up OAuth in your ServiceNow domain:
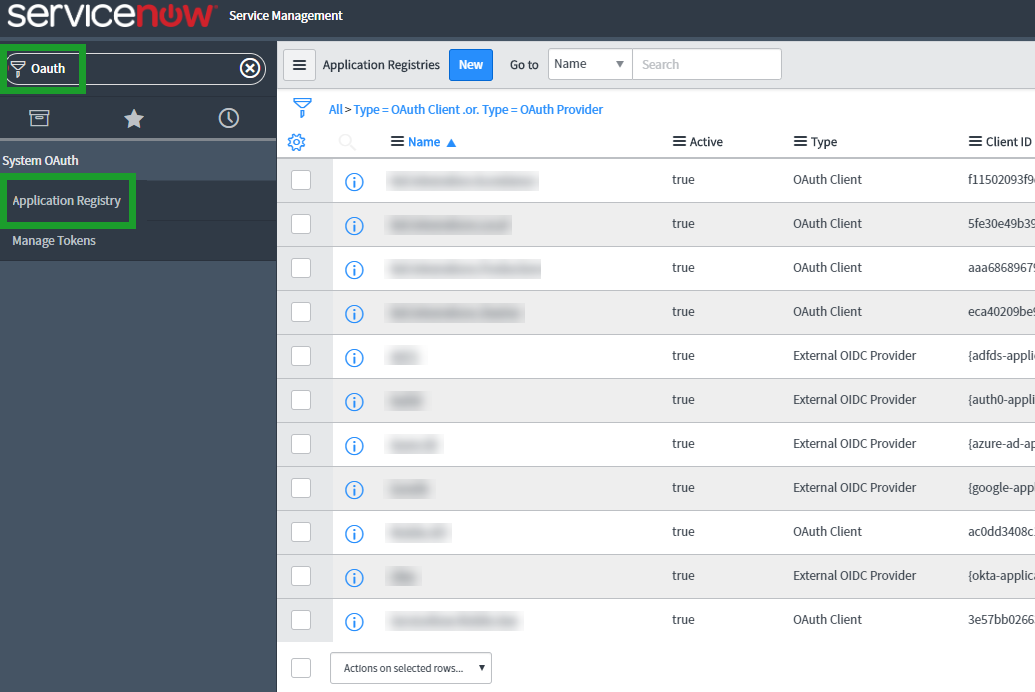
- In your ServiceNow homepage, enter <OAuth> in the Filter Navigator field.
- From the search results, click Application Registry to display your Application Registries list.
- Click New. The What kind of OAuth application? menu displays.
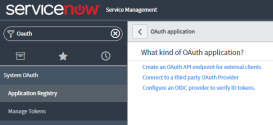
- Click Create an OAuth API endpoint for external clients. The Application Registries New Record form displays.
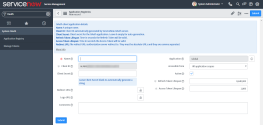
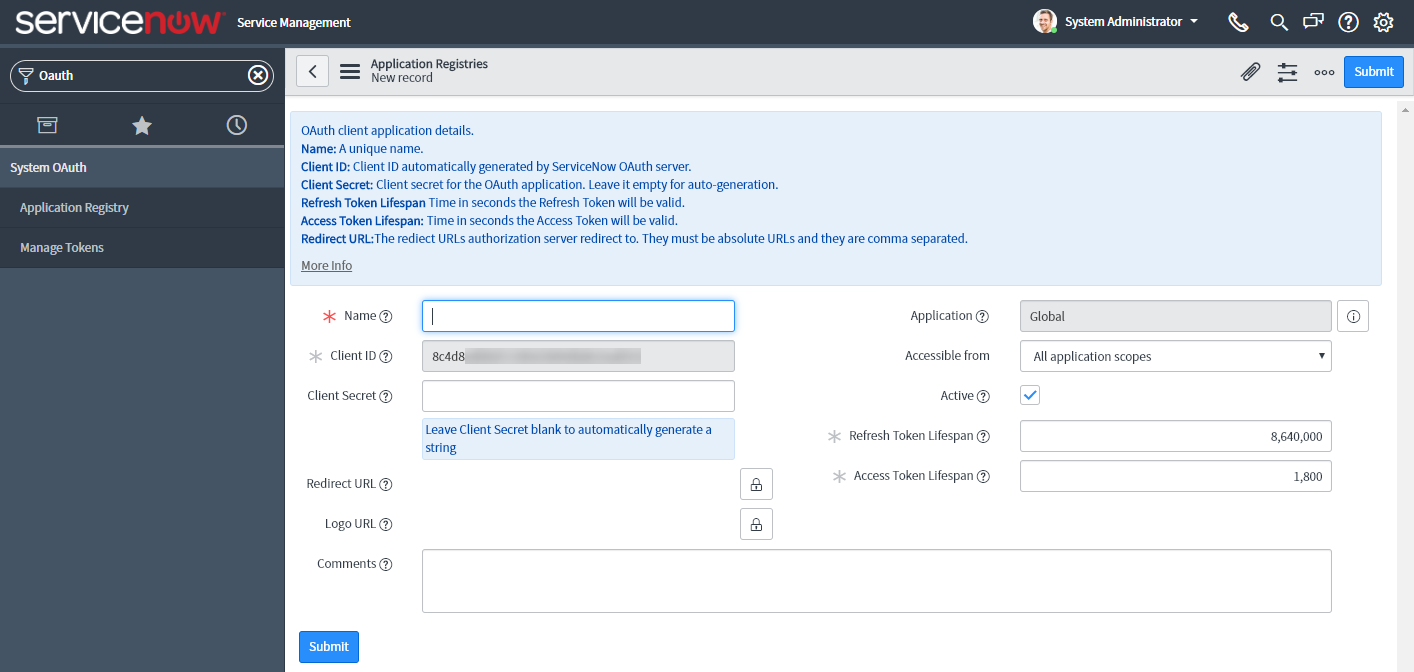
- Complete the form by entering your information in the respective fields.
- Name: This is the unique name for your application.
- Client ID: This information is generated automatically in the XML file you downloaded previously.
- Client Secret: This information is generated automatically in the XML file you downloaded previously.
- Application: Accept the default global value.
- Accessible from: Select either All application scopes or This application scope only.
- Active: Select the check box to activate the integration.
- Refresh Token Lifespan: Enter the number <998,640,000> as the value.
- Access Token Lifespan: Enter the number <998,640,000> as the value.
Redirect URL: Click the Lock
icon to unlock the field, and copy and enter the following URL:https://cloud8.8x8.com/maestro/public/v2.0/loginredirect
Click the icon again to lock your entry.
Logo URL: Click the Lock
icon to unlock the field, and enter the following URL:https://www.8x8.com/wp-content/uploads/2017/02/8x8-logo-mobile.svg
Click the icon again to lock your entry.
- Click Submit to save your OAuth registry entry.
- Refresh your browser.

Set user permissions
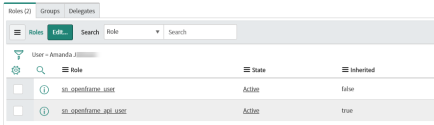
A ServiceNow administrator must ensure all users of the 8x8 integration are assigned the following roles so that they can view the openframe and launch the integration panel:
- sn_openframe_user
- sn_openframe_api_user
You can add these roles to users individually or as a group. Once users are assigned roles using either method, they can access the 8x8 integration.
To add roles to users individually:
- Go to Organization > Users and select the user profile.
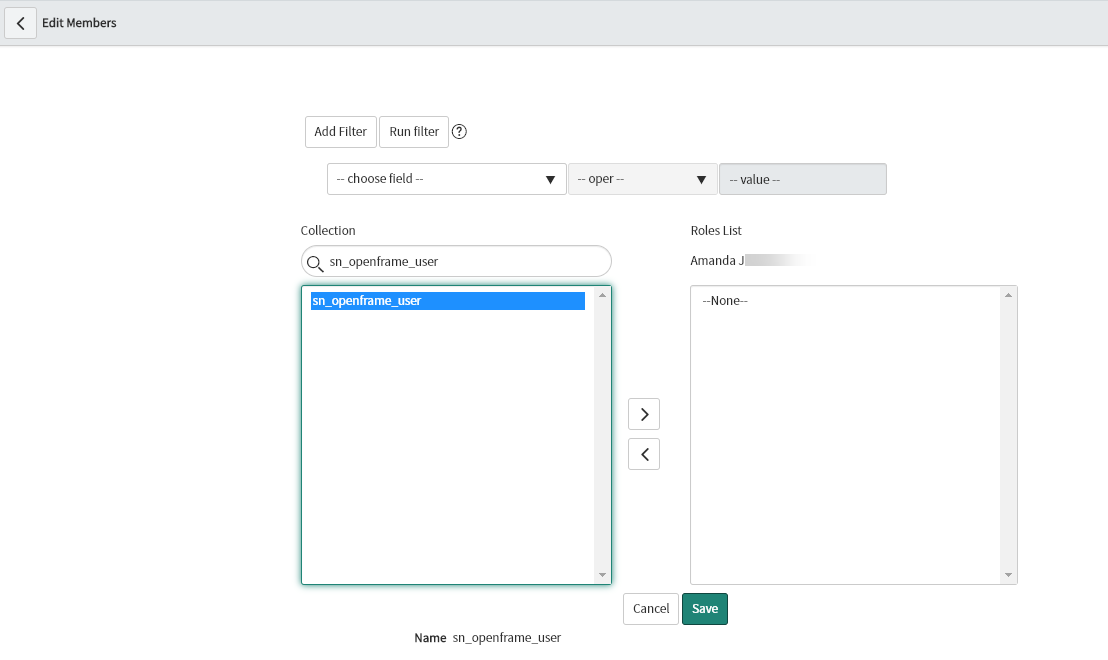
- Scroll down to the bottom of the page, open the Roles tab, and click Edit.

- In the search field under Collection, search for <sn_openframe_user>.
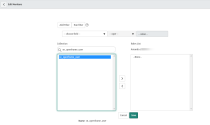
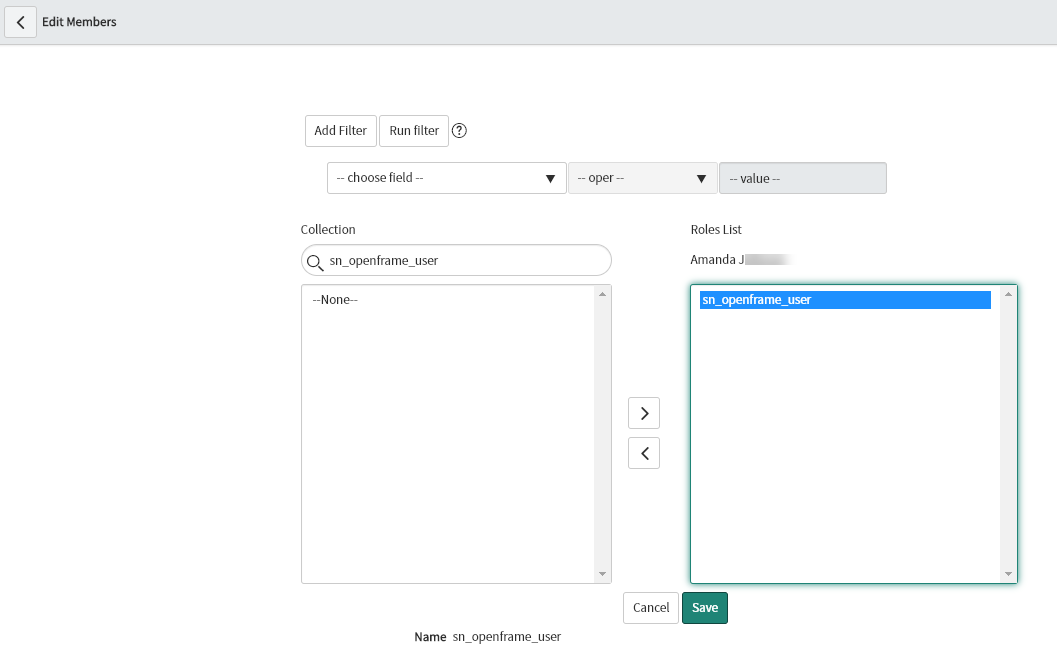
- Select this result, and click the arrow that points to the right to assign this role to the user.

- Save the role assignment to reopen the User page. The roles you selected are added to the user.
- Click Update to save this role for the user.


To add roles to users as a group:
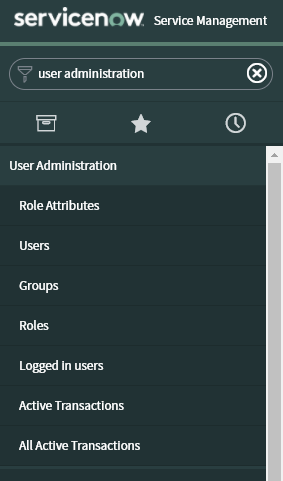
- In your ServiceNow homepage, enter <user administration> in the Filter Navigator field.
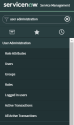
- From the search results, select Groups.
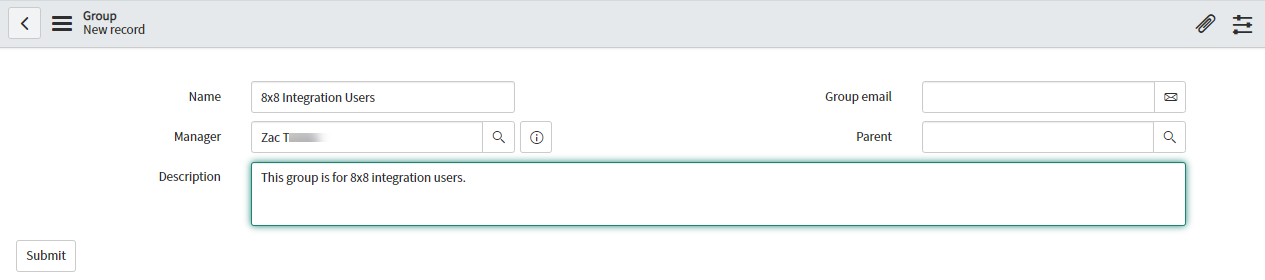
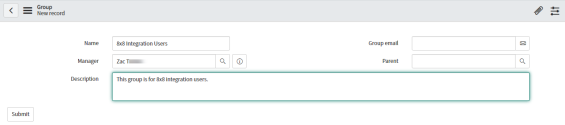
- Select New in the top bar.

- Fill out the basic group information as appropriate for your deployment, and select Submit to reopen the Groups page.
- In the Groups page, select the group you just created to continue editing it.
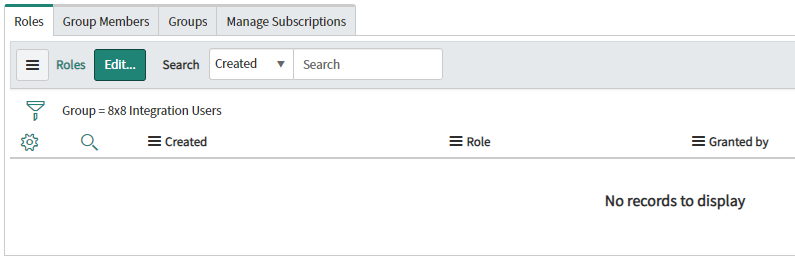
- Scroll down to the bottom of the page, open the Roles tab, and click Edit.

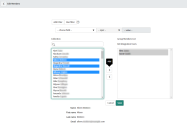
- In the search field under Collection, search for <sn_openframe>. The results should show <sn_openframe_api_user> and <sn_openframe_user>.
- Select both of these results, and click the arrow that points to the right. Both entries should move to the right-hand side, and the Groups page reopens. The roles you selected are added to the group.
- At the bottom of the page, open the Group Members tab and click Edit.
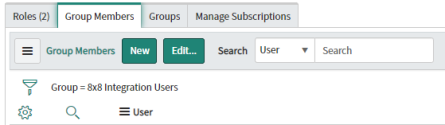
- In the search field under Collection, search to find and add users to the group.
- Click Update to save the group.