Get started with 8x8 Contact Center for Agile CRM
Once you have access to 8x8 Contact Center for Agile CRM, go through the following steps to get started:
- Gather your Credentials
- Add the Chrome extension
- Log in to the integration
- Ensure the integration is activated
- Tour the interface
- Set up a phone to receive calls
- Check queue assignments
Gather your credentials
In order to use 8x8 Contact Center for Agile CRM, you need:
- Login access to an Agile CRM account
- Login access to an 8x8 Contact Center agent account
Add the Chrome extension
As an agent, you must add a Google Chrome extension for integration with 8x8.
To add the 8x8 Integration Chrome extension:
- Open the Chrome web store.
- Search for <8x8> in the Chrome web store.
- 8x8 Virtual Office for Integrations appears in the list.
- Click Add to Chrome.
- Click Add Extension to confirm.
- In the Chrome browser, click the More
 icon and go to More Tools > Extensions. 8x8 Integrations now shows up, and is enabled by default.
Log in to the integration
Single Sign-On is not supported in 8x8 Contact Center for Agile CRM; you must also log in to 8x8 integration after you log in to Agile CRMss.
To log in to the integration:
- Log in to your Agile CRM account.
- In the bottom-right corner of your Agile CRM home screen, click on the, click the 8x8 integration
 icon. Simultaneously, Agile CRM launches an Agile CRM authentication screen and the 8x8 application Advanced screen launches in a floating browser window.
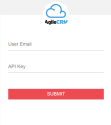
- In the Agile CRM authentication screen, enter your user email in the User Email field.
- Enter an access key (you received from your supervisor) in the Access Key field.
- Click Submit. The Agile CRM Home Dashboard screen displays.
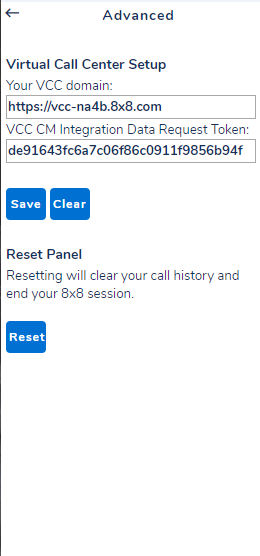
- In the Setup screen in the floating window browser:
- Select VCC from the upper right-hand corner drop-down menu.
- Enter your VCC domain link (such as <https://vcc-na1.8x8.com> or <https://sso.8x8.com/login/vcc-vm4>), which is required to connect to your 8x8 Contact Center tenant.
- Enter the VCC CRM Integration Data Request Token required to access the recorded calls. The token is generated and communicated to you by your supervisor.
The Advanced setup screen appears the first time you log in and after clearing your browser cache. You can access it under Settings > Advanced.
- Click Save. The 8x8 Login floating screen displays. Single Sign-On is not supported.
-
At the prompt, enter your user ID and password to log in to 8x8 Contact Center for Agile CRM.
Note: Consult your supervisor for your 8x8 Contact Center domain, token, and login credentials.
-
You are now logged in to the app. The application launches and places you in the On Break status.
Note: You must change your status to Available to be able to handle interactions.
- Click Available or Work Offline to change your status.


For more information on agent status and an overview of 8x8 Agent Workspace, refer to the User Guide. 8x8 Agent Workspace enables agents to manage customer interactions across all channels.
Ensure the integration is activated
In order for your integration to function, ensure that the integration is connected with Agile CRM via your settings. The integration is activated by default.
To activate the integration:
- Click the Settings
 icon in your integration panel.
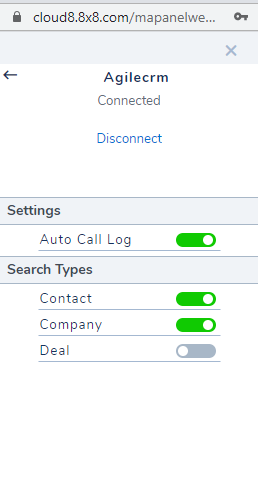
 - Go to Integrations > Agilecrm > Connect. If connected successfully, a message shows Connected.
- Click X to return to the main screen of the integration. Your integration is now active.
Tour the interface
The 8x8 Contact Center for Agile CRM interface consists of a navigation menu with the following menu items.
- VCC tab: Access the complete functionality of 8x8 Agent Workspace to manage customer interactions across phone, chat, and voicemail media channels.
- Search tab: View the list of matched records when an inbound call matches multiple records. Select the contact from the list. If the call is from an unknown number but an existing contact, you can look up existing contacts and assign the call to the contact you want. Wildcard search is supported.
- Settings : Customize your app settings.
- Integrations > Agilecrm: Manage your Agile CRM integration settings for call logging.
Under Settings, you see:- Auto Call Log: Enable this option to automatically generate a log for all phone calls, chat interactions, and voicemails. A call log includes information about the time a call was initiated, terminated, duration, queue name, and more. A chat log includes the chat time and transcript. Just like a phone log, the voicemail log includes information about the time a call was initiated, terminated, duration, queue name, and more. This option is enabled by default.
- Contact: Enable this option so that a call is searched for an existing Account. This option is enabled by default.
- Company: Enable this option so that a call is searched for an existing contact record. This option is enabled by default.
- Deal: Enable this option so that a call is searched for an existing lead record. This option is disabled by default.
- Locale: View the language or location of this integration. This integration is currently supported only in the US and UK.
- Report a Problem: Send feedback on an issue or suggest an improvement.
Advanced: View your VCC domain and VCC CM Integration Data Request Token values. These details are provided by your administrator.
Note: Consult your supervisor for the domain and token credentials.
- About: View details on your user extension and the app.
- Integrations > Agilecrm: Manage your Agile CRM integration settings for call logging.
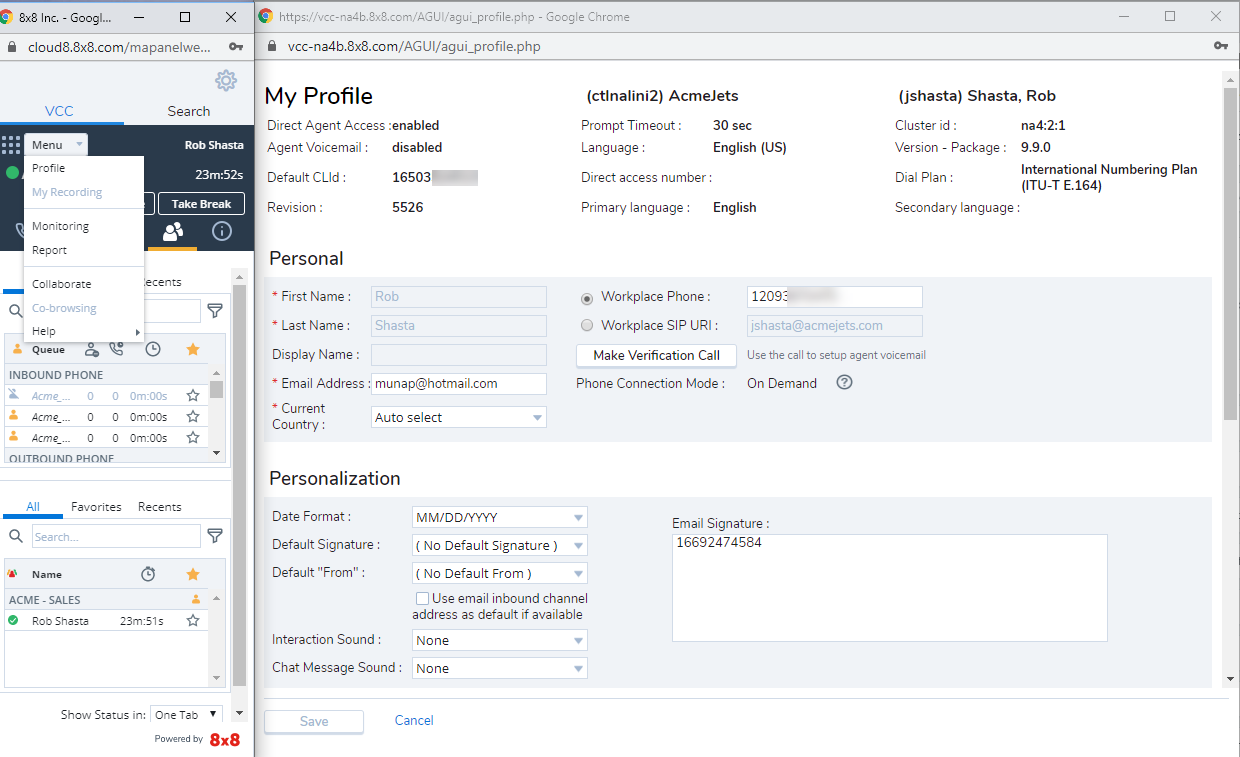
Set up a phone to receive calls
To handle interactions with your callers, you need to set up a phone. You can set up a softphone or a desk phone from the agent profile in 8x8 Contact Center for Agile CRM to receive calls.
To set up a phone to receive calls:
- From the Menu drop-down in the integration, select Profile.
- In your Personal settings, enter a Workplace Phone number or a Workplace SIP (Session Initiation Protocol) URI.
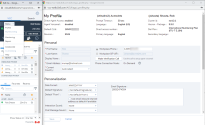
- Click Make Verification Call to verify the phone number.
- Make sure the phone number is in the correct format. For example, you may need to add <1> before your area code. Check with your administrator for the correct format.
- Click Save.
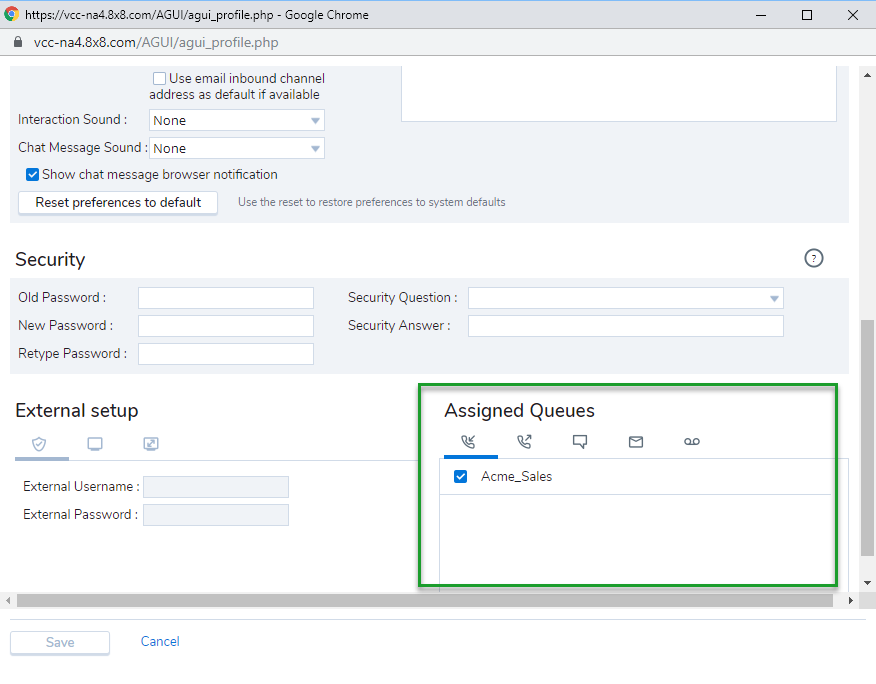
Check queue assignments
To process phone, chat, and voicemail interactions in 8x8 Contact Center for Agile CRM, you must be a member of phone, chat, and voicemail queues.
Note: Phone queues are separately defined for inbound and outbound communications.
To check your queue assignments:
- From the Menu drop-down in the integration, select Profile.
- In your Assigned Queues settings, click the tab you want for inbound phone, outbound phone, chat, or voicemail queues.
- Make sure your queue assignment is active.