Assign services and assets to 8x8 Cost Center
8x8 Cost Center administrators assign services, and assets (or users) to cost centers as the final step required to activate their 8x8 Cost Center bill. In this step you include assets such as licenses in your bill. All the licenses are added and modified through a CSV template and via My 8x8 application interface. An asset setup template is sent to the email address on the account. Download the CSV template and make changes or assign assets to the cost centers and save locally. At the end, upload and import the updated asset template. You are able to search assets with license ID, product name such as X1, parent license ID, parent product name, site name, system service type or a partial string.
Note: Asset management is handled using either the template or via My 8x8 application interface.
To assign services and assets to 8x8 Cost Center:
- Log in to My 8x8.
- Go to Billing > Cost Center Management.
- Open the Cost Center Assignment tab.
In this tab, you can assign assets to your cost centers. - Click Email Asset Setup Template.
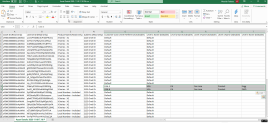
A template is emailed to the email address on the 8x8 Cost Center account.
- Open your email account and click to download the template from your email. It is automatically saved in your local computer (Downloads folder) as a CSV file and is editable in Excel or Google Sheets.
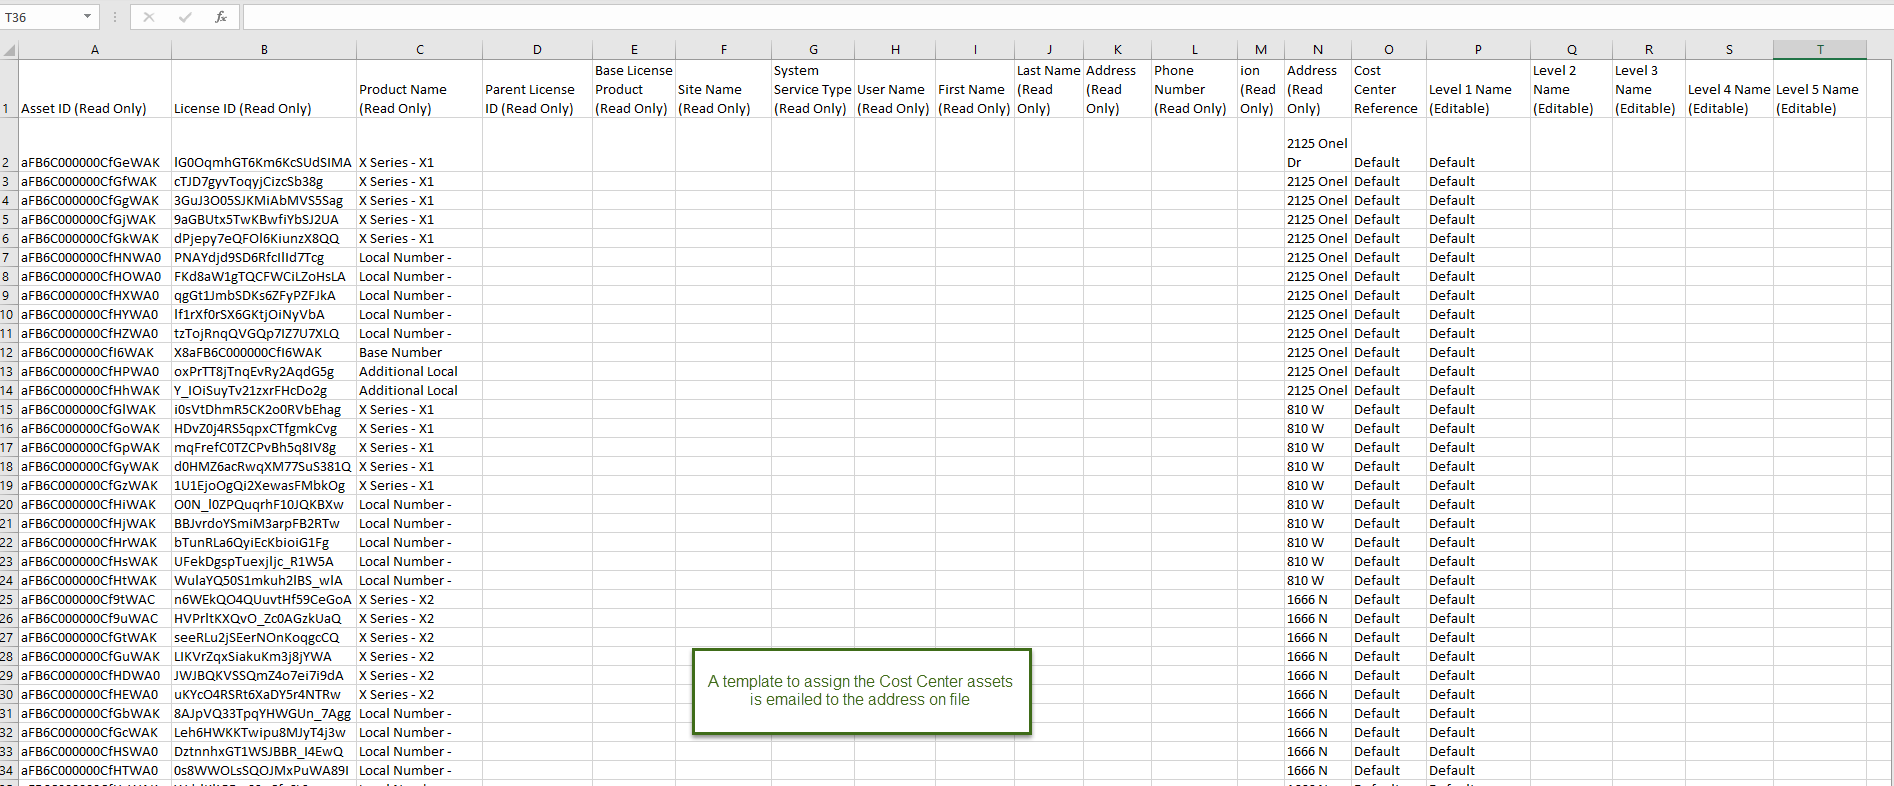
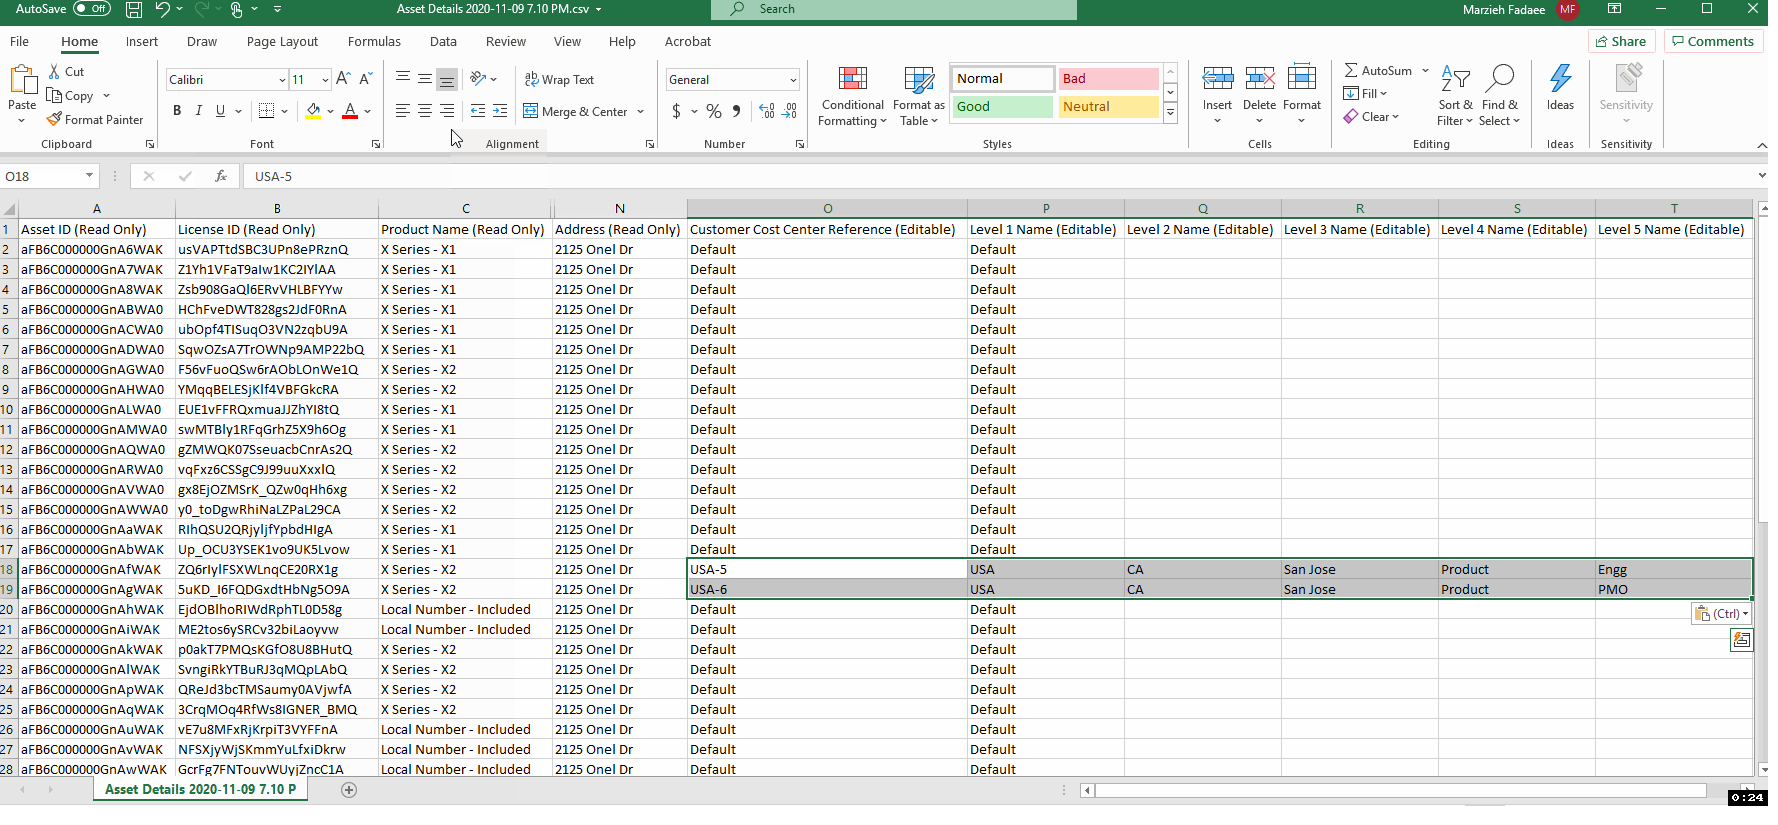
- Update the fields of assets and save.
If it is the first time you update, you can only see the default cost centers in the template. Simply copy and paste the fields from your 8x8 Cost Center template. For example if you want to assign an X2 license to your San Jose 8x8 Cost Center, copy the 8x8 Cost Center reference and levels 1 to 5 from your 8x8 Cost Center template to the assets template and save.

- Save the updated file in your local directory.
- Click Upload Files and select the newly updated template file.
- Click Import Asset Template to import the updates into My 8x8. You must be able to search and edit the assignments here. The template with the import results are emailed to the same email on the account. If the import fails, the reason is stated as well. If the import is successful, you see the changes in your next billing statement. For details on how to view your statement, see View Billing Statements.

- Asset ID (Read Only)
- License ID (Read Only)
- Product Name (Read Only)
- Parent License ID (Read Only)
- Base License Product (Read Only)
- Site Name (Read Only)
- System Service Type (Read Only)
- User Name (Read Only)
- First Name (Read Only)
- Last Name (Read Only)
- Email Address (Read Only)
- Phone Number (Read Only)
- Extension (Read Only)
- Address (Read Only)
- Customer Cost Center Reference (Editable)
- Level 1 Name (Editable): Such as USA.
- Level 2 Name (Editable): Such as CA state.
- Level 3 Name (Editable): Such as San Jose location.
- Level 4 Name (Editable): Such as product department.
- Level 5 Name (Editable): Such as Engineering group.
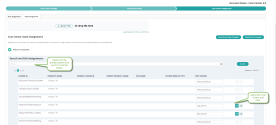
Search and edit asset assignments
In the Search and Edit Assignments for assets, you can search by the asset information such as license ID, product name, parent license ID, parent product name, site name, and system service type. If you enter partial information, the search results show all the rows with the relevant data. For bulk asset assignment, use the template for a faster and more efficient update, but for individual asset assignments, you can either use the template or 8x8 Community portal. Once you find the asset, assign the cost center via the editable field next to the asset’s name and save.
To search and edit asset assignments:
- Log in to My 8x8.
- Go to Billing > Cost Center Management.
- Open the Assignment page.
- Go to the Asset Assignment tab.
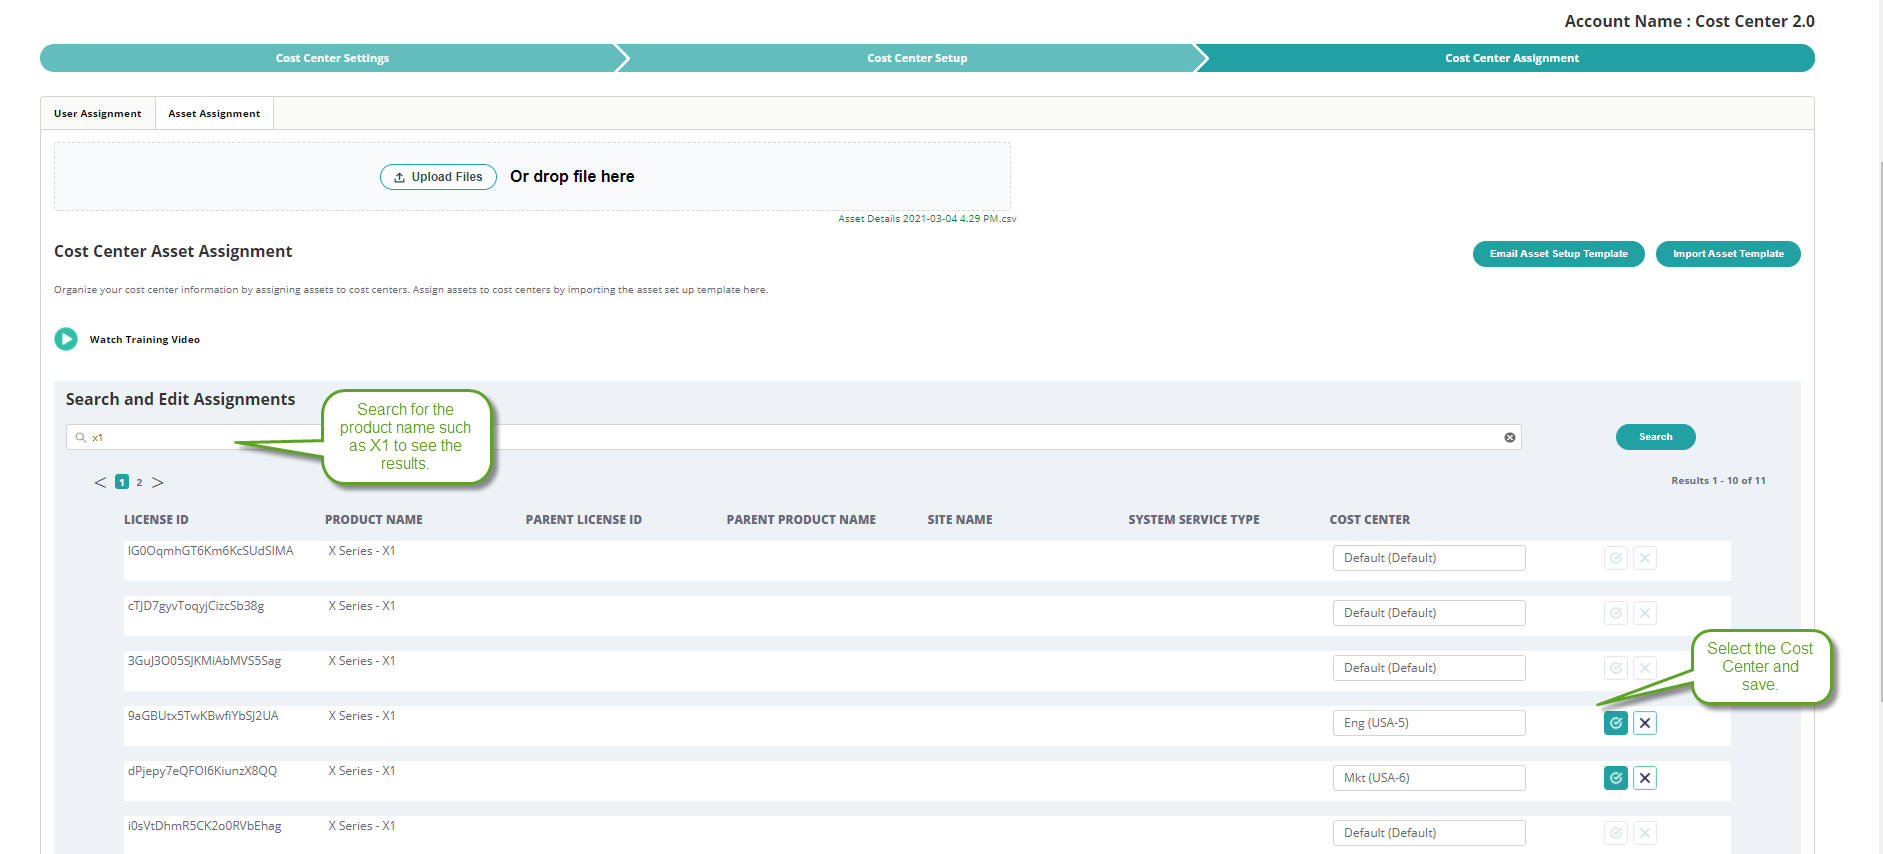
- Under Search and Edit Assignments, search by the asset information only such as license ID, product name such as X1, parent license ID, parent product name, site name, or system service type.
- Click Search.
The results with relevant information show up.
-
Under the Cost Center, start typing a cost center such as Mkt (USA-6) in the editable field. All cost centers appear with the cost center reference such as (USA-6) or (USA-3).
-
With the cost center selected, click
 to save your assignment for the asset or
  to cancel.
Note: The Cost Center field cannot be blank. You can identify the cost centers with similar levels or names by their reference.