The CRM rich text editor in 8x8 Contact Center enables you to insert images while creating cases and follow-up records. In the Description field, you can choose to insert an image by placing the cursor in the desired location.
To insert an image in Case Description:
- From the Cases tab, click New Case or create a new follow-up.
- Enter the Subject and Description.
- In the Description field, place the cursor where you want to insert an image.
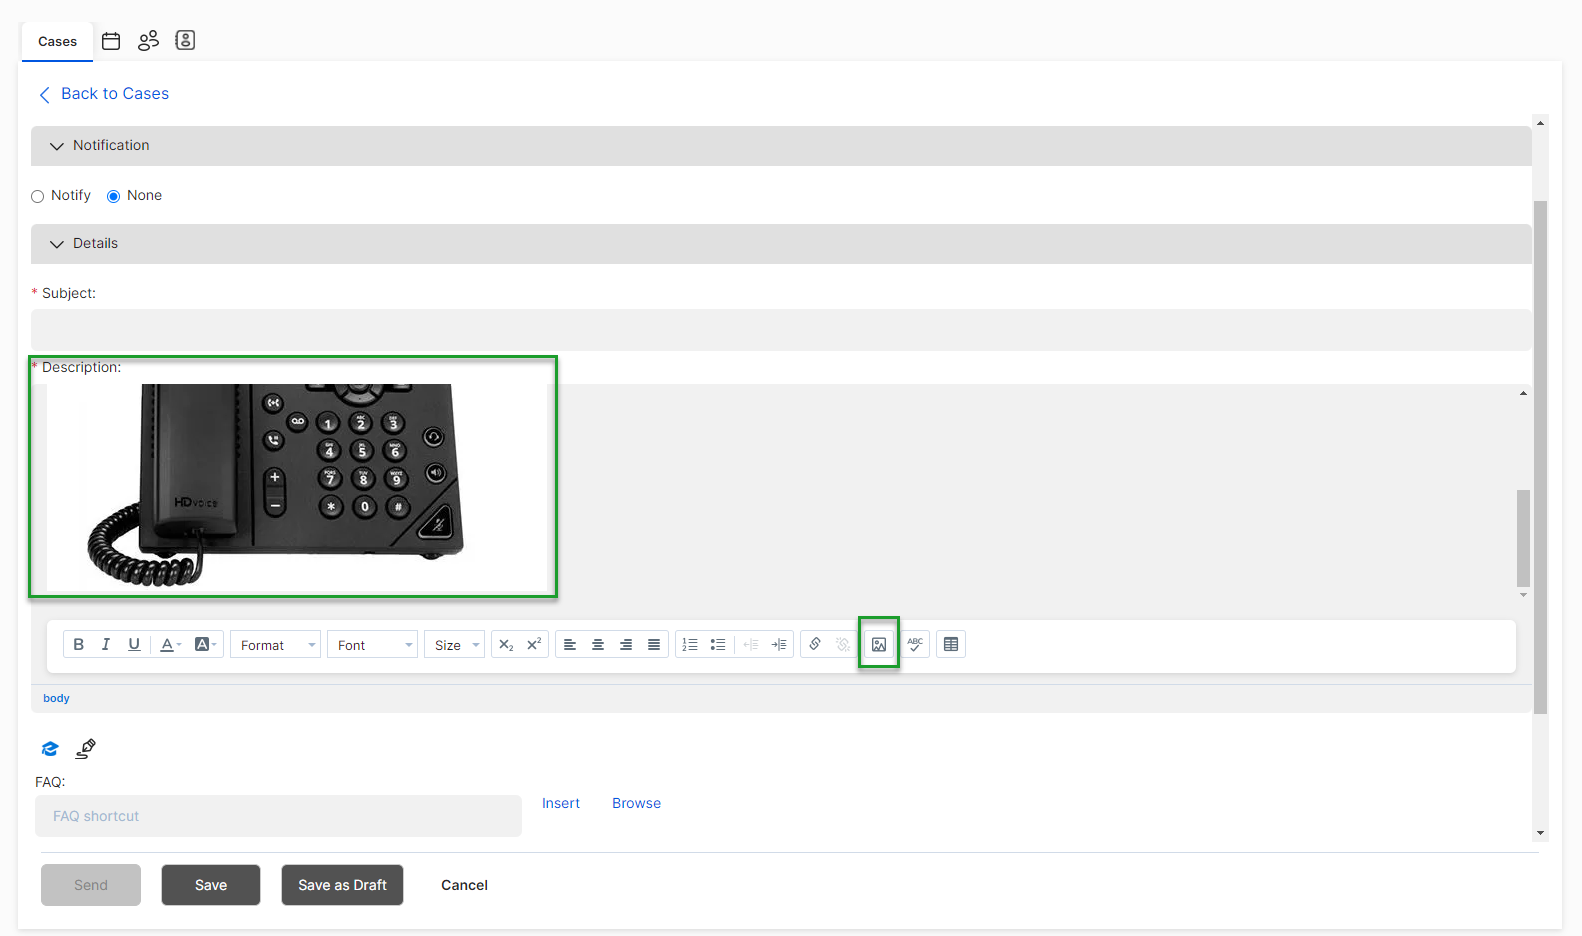
- Click
 from the menu. The Image Properties dialog box opens, prompting for a valid image URL.
 - Copy and paste the URL link of the page or image you would like to insert and enter a descriptive name for the image in the Alternative Text box.
Alternatively, you can drag and drop your images or paste them from your clipboard quickly. When you embed a high resolution image in your case, a follow-up, or an FAQ, they are compressed automatically for faster processing and for saving bandwidth. If needed, open the Image Properties dialog box from the right-click menu to adjust the image size. The maximum size allowed for image attachments is 20 MB. With drag and drop, you can add images up to a maximum size of 10 MB.

Known issue: Copying (Ctrl-C) and pasting (Ctrl-V) images is currently not supported on Internet Explorer 11. You can drag and drop the images.
- Click OK. The image at the specified URL gets inserted in the description field.

Note: You may be prompted to allow scripted windows by your browser. If prompted, click where instructed, and then click Temporarily Allow Scripted Windows in the contextual menu. Click again.