In 8x8 Agent Workspace![]() The brand new interface for 8x8 Contact Center agents to receive and process customer interactions., FAQ categories serve as containers for one or more FAQ answers. Before you can create the first FAQ, you must create the containing category. Group
The brand new interface for 8x8 Contact Center agents to receive and process customer interactions., FAQ categories serve as containers for one or more FAQ answers. Before you can create the first FAQ, you must create the containing category. Group![]() A group is a collection of agents created for management or reporting purposes. Groups can be functional (for example, Technical Support) or organizational (for example Supervisor Mary’s Team). Each agent can be assigned to only one group, and cannot view or access information about other groups or group members.
A group is a collection of agents created for management or reporting purposes. Groups can be functional (for example, Technical Support) or organizational (for example Supervisor Mary’s Team). Each agent can be assigned to only one group, and cannot view or access information about other groups or group members.
To create an FAQ category:
- Log in to 8x8 Agent
 Agents use the Agent Console to view and manage customer interactions. Virtual Contact Center supports Regular agents and Supervisor agents. Workspace.
Note: The privilege to create and edit FAQs is limited to supervisors.
- From the Control Panel click Menu
 > Knowledge base.
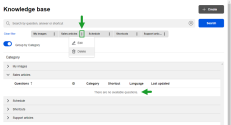
8x8 Agent Workspace displays the Knowledge base window. - Click Create > New Category.
- In the Add a new category dialog box, enter the name of the FAQ category.
- Click Save.
The new FAQ category appears in the list of FAQ categories.

Edit or delete FAQ categories
To edit an existing FAQ:
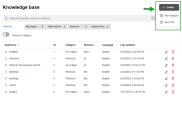
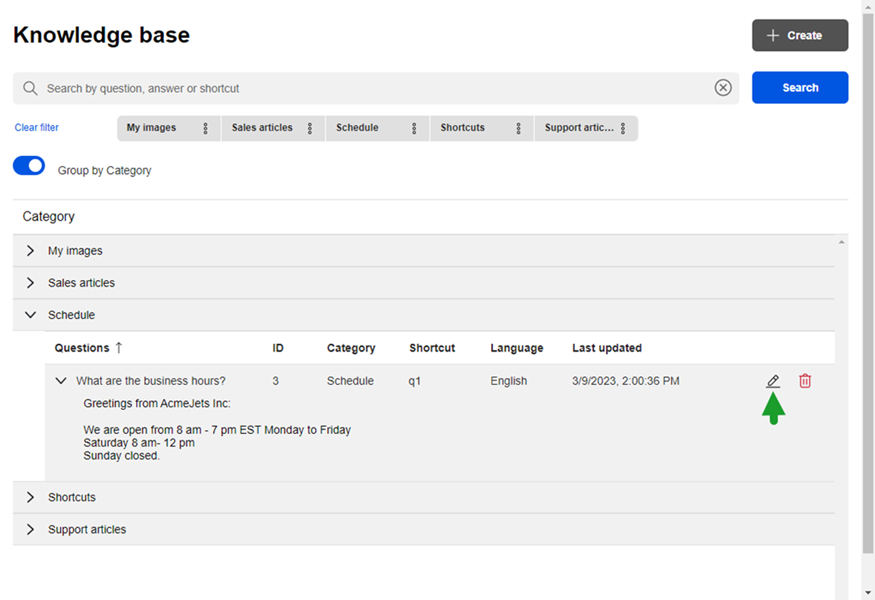
- From the Control Panel click Menu > Knowledge base.
- Toggle on Group by Category.
- Select a category to expand it, locate the question you want to edit, and select Edit FAQ
 .
.
The Edit an existing FAQ dialog box displays. - Make the desired changes in the category, and click Save.
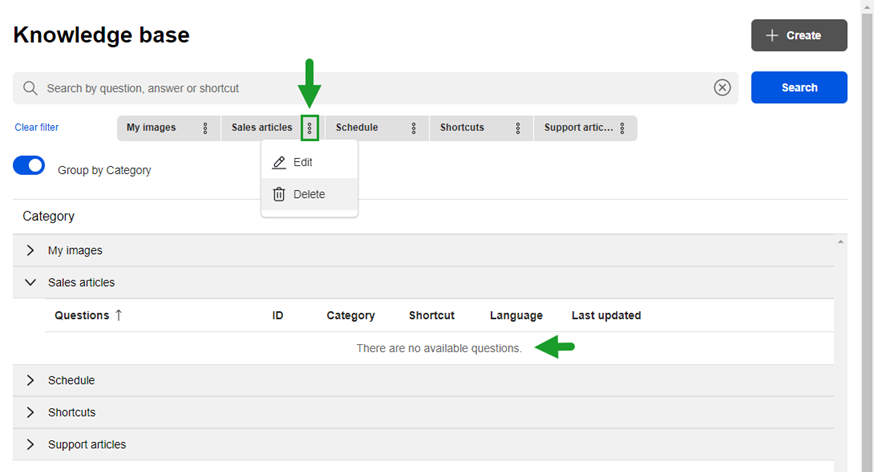
To delete an FAQ category:
Before you can delete an FAQ category, you must first delete all FAQ answers defined within that category.
- From the Control Panel click Menu > Knowledge base.
- Toggle on Group by Category.
- Select a category to expand it, locate the question you want to remove, and click Delete
 .
. - Click Delete to confirm the deletion.
- After deleting all FAQ answers contained in the category, locate the category at the top of the Knowledge base window and click
 > Delete.