Access related emails and reply from the Control Panel
8x8 Contact Center agents can access queued emails from the same customer, review and craft a single response. When a customer sends multiple emails within a short time interval regarding a case, all emails get queued. When an agent opens the first email to respond, there is a link to view the queued emails from the same customer. The agent can click this link to view all the queued emails, and review and respond in a single email if they are related to the same case. This helps agents consolidate their response in a single email and increase their efficiency while improving the customer experience.
Features
- Allows centralized access to queued emails from the same customer.
- Improves customer experience with a consolidated response to multiple related emails.
- Increases efficiency by preventing multiple agents to work on related emails from the same customer.
Known issue
If a second agent gets the email and closes it before the first agent does, the case will be closed twice with two separate history under both agents. This feature is ideal for cases that agents take a long time to respond. The refresh link is to update and give you the latest emails available.
Use case
Let's say a customer sends three separate emails regarding an urgent support issue to AcmeJets customer service in a short period of time. Three agents handle those emails:
- Agent
 Agents use the Agent Console to view and manage customer interactions. Virtual Contact Center supports Regular agents and Supervisor agents. A receives and accepts the first email from this customer, and responds.
 - Agent B receives and accepts the second email from this customer, and responds.
- Agent C receives and accepts the third email from this customer, and responds.
The customer receives three emails from agents A, B, and C at AcmeJets (a poor customer experience). The time and effort spent by these agents can be used more efficiently if only one agent handles the case. Agent A who responds to the first email from this customer can also respond to other related emails sent by this customer. By accessing related emails in the queue, agent A reviews and closes emails related to the same issue.
To access related emails:
- Log in to 8x8 Agent WorkspaceThe brand new interface for 8x8 Contact Center agents to receive and process customer interactions. as an agent.
- Click the Change status
 icon and change your status to Available.
 - When an email is offered, the email notification pops at the top of the Control Panel. A case tab pops in the Display Panel.
- Click
 to accept the email.
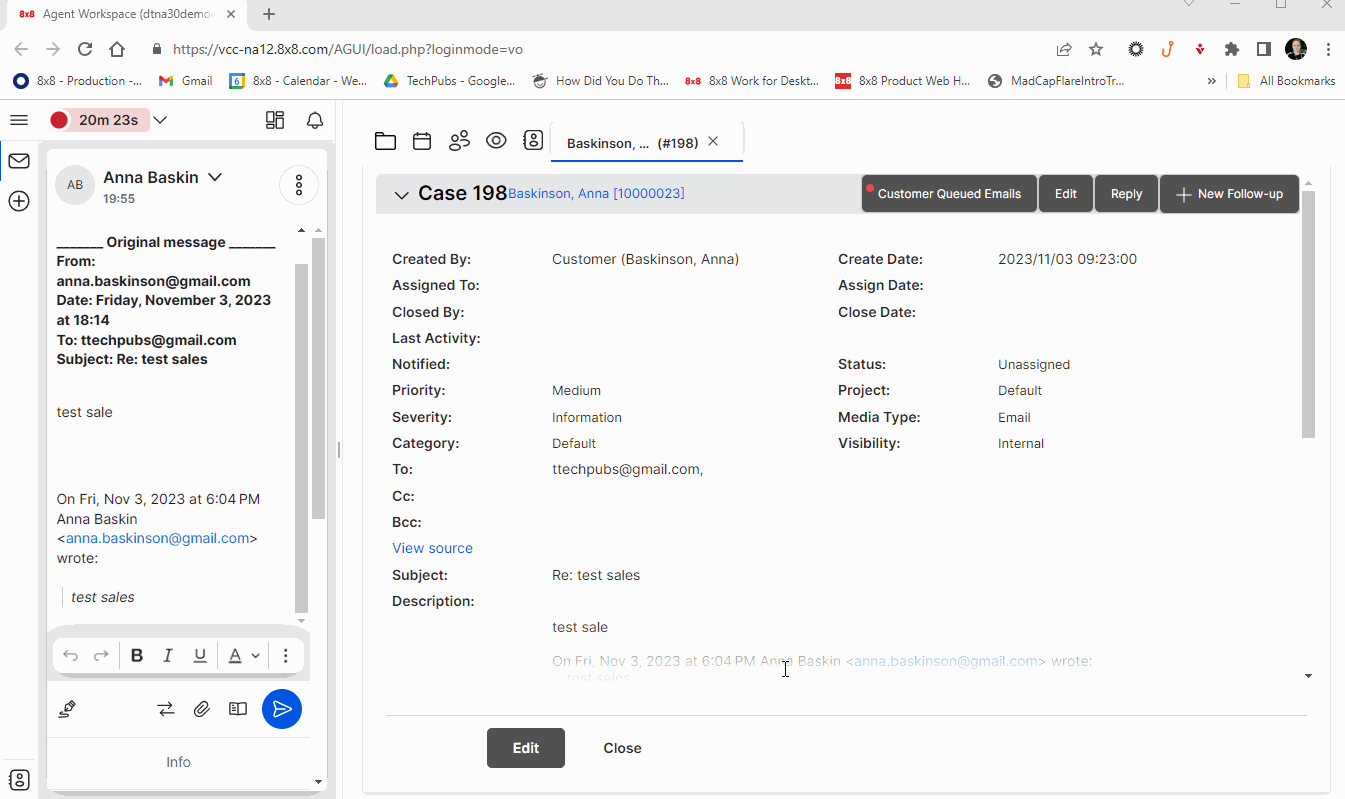
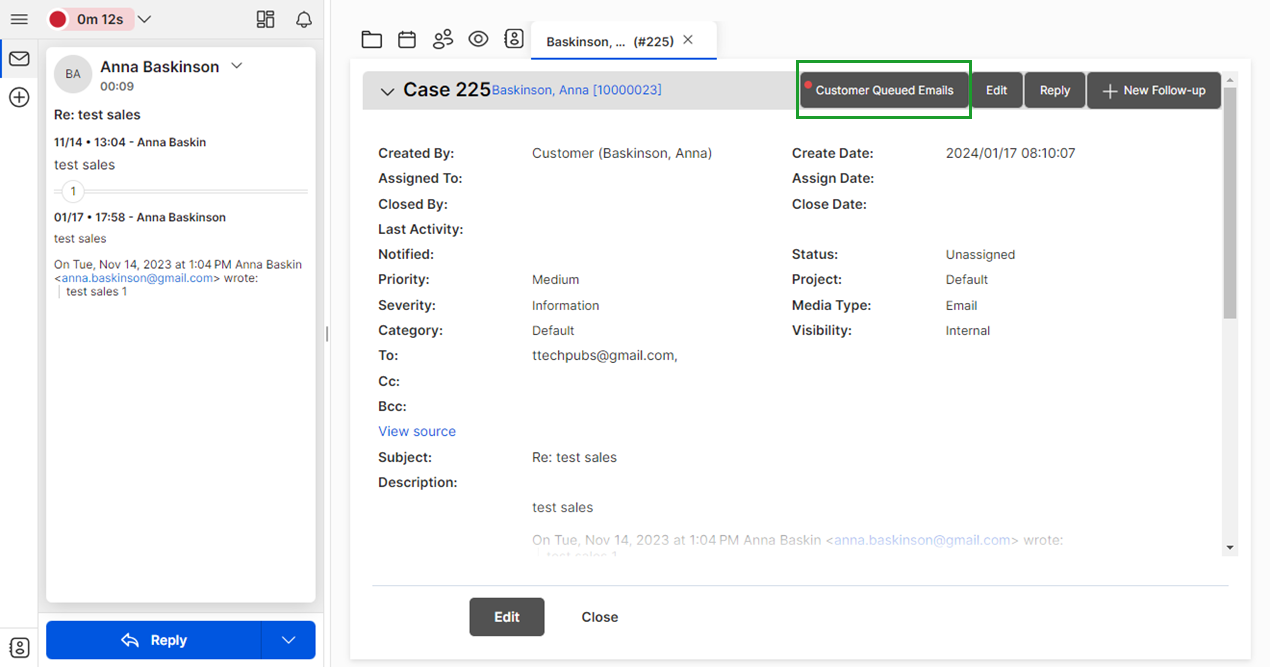
 - Click Customer Queued Emails from the top right side of the Display Panel. The red dot next to the text indicates that there are related emails in the queue.

- Click any row to expand and preview the email contents.
- Click Reply from the Control Panel and craft your single email response while checking the related emails.
- Click Refresh list to update the queued emails. The queued emails list is not automatically updated. The manual refresh displays the exact date and time of the update.
- Click
 to send your email response once it is complete.
 - In queued emails, select the emails you have already handled and click Close Selected. It assigns the open cases to you, closes the cases, and removes them from the queue.
- Click Wrap up.
Note: You can select up to 20 queued emails at a time. Change the order of emails, or sort them by desired fields. You can search by any field except Subject/Description.