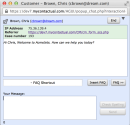
As an agent you can chat with up to six customers. When a customer chat arrives in the queue, it is offered to the available agent who has been waiting for the longest time.
Before you start:
- Log in to the (Undefined variable: 8x8VariablesSet.AgtConsole).
- Click Available.
- Go to Profile in the main menu.
-
In Queue Assignment go to Chat tab and check if you are assigned to the right chat queue.
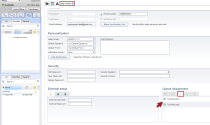
To process a customer chat:
- In (Undefined variable: 8x8VariablesSet.AgtConsole), when a new chat is offered, click
 to go to the chat window.
 - Click
 to accept the chat. The tab changes to
  indicating the number of active chats waiting.
 - The chat list gets updated with the customer information for an existing customer.
The customer's detailed record also opens in a new tab. - Type your message in the chat window and click Send.
Note: Click ![]() to open a chat window. The title bar in the popout chat window shows customer nickname, last name, first name, email ID. If it is a new customer, it shows Transaction ID.
to open a chat window. The title bar in the popout chat window shows customer nickname, last name, first name, email ID. If it is a new customer, it shows Transaction ID.
- Status icons indicate if customer has sent you a message and waiting for your response. If the customer waiting time exceeds SLA, an alert icon in red shows up in the chat list. For details refer to Table 1: Multi Chat Indicators.
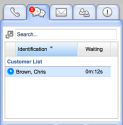
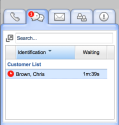
- To accept a second incoming chat, click Accept. The customer chat list gets updated automatically.

- Pop out chat window as desired. When you are done with chat, terminate the chat session by clicking End.
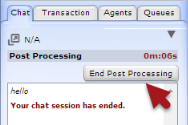
- The chat enters post processing state allowing you to complete any pending task related to the chat.

Note: While Post Processing is honored for each individual chat interaction, your agent's status continues to be busy while handling multiple chats.
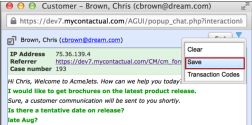
- To save the chat transcription, click
 and select Save from the menu.
- Click End Post Processing to complete the session.
Note: The customer name remains in the chat list while the post processing window is open. Closing the popout chat windows closes the window but does not end the chat.

