Step 4: Create campaigns
An 8x8 campaign enables you to search, generate, and feed a call list to an outbound queue, facilitating automated outbound dialing. You can create a campaign based on the Customer object in your 8x8 Contact Center Local CRM or any object defined in your Salesforce CRM, provided the object has a phone field. You can then define a search strategy to further filter the target call list. On initiating a campaign, the campaign manager fetches the target call list from the CRM and feeds records to an outbound phone queue. The agents assigned to the queue are offered the campaign calls.
Note: For campaigns on progressive and predictive dialing modes, you can generate the call list from the Local CRM only. For call lists from external CRMs, you must first import the call list.
The Campaigns tab in the configuration menu lets you quickly create and manage campaigns. Additionally, you can sort and filter campaigns based on custom searches.
Creating a campaign involves the following tasks:
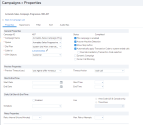
- Defining campaign properties
- Assigning audio files to a campaign
- Defining custom dialer properties
- Assigning supervisors to a campaign
- Defining campaign search criteria
- Specifying a sort order for a campaign
To create a campaign:
- Go to Campaigns from the menu.
- Click
 Campaign to add a new campaign.
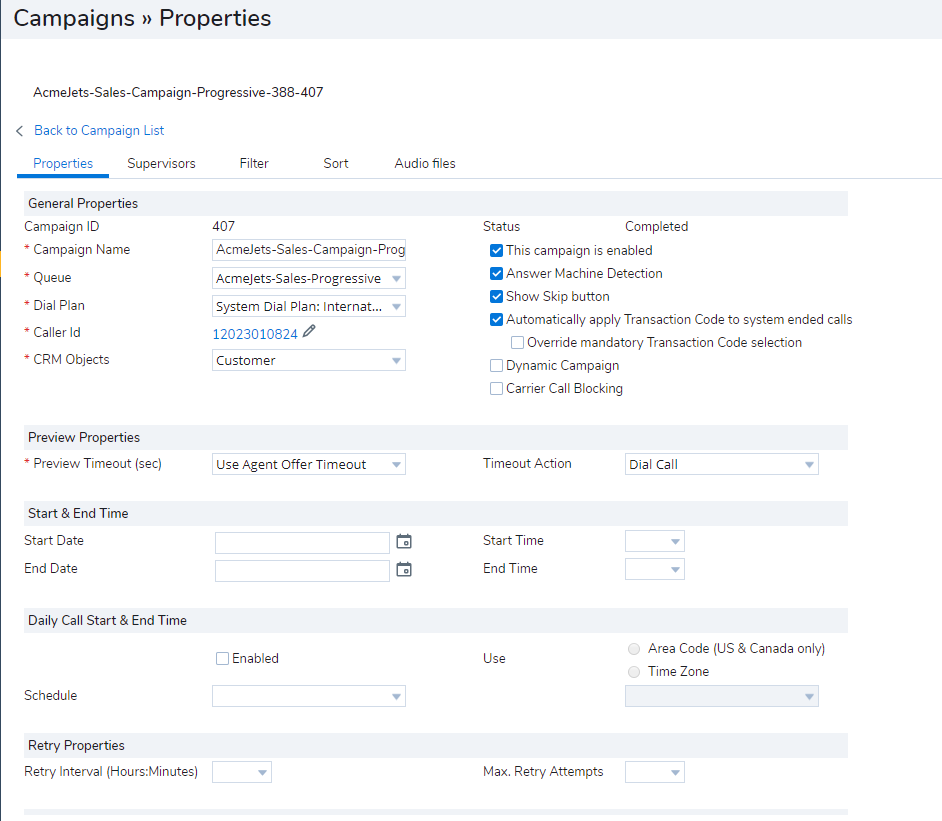
 - Define campaign properties. Click here to learn more.
-
Under General Properties, select the outbound queue created earlier. The campaign calls will be directed to agents via this specific queue.
Note: The campaign properties cannot be modified once the campaigns starts. If they are adjusted during a live campaign, they do not impact the remaining calls.
-
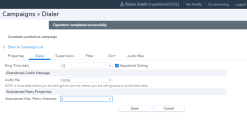
Enable the campaign and save the campaign properties. You are automatically navigated to the Dialer tab.
-
Go to the Audio files tab. Assign an audio file to be played to campaign callers. An abandoned message is played for abandoned calls.

-
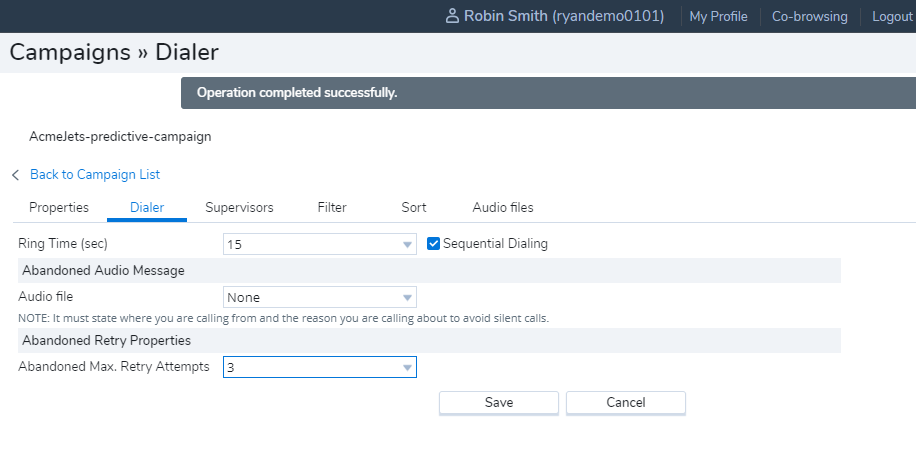
Go to the Dialer tab to define the following properties:
-
Ring Time: Ring time is the duration that passes from the time an outgoing call is initiated until the called party answers the call. Ring time for campaigns must be set to a minimum of 15 seconds.
Note: The ring time can only be set at the start of a campaign, if it is adjusted during a live campaign it does not impact the remaining calls.
-
Sequential Dialing: Set your campaign calls to sequentially dial all phone numbers associated with the customer record improving chances of contact with the customer. You can define up to 22 phone fields and customize the order to fit your dialing needs. Let’s say customer Tom’s record has three phone numbers listed - business number, home number, and mobile number. Sequential dialing places a call to the business number first; If unsuccessful, dials the home number; If unsuccessful, dials the mobile number. The order of dialing can be customized in the Outbound Setup. Learn more.
-
Abandoned Audio Message: Select an audio file to play a safe harbor message for abandoned calls. When progressive or predictive dialing is adopted, an abandoned message must be played to the called party (where compliance requires) within two seconds of them starting to speak to avoid creating silent calls. A silent call is when a call is answered by the called party, but no agent is available to take the call and no message is played to the customer.
The content of the Abandoned Message typically should identify the company running the campaign or the company they are calling on behalf of, provide a free or standard cost call back number, and contain no marketing or sales information. Learn how to upload audio files.
Note: You must assign an audio file to the campaigns as described in step 6.
-
Abandoned Retry Properties: Set the maximum number of attempts to retry calling an abandoned campaign call. A configurable limit on the number of retry attempts can now be specified, with a maximum of 10 retry attempts. Let’s say you set the retry limit on abandoned calls to three times; for every campaign call that is abandoned, the dialer waits 72 hours before retrying that customer. After three retry attempts, the dialer stops to dial that customer. This excludes the original attempt where the call is abandoned triggering the retry attempts.
-
-
In the Supervisor tab, proceed to assigning a supervisor to the campaign.
-
In the Filter tab, specify criteria to filter the customer list. You can filter call lists based on certain fields such as customer last name, first name, and phone number. You can also enable UK-TPS and UK-CTPS for compliance.
- UK-Telephone Preference Service: The Telephone Preference Service (TPS) is the official ‘Do Not Call’ register for landline and mobile numbers. It allows people and businesses to opt out of unsolicited live sales and marketing calls. Enabling this option filters the numbers from the call list.
- UK-Corporate Telephone Preference Service: is a list of organisations who have opted out of unsolicited live sales and marketing calls. Enabling this option filters these numbers from the call list.
-
Sort the call list in an ascending or descending order.
Your campaign is now ready to run. To learn more about defining campaigns, click here.
As a contact center administrator, you have now completed configuring the auto-dialer. When you initiate the campaign, the campaign runs based on the dialing mode selected for the queue.
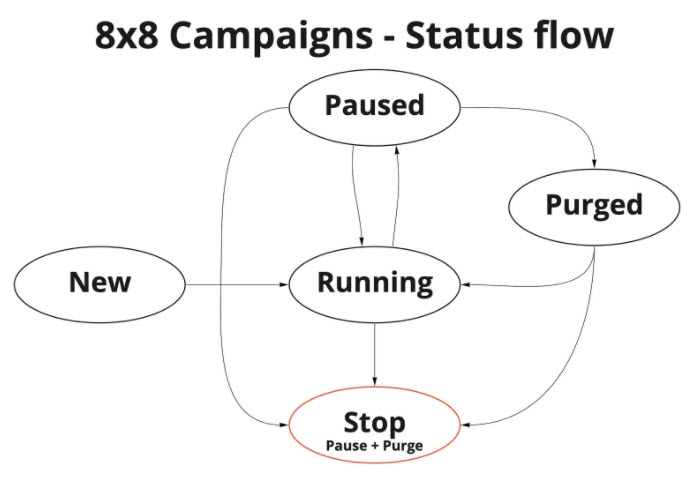
Control a campaign
After creating a campaign, you can manually start or schedule the campaign. If you define scheduling attributes in the campaign properties, the campaign executes as scheduled. If not, you should start the campaign manually. As an administrator or a privileged supervisor, you can start, pause, purge, or stop a running campaign at any time. You can run a new campaign either by manually starting it or by scheduling it.
To initiate a campaign manually:
- Go to Campaigns from the menu.
- Select the desired campaign, and click
 to manually start the campaign.
 -
Note the
 indicates the campaign is running successfully.

Learn more about how to control a campaign.
If allowed, supervisors can run and control campaigns. Learn more.