8x8 Contact Center allows you to create a new customer record at any time using the New Customer link in the Customers tab, if your administrator has granted the necessary privileges. While processing an interaction, 8x8 Contact Center searches the Local CRM for existing matching data. In the absence of matching customer records, agents are prompted to enter a new record via screen pop.
The following describes the use of the default customer fields. Depending on how your contact center administrator has configured your Local CRM, the customer creation tool may display additional customer fields.
To create a customer record:
- Click New Customer link in the Customers tab.
8x8 Agent Console 8x8 Contact Center's browser-based graphical user interface (GUI) used by Agents to manage customer interactions. displays the Create New Customer page.
 - Enter the customer's First Name and Last Name.
You must specify the customer's name before you can save the new customer record. - Enter the customer's Email address.
Each customer email address must be unique. You can save email addresses that has up to 254 characters. - Enter the customer's address in the Primary Address and Secondary Address areas.
- Select to Save the customer or Save as Draft.
Edit or delete customer records
After you create and save a customer record, you can edit the information or delete a customer record, provided that you have the permissions to delete and edit. Contact your 8x8 Contact Center administrator to learn about your permissions.
To edit a customer record:
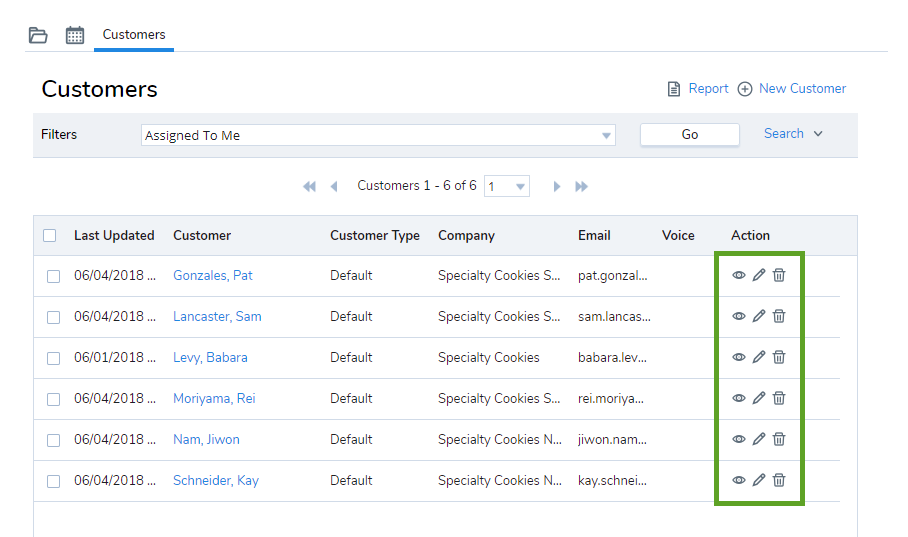
- Click the Customers tab. A list of customers appears.
- Click one of the actions items available to view or edit the customer record.
OR
Select and open a customer record from the list, and then click Edit at the bottom of the page.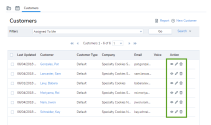
View customer records
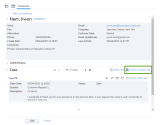
When you open a customer record, you are able to view the customer details such as name and account number, as well as cases, tasks, and the history of changes made to the customer record.
Note: You can configure the order of columns in the result page to arrange them in a particular order. To change the order, select and drag the column to the desired location.
- Details: Includes voice, email, company, phone, address, etc. The customer last name, first name, and account number appear as a link in title. Clicking Back to Customers takes you back to the customer list.
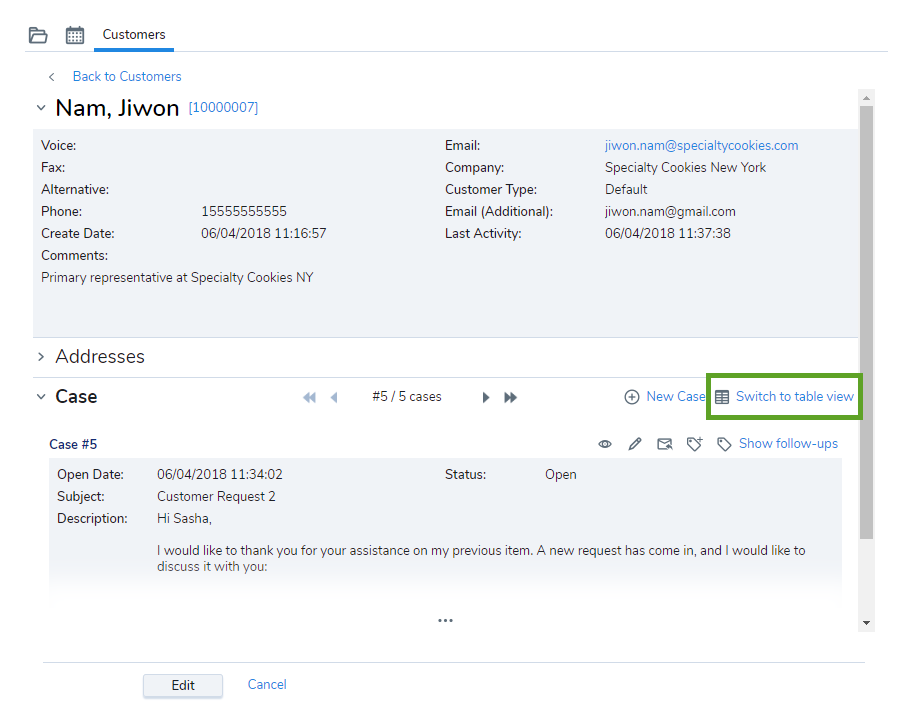
- Case: Includes the cases or records of interactions with the customers created during or after an interaction. You can view cases in Table view or Unitary view. Table view lists all cases associated with the customer in a tabular format. Unitary view shows one case at a time, and can be navigated using the pagination tools. Table view is the default view when you first open cases.
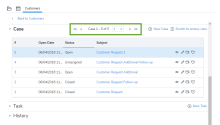
If a case is created as a result of an incoming email through the email channel, you are able to see the To, CC, and BCC fields in the details.To view the email fields and source of email from the Customers tab:- In 8x8 AgentAgents use the Agent Console to view and manage customer interactions. Virtual Contact Center supports Regular agents and Supervisor agents. Console, go to the Customers tab.
- Select a customer, and go to Case to see the list of cases.
- Highlight a case from the list, and select Switch to unitary view. The case details display, and information in the To, CC, and BCC fields. Clicking View source allows you to see the email protocol routing.
You can see one case at a time. Use the pagination tools to go to other cases. - Click
 to see all content.
- In 8x8 Agent
- Task: Includes tasks such as calls, emails, meetings, chats, or any other type of contact made with a customer.
- History: Includes the history of changes made to the customer record.