Configure social media integration
As an 8x8 Contact Center administrator of your business, you can set up the social channels, configure a social scripts and assign the channel via 8x8 Configuration Manager.
Preparation
- Gather the social media account details of your business (login ID and password).
-
Plan how you want to route interactions from social media. The following questions may provide you tips.
- Does your business support live chat 24/7 or based on schedule?
- Do you have a lot of traffic to your social media pages?
- Do you want to direct all your social interactions to the same queue or to skill based queues?
- Do you want to identify existing customers and provide context to agents?
- Do you want to automatically create customer records for new customers in the Local CRM?
- Create chat queues to direct the social chat requests.
Configuring the 8x8 Contact Center social media integration
STEP 1: Set up 8x8 Contact Center social channels in 8x8 Configuration Manager.
-
Log into 8x8 Configuration Manager for 8x8 Contact Center.
- Go to https://login.8x8.com.
- Enter your login credentials to launch the application panel.
- Select 8x8 Contact Center 8x8 Configuration Managericon to launch the application.
- Go to Channels in the navigation menu.
- Select the Social tab.
-
Click + Add new Facebook channel or +Add new Twitter channel to add a new social channel.

- At the prompt, enter the email address and the respective password associated with the social account. Click Login (In Facebook) or Authorize App (In Twitter).
You have now successfully created the social channel. The social channel appears in the list of Social channels on your tenant.
Note: You can connect an 8x8 Contact Center tenant with a single Facebook or Twitter channel only.

STEP 2: Define the social chat routing by configuring a social script.
A social script allows you to define the routing of chats received on social media. You can define when and how to interact with customers using the specific IVR objects. 8x8 Contact Center social introduces the following core social objects to facilitate interaction routing.
| Social Object | Description |
|---|---|
| Check Social ID | Allows you to check the social ID of the customer and identify if it is an existing customer in the Local CRM and trigger screen pop. If it is a new customer, it automatically creates a new customer record in the Local CRM. The following exit points are available for this IVR object. Contact Found: If this is an existing customer record in the CRM, the system , presents the Agent the customer record for preview. Allows agent to edit and update case associated with customer. Contact Not Found: If it is a new customer’s first visit, the CRM, automatically creates a new customer record in the Local CRM. Add first name and last name based on their social media ID. |
| Send Prompt | Allows you to display predefined greetings or messages in the chat window. 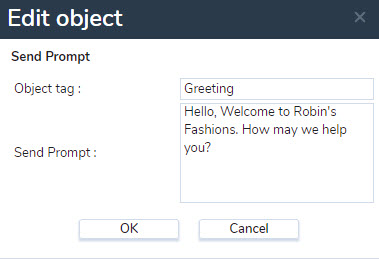 Example: Welcome to Robin’s Fashions. How may I help you? |
| Get Customer Info | Requests additional information such as Customer ID, Case ID, email, phone number to learn more details about the customer. Example: Robin’s Fashions serves membership based services offering early access to their product lines and better discounts to their members. To offer premium quality service to their members, the company collects the membership ID information, identify premium customers, and direct them to a fast serving queue.
Note: Custom fields in the Local CRM are not supported for data dip. |
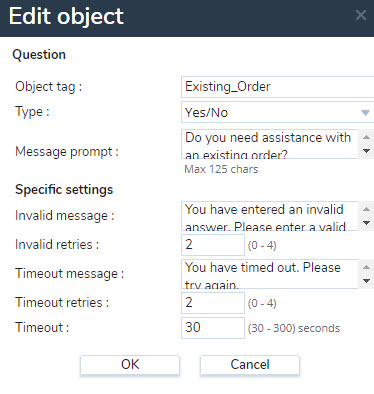
| Question | Allows you to pop a question to the customer on the social media. You can design these questions to get more information about the customer’s needs. The following question types are supported:
|
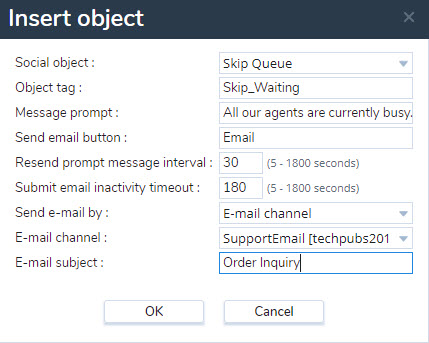
| Skip Queue | Use this object to allow customers to opt out of waiting in the chat queue and send an email offline. Upon initiating a chat, if the customer chooses not to wait for an agent, then they can simply send an email. Emails can be sent via an email channel or as plain emails to the specified email address. You can even predefine the email subject to conveniently filter the messages received.
|

At Robin’s Fashions, customers visit the social media pages to learn about the new deals, new products, sale offers, and inquire about their current orders. The following steps model a typical workflow:
- Customer initiates a chat in the Messenger during their business hours.
- Customer is greeted with a welcome message.
- Customer is prompted to enter the membership ID to validate if it’s an existing member.
- If it is a member, they are then prompted: you need assistance with an existing order?
- If Yes, direct them to the Sales Orders queue.
- If No, direct them to the General Inquiries queue.
- If it is a non-member, customers are directed to the new customers queue.
Crafting the social script
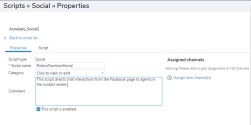
- In the 8x8 Contact Center 8x8 Configuration Manager , go to Scripts.
- Select the Social tab.
- Click Add new social media script.
-
Enter the general properties and save.
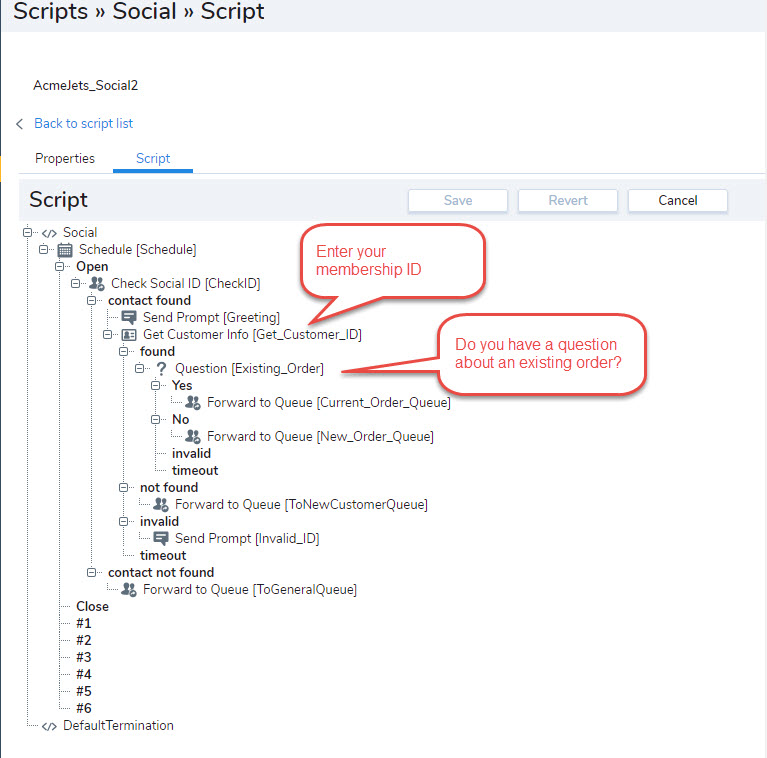
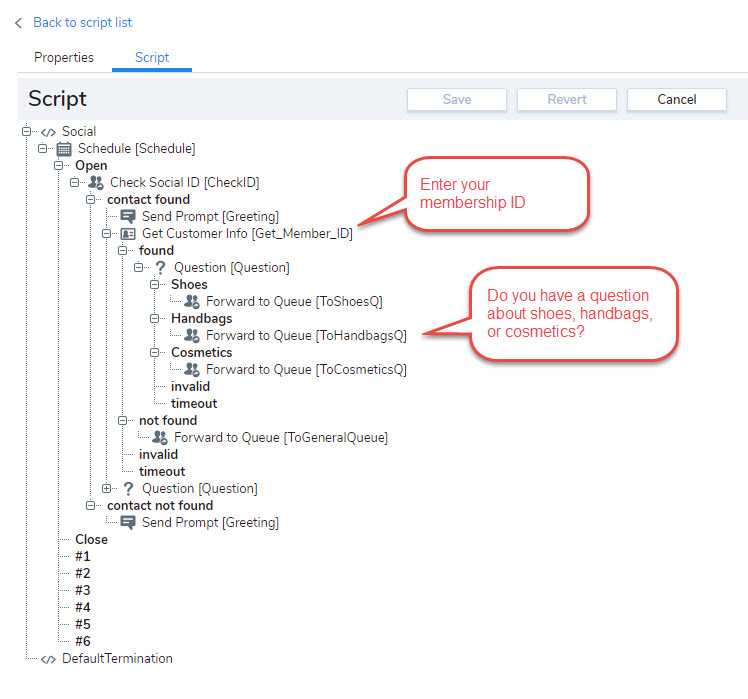
- In the Script tab, you are now ready to craft the script.
- Customer initiates a chat in the Messenger during their business hours. Add and select an existing [Schedule].
- Using the social ID, validate the customer and check if it’s an existing customer. [Check Social ID]
- Customer is greeted with a welcome message. Under the Contact Found exit point, add a message using [Send Prompt - Welcome back to Robin’s Fashions. How may I help you?].
- Customer is prompted to enter the member ID to validate business membership. [Get Customer Info - Collect Customer ID]
- If it is a member, customer is prompted: Do you need assistance with an existing order? [Question - Yes/No]
- If Yes, direct them to the Sales Orders queue. [Forward to Queue]
- If No, direct them to the New Order queue. [Forward to Queue]
- Upon checking the social ID in step b, if it is found to be a new customer, - customer is directed to the new customers queue.
- Save the script.
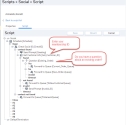
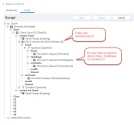
The following images show two sample IVR social scripts.