Schedule reports
in 8x8 Analytics for Contact Center, you can schedule reports and receive them via email daily, weekly, monthly, and select from a wide range of metrics and filters to generate a report most suited to your business needs. This way, you can gain better insight into your contact center performance by focusing on the most critical data. You can choose to send scheduled reports to your colleagues or external contacts to keep them updated. To schedule a report, you must first create a report and save it.
- Step 1: Create a custom report
- Step 2: Open a custom report and schedule it.
Features
- Generate a custom report, and schedule it to run periodically to offer periodic updates on the performance of agents, their status, and queues.
- Schedule a report to run once, daily, weekly, monthly for a specified period, or for an indefinite period.
- Set the time of the day to run the report so it’s sent at the same time every time.
- Choose recipients within and outside the organization so they can receive scheduled reports automatically.
To schedule a report:
- From the navigation menu, go to Custom Reports. You will see the list of custom reports.
-
Select the desired custom report, right click on the more menu. From the drop down menu, select Schedule.The slide-out panel for scheduling the report appears.

-
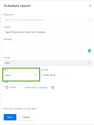
Add the following parameters:
- Identify report recipients: Enter the email IDs of all desired recipients for this report. You can share the reports with colleagues and external contacts as well.
- Add a subject line and message as desired.
- Choose the report format: Currently, the report can be downloaded in CSV format only.
-
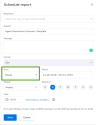
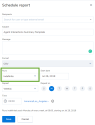
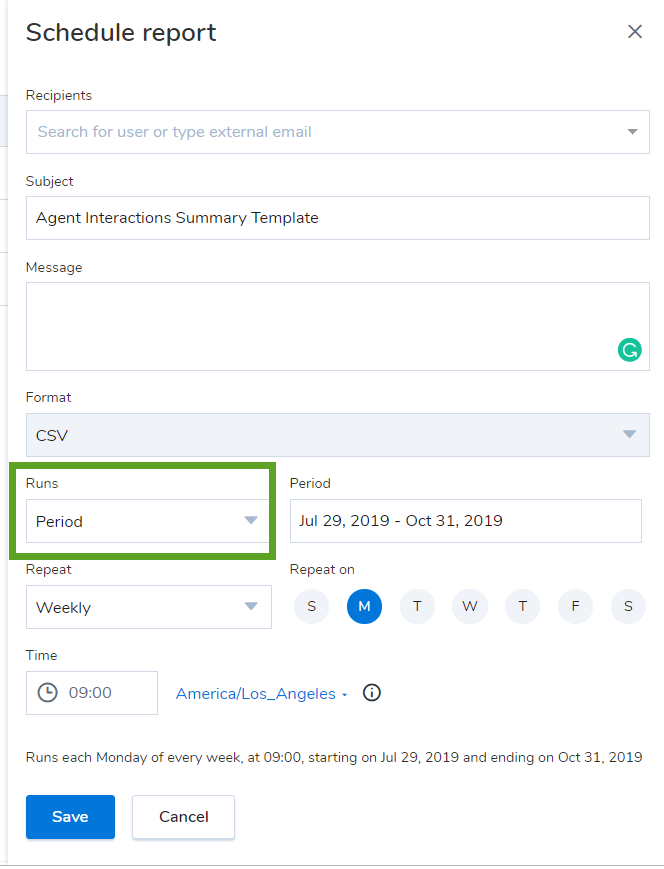
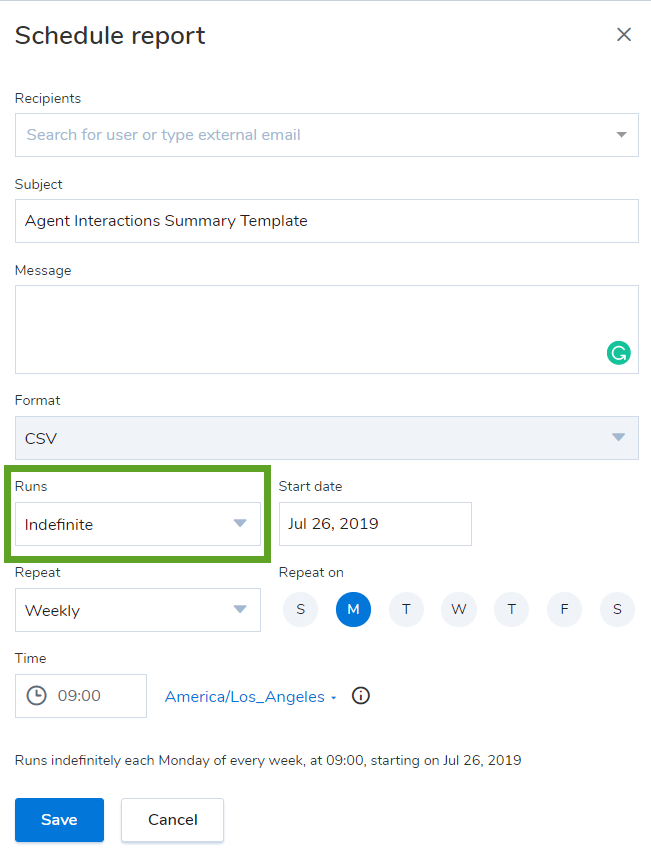
Set the recurrence: Indicate the frequency at which you want to generate this report. Do you want to run it once, periodically within a set date range, or run it indefinitely?
-
Run Once: If you choose to run it once, select the date on which to run the report.
-
Run Periodically: If you choose to run the report periodically, select the date range. Indicate how long you want to run this report by selecting a start date and an end date. Let’s say you want to run the report weekly on Monday morning for the next three months. Select the date range and the frequency accordingly. For Recurrence, select <Daily, weekly, monthly> from the available options.
-
Run indefinitely: If you choose to run the report for an indefinite period of time, then choose the start date and select to run the report indefinitely.
-
- Set the start time that indicates the time you want to initiate report generation. For example, you can select a time of <8 AM> and then <Monday> for the day of the week you want to run this weekly report.
- Click Save to complete the scheduling.

These reports are generated at the frequency specified, and sent via email to the specified recipients.
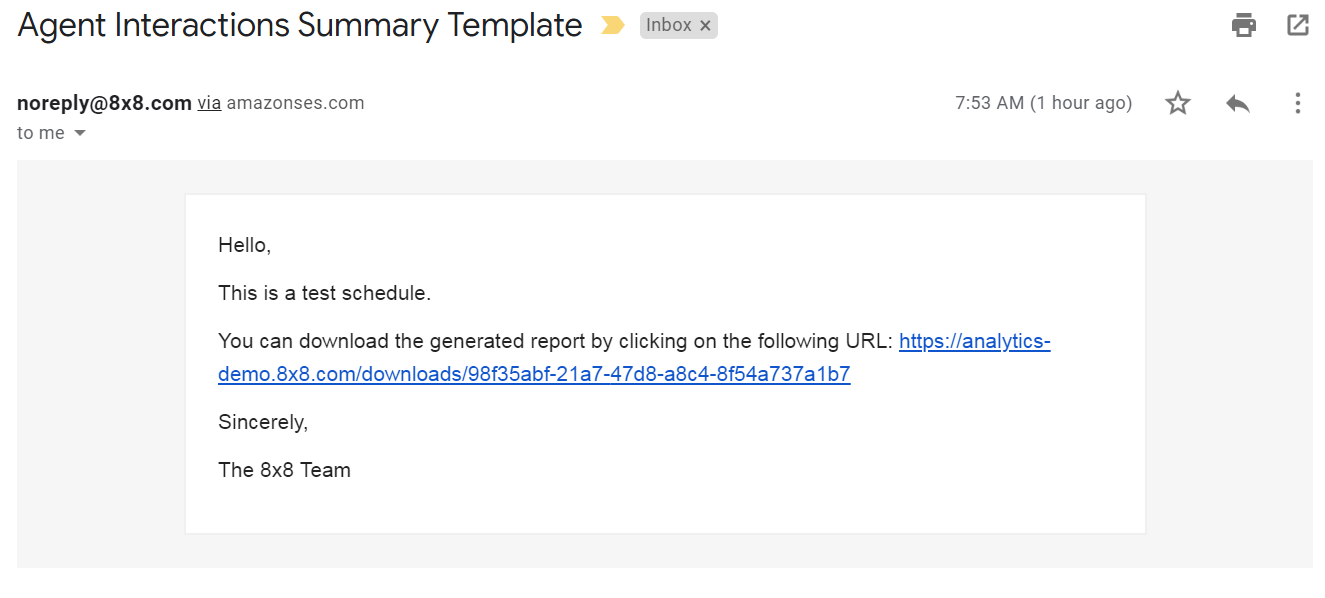
Viewing the scheduled report
As an email recipient of the scheduled report, you will receive an email notification of the scheduled report. Simply click the link in the email notification to download the report in the CSV format.