Set up call forwarding
8x8 Work for Desktop enables you to manage call forwarding rules for your extension.
You can quickly set basic call forwarding from your Profile panel, or set advanced call forwarding as an X Series/Virtual Office Editions or Virtual Office Classic user.
To set basic call forwarding:
- Open your Profile panel.
- Under Voicemail setup, select the Call forwarding check box.
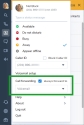
- In the drop-down menu that becomes available, select the call forwarding destination, such as your voicemail or a teammate’s extension. While you have call forwarding enabled, a banner notification shows up as a reminder to disable call forwarding once you are able to take calls again.
- To stop forwarding incoming calls, open your Profile panel and clear the Call forwarding check box.

As an X Series or Virtual Office Editions user
If your organization is an X Series or Virtual Office Editions customer, you can access call forwarding in your Settings  . A few additional settings are available via your user profile page.
To manage call forwarding rules:
- Go to Settings > Account settings to open your account settings in a browser page.
- Under Call forwarding rules in the browser page that opens, you can choose to forward incoming calls:
- Always (this overrides all other options if enabled)
- When your Internet connection is down
- When you are busy on an existing call
- When you do not answer within a certain period of time (by default, 15 seconds)
- When you get a call from a blocked number
- When you are finished, save your changes.
As a Virtual Office Classic user
If your organization is a Virtual Office Classic customer, you can access some of your older settings under Settings > Account settings. In addition to setting default call forwarding rules, you can create more complex custom rules.
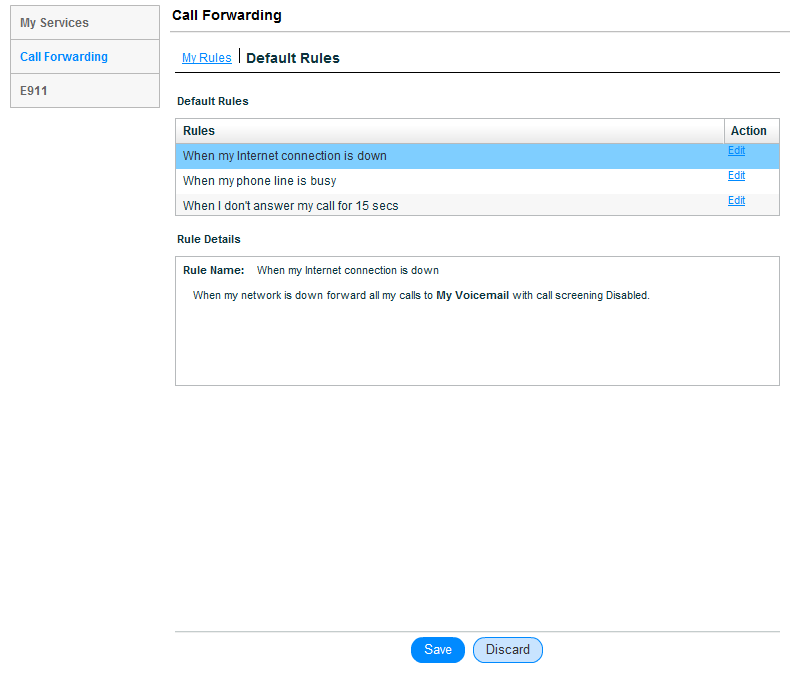
To set default call forwarding rules:
-
Open your 8x8 Account Settings app to access your account settings.
Note: If you do not have the 8x8 Account Settings app downloaded, go to Settings
> Account settings and open the download page for the app. - Under Call Forwarding, select Default Rules to open the list of default call forwarding rules.

- Click Edit to customize call forwarding rules for when:
- Your Internet connection is down.
- Your 8x8 Work phone line is busy.
- You don't answer your call within a certain period of time (by default, 15 seconds).
- While editing a call forwarding rule, settings pop up to:
- Enable call screening to have callers announce their names before you choose to answer their call.
- Drop incoming calls in the chosen scenario, or to forward calls to another number.
- Enter multiple phone numbers to forward calls to, and choose to forward calls to the desired numbers sequentially or simultaneously.
- Forward calls to voicemail or other numbers, should your initial call forwarding destinations fail.
- Once you are finished, click OK to return to the list of default rules.
- Click Save to apply your changes.
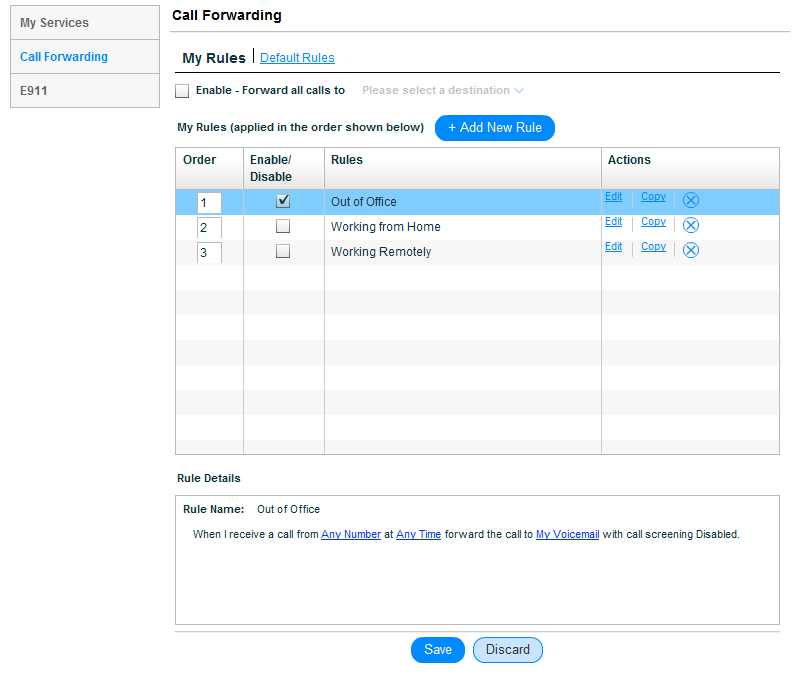
To set custom call forwarding rules:
-
Open your 8x8 Account Settings app to access your account settings.
Note: If you do not have the 8x8 Account Settings app downloaded, go to Settings
> Account settings and open the download page for the app. - Under Call Forwarding > My Rules, you can create and manage custom call forwarding rules.
- Click + Add New Rule to create a custom rule, or click Edit next to an existing rule to customize it. You can:
- Name the rule.
- Enable call screening to have callers announce their names before you choose to answer their call.
- Apply the rule to all calls, or to calls from specific numbers.
- Choose to apply the rule at all times, or on a specified schedule.
- Drop incoming calls, or to forward calls to another number.
- Enter multiple phone numbers to forward calls to, and choose to forward calls to the desired numbers sequentially or simultaneously.
- Forward calls to voicemail or other numbers, should your initial call forwarding destinations fail.
- Once you are finished, click OK to return to the list of custom rules.
- In addition to creating and editing your custom rules, you can:
- Select the Enable - Forward all calls to check box to forward all calls to a desired number.
- Click Copy next to a rule to duplicate it.
- Click Delete
 next to a rule to delete it.
 - Reorder call forwarding rules to set the order in which your rules take priority.
- Click Save to apply your changes.