Note: 8x8 Work and Engage for Salesforce is currently only available to Beta customers.
Get started with 8x8 Work and Engage for Salesforce
After installing the 8x8 Integrations extension, and managing the required permissions, you can start using the integration.
To launch the integration:
- Log in to Salesforce.
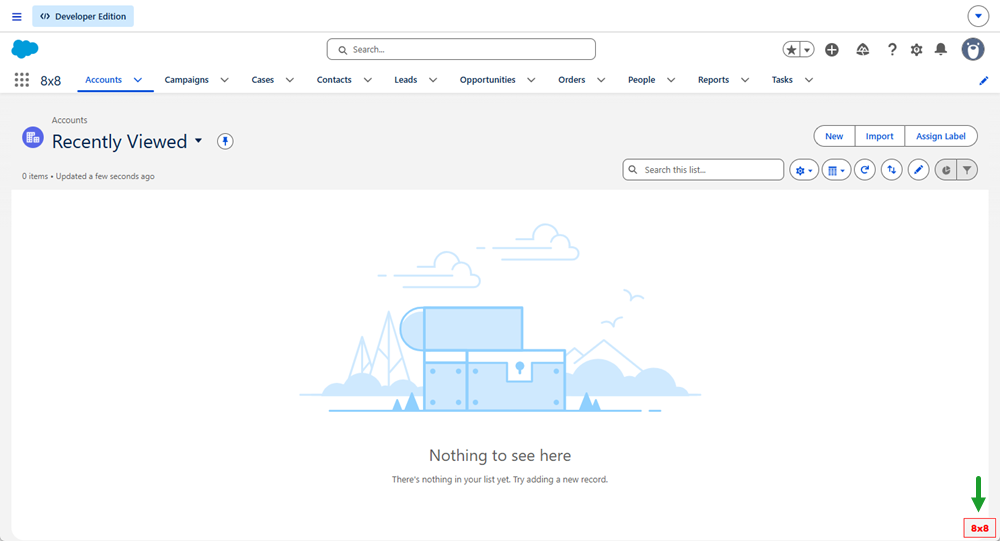
- Click the 8x8
 icon to open the integration. The integration will open as a new browser window.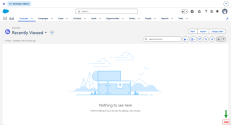
- If this is the first time using the integration, you are prompted to complete the onboarding.
- Click Continue to Set up.
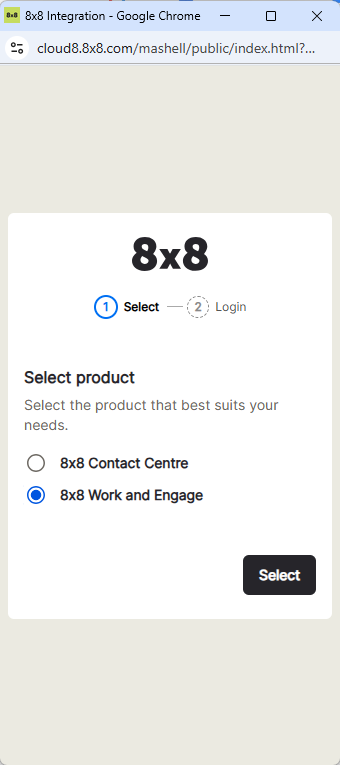
- Select 8x8 Work and Engage. The system remembers your selection.
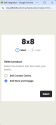
- Click Select.
- When prompted, log in with your 8x8 Work or Engage credentials.
The Salesforce authentication page shows. If required, approve the authentication with Salesforce.
Manage your integration settings
Integration settings allow you to control how the 8x8 Work or Engage for Salesforce integration behaves during interactions. Click the Settings  icon from the top of the integration to access:
- Connection: Allows you to view and manage the connection between 8x8 and Salesforce.
- Integrations: Allows you to manage your integration settings at a user level See Integrations settings.
- Advanced: Reset the panel, clear history, and end your 8x8 session.
- About: Shows your information such as username, phone number, extension, PBX, etc.
- Report a problem: Send a message describing the issues encountered while using the integration.
- Log out: Log out of the integration.
Integration settings
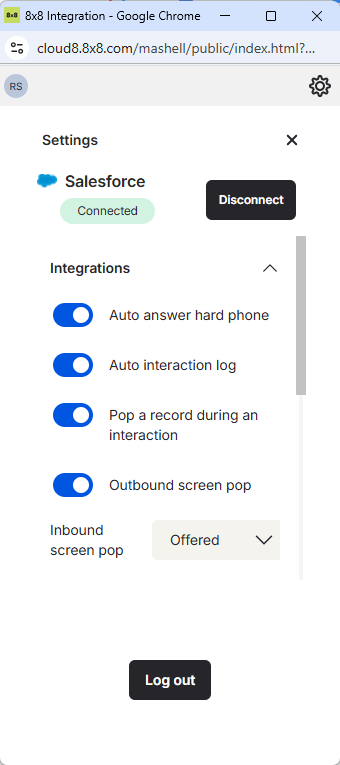
From Settings > Integrations, you can manage your integration settings at a user level. If an admin has configured settings in 8x8 Admin Console and denied users permission to edit, these will be disabled.
| Settings | Description | Default state |
|---|---|---|
| Auto answer hard phone | Allows calls to be automatically answered if the headset supports it. | Enabled |
| Auto interaction log | Allows the integration to automatically create a Salesforce Task containing a detailed log of interaction data. | Enabled |
| Pop a record during an interaction |
Controls the screen pop behavior while handling multiple concurrent inbound interactions. When enabled, during a second interaction, a single-match record screen pops. When disabled, during the second call, no contact screen pop displays. Note: This feature is for inbound interactions only and Inbound screen pop must be enabled. |
Enabled |
| Outbound screen pop | Controls screen pop for outbound interactions. If enabled, when a user initiates an outbound interaction and a single-match record is found, then the matched record automatically displays. The matched record does not display if this option is disabled. | Enabled |
| Screen pop first record in list in multi-match | Automatically pop the first identified record in a multiple-match scenario when an inbound interaction is offered or an outbound interaction is initiated. | Disabled |
| Inbound screen pop |
Controls when the screen pop shows for inbound interactions:
|
Offered |
| Search types |
The integration searches Salesforce for existing selected record types.
|
Enabled for:
|


