Configure ADFS
The three main ADFS configuration steps are:
- Complete the post-installation configuration wizard for ADFS.
- Apply additional settings to ADFS.
- Set up a Relying Party Trust in ADFS.
Complete post-installation configuration wizard for ADFS
This step directly follows from the end of the installation of ADFS in Server Manager. Alternatively, you can start the wizard from the Tasks view in Server Manager.
Prerequisites Requirements
Make sure you have:
- A DNS name you want to use for your ADFS server. For example:
fs.mycompanydomain.fs. - An SSL certificate for the chosen DNS name and it is installed on the server running ADFS
Steps
- Follow the Active Directory Federation Services Configuration Wizard with selections appropriate to your AD environment.
- On the Specify Service Properties step, select the SSL certificate that installed as part of the prerequisites.
- Complete the wizard and verify the installation is successful.
Complete additional ADFS setup
Prerequisites
Make sure you have:
- A public IP address for your ADFS server with inbound access for https (tcp 443) traffic.
- A DNS A record for your chosen DNS name.
Steps
- Using PowerShell, ensure IdP Initiated Sign-On is enabled by running this command:
Set-AdfsProperties -EnableIdPInitiatedSignOn $true. -
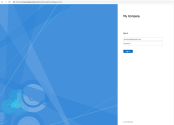
Verify that ADFS is accessible externally by browsing the login page.
Note: You need to replace
fs.mycompanyname.comwith your chosen DNS name:https://fs.mycompanyname.com/adfs/ls/idpinitiatedsignon.htmIf the URL does not show a login page, re-check the previous steps.
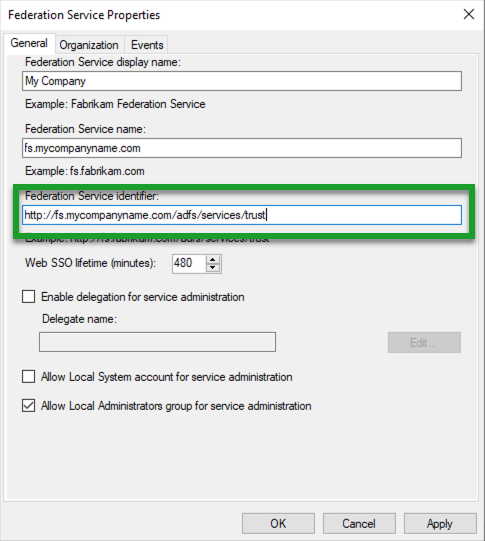
- Open AD FS Management, select the Service folder and Edit Federation Service Properties….
- Make note of the Federation Service Identifier. It is needed later in the Configure SSO in 8x8 Configuration Manager section.
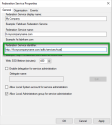
- Click Cancel.
- Follow these steps to export the token signing certificate which is needed later in the Configure SSO in 8x8 Configuration Manager section.
- In AD FS Management select the Certificates folder.
- From the list of certificates displayed, select the Token-signing certificate and click View Certificate....
- In the Certificate Details tab click Copy to File....
- In the Certificate Export Wizard, select Base-64 encoded X.509 (.CER).
- Complete the wizard and copy the certificate file to a location where it can be uploaded into 8x8 Configuration Manager.
Set up a relying party trust for ADFS in AD
There are no prerequisites for this section.
Steps
- In AD FS Management select the Relying Party Trusts folder.
- Click Add Relying Party Trust.
- In the Welcome step select Claims aware.
- In the Select Data Source step select Enter data about the relying party manually.
- In the Configure Certificate step do not select a token encryption certificate.
- In the Configure URL step do not enable any settings.
- In the Configure Identifiers step add <https://sso.8x8.com/saml2> to the Relying party trust identifiers.
- In the Choose Access Control Policy step select Permit all users.
- Complete the wizard. The Claims Issuance Policy displays.
- Select Add Rules….
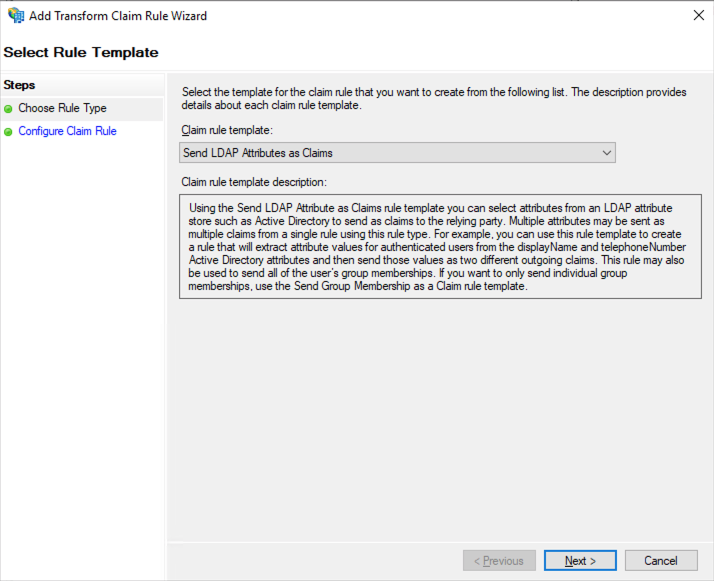
- In the first step of the Add Transform Claim Rule Wizard select Send LDAP Attributes as Claims.

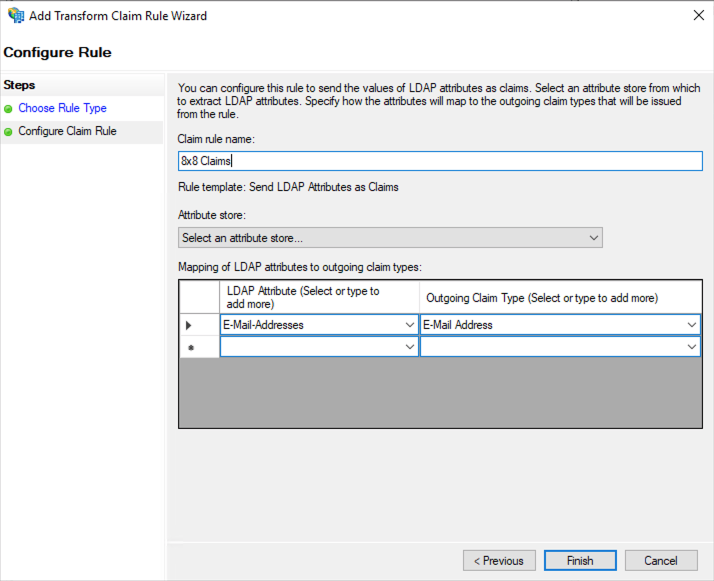
- In the Configure Claim Rule step select E-Mail Address for both the LDAP Attribute and Outgoing Claim Type.
- Click Finish to complete the wizard.
- Click Add Rule… again to add another rule.
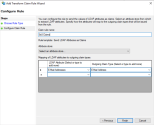
- Select Transform and Incoming Claim as the rule template.
- In the Configure Claim Rule step select:
- E-Mail Address as the Incoming claim type
- Name ID as the Outgoing claim type
- Select Pass through all claim values
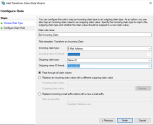

17. Click Finish. The two rules display in the issuanceTransform Rules tab.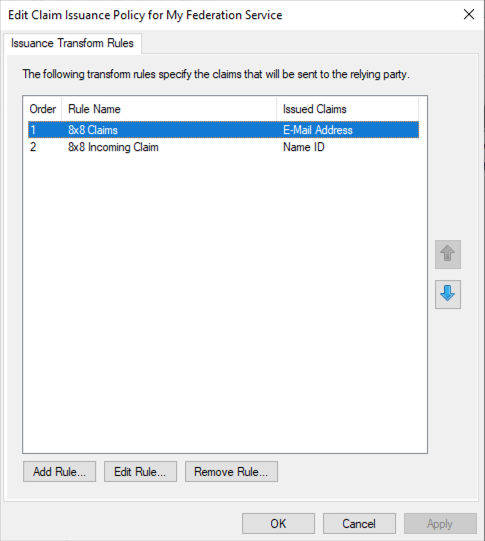
18. Click OK to go back to the main AD FS Management screen.
19. Select the Relying Party Trust you created before and click Properties.
20. In the Endpoints tab click Add SAML….
21. Set the Binding type to POST.
22. Add https://sso.8x8.com/saml2 as the Trusted URL.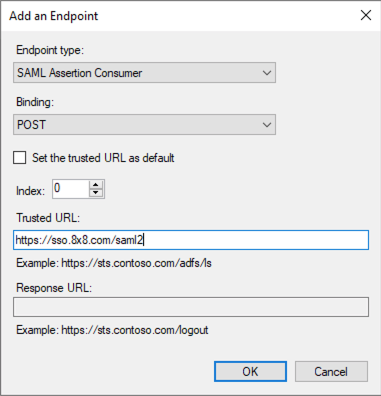
23. Click OK twice.