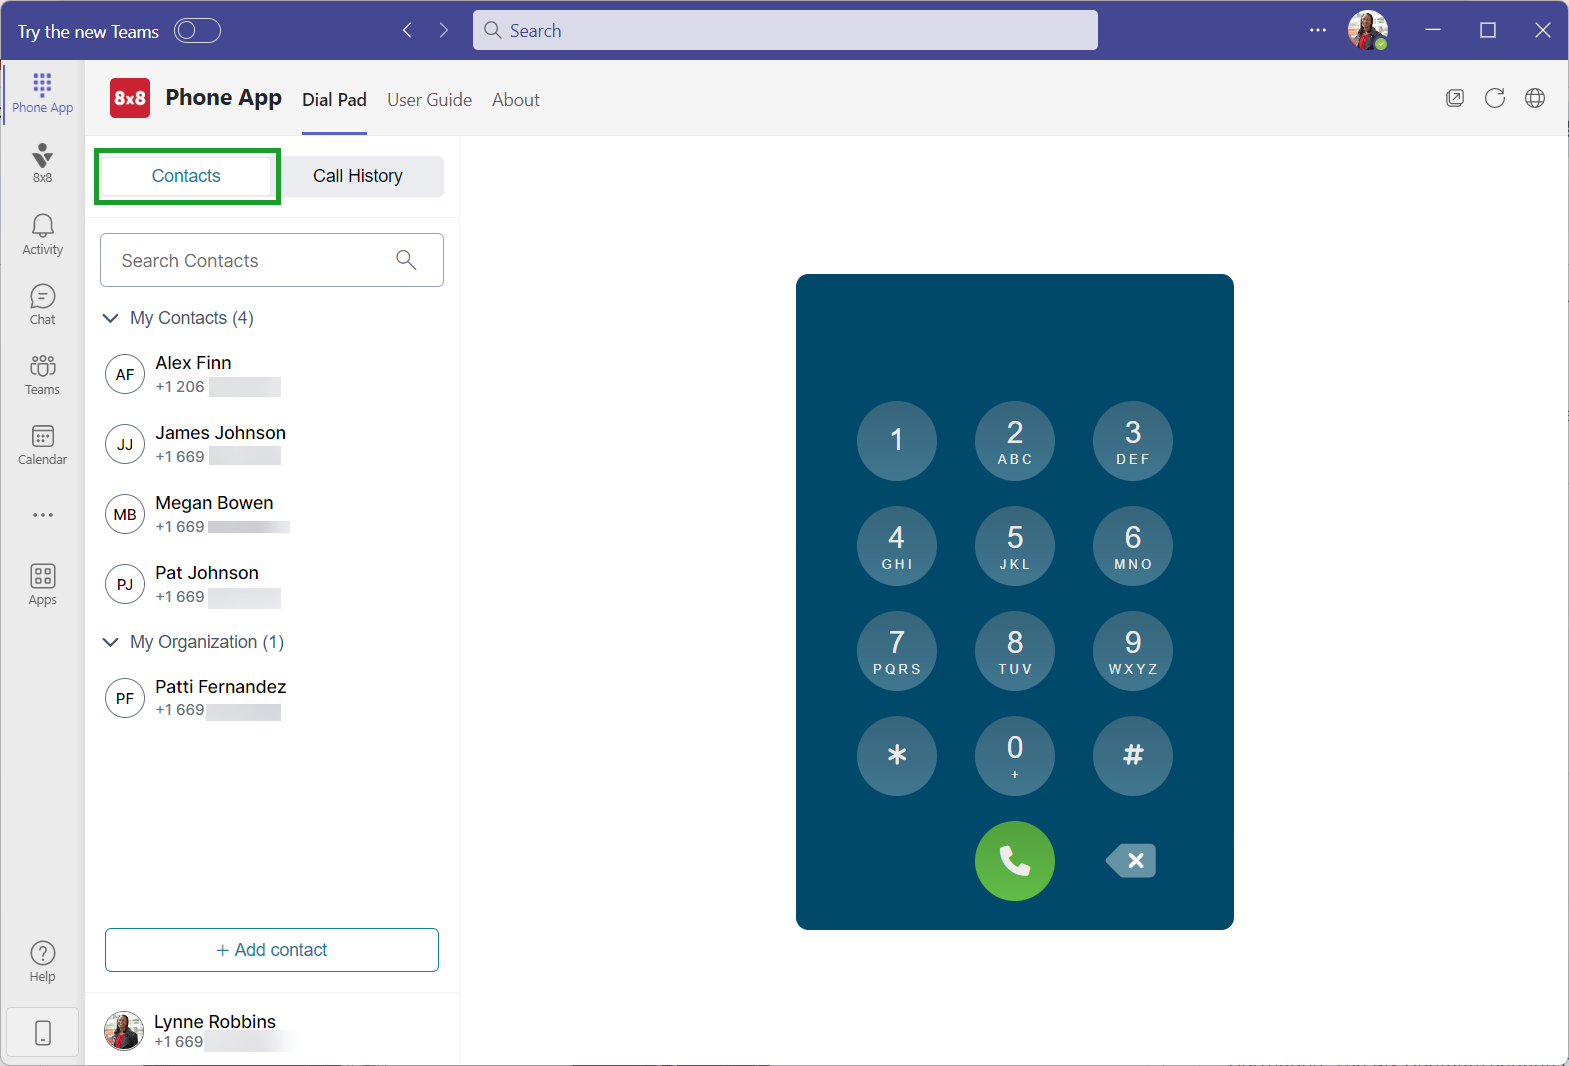
Access contacts
To access your contacts in the 8x8 Phone App for Microsoft Teams, click Phone App ![]() from the sidebar, and on the left there is the Contacts/Call History pane, click on Contacts.
from the sidebar, and on the left there is the Contacts/Call History pane, click on Contacts.
The Contacts list in the Search Contacts  section displays the contacts saved in the Phone App or in Microsoft Outlook. These contacts must be associated with a phone number.
Note: The contacts in the My Organization section appear only when your Microsoft administrator associates phone numbers with licensed users on your Microsoft service. You cannot modify these contacts.
Note: You cannot access the Global Address List from Phone App.
Search contacts
You can easily access contacts in your 8x8 Phone App for Microsoft Teams.
To search for a contact in Phone App![]() , go to the Contacts/Call History pane.
, go to the Contacts/Call History pane.
The Contacts/Call History pane automatically groups you contacts in two categories:
- My Contacts: shows contacts from Outlook address book and those added manually in the Phone App.
- My Organization: shows contacts from your organization’s directory.
Scroll through the available contacts in the list, or type their name/number in the section’s header. As you type, the search results narrow down in a list below the search box.
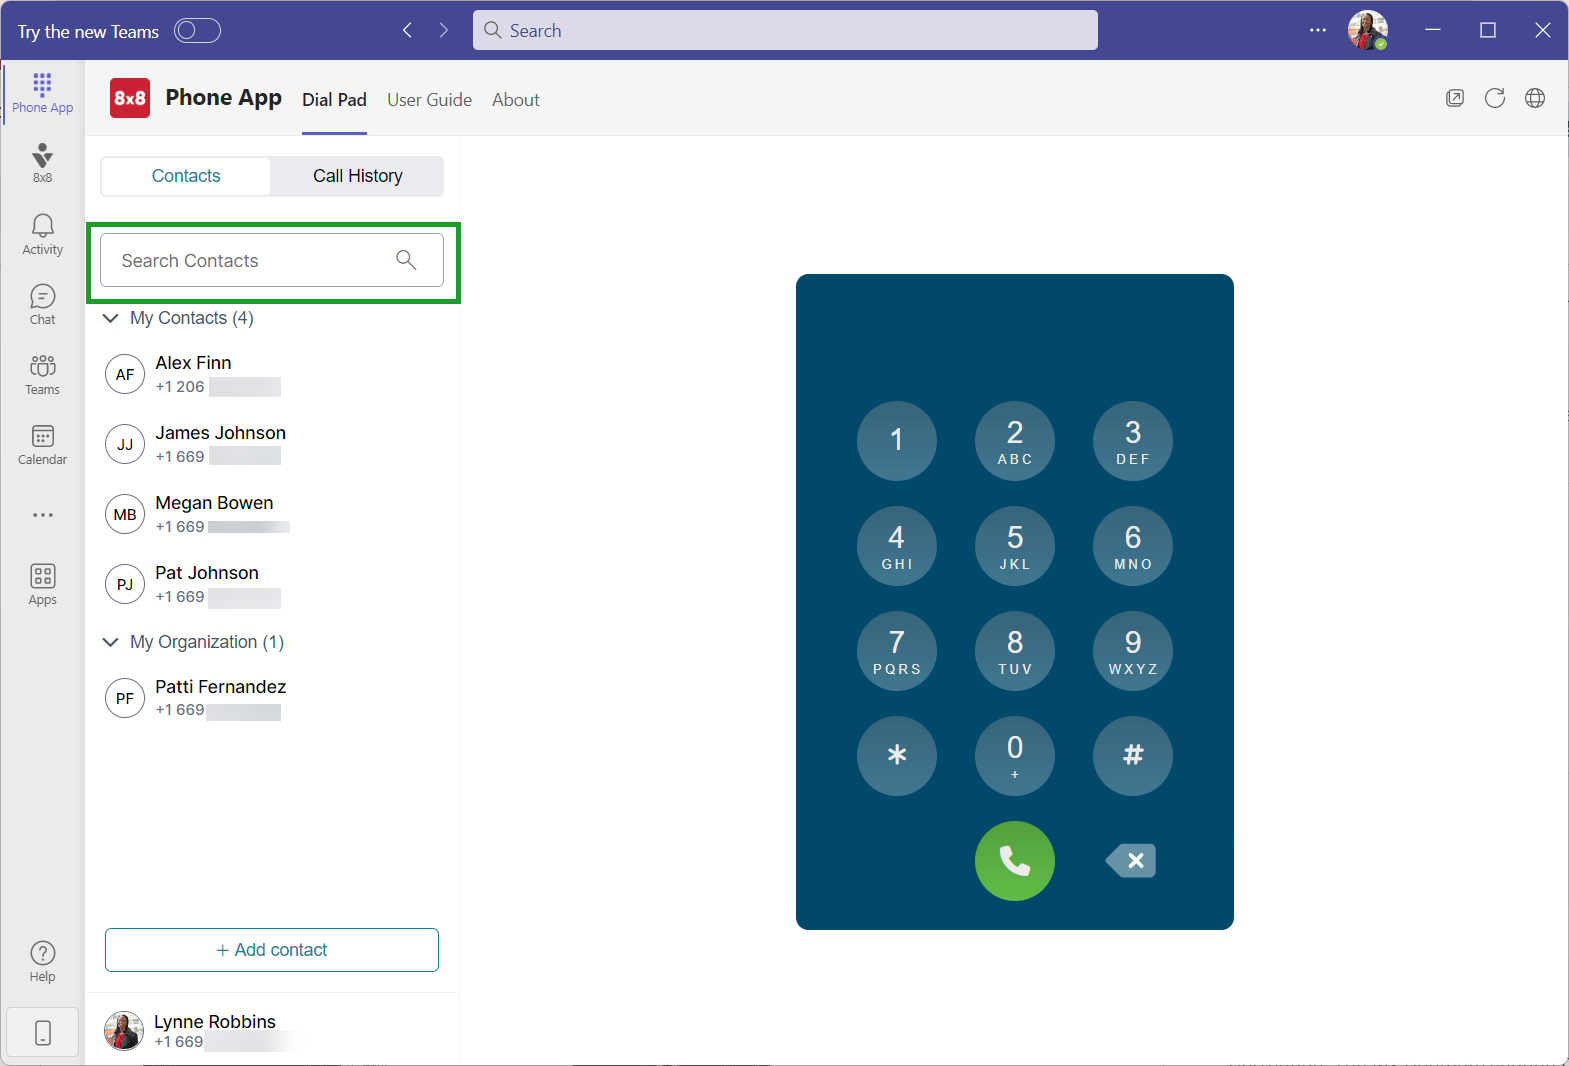
Note: You can search for contacts by name or phone number.
Note: You can only access contacts saved in the Phone App. in your Microsoft Outlook, or in the Microsoft 365 admin center.
Note: You can pin or unpin a contact from your Contacts/Call History pane by clicking ![]() icon next to it and then Pin or Unpin to have it removed from your Contacts/Call History pane.
icon next to it and then Pin or Unpin to have it removed from your Contacts/Call History pane.
Add contacts
Let’s say you’re always dealing with prospective clients and keeping track of their contact details is very important. To ensure you can easily keep track of the people you communicate with outside your organization, you can add people to your contact list in bulk or individually.
To add one or more contacts to your My Contacts list:
-
In Phone App
 , go to the Contacts/Call History pane > +Add contact.
 -
In the window that opens:
Add the contact information for the required fields, and click Add.
-OR
- Click Bulk Import, then use either the Drag or browse option to import your CSV file.
Note:Contacts will be saved under My Contacts, and will be added to your Microsoft Outlook directory.
Edit contacts
Note: You can only edit the contacts available under My Contacts that you created in Phone App or Microsoft Outlook.
Let’s say you received a notice from one of your contacts that they will be updating their work phone number. You can easily edit a contact’s details with a few simple clicks.
To edit a contact:
- In Phone App
 , go to Dial Pad > Contacts/Call History pane, and find the desired contact.
- When the contact displays in the list, click
 icon next to the contact’s name.
 - From the drop-down list, select Edit Contact.
- In the Edit Contact window, make the necessary changes.
- Click Save.

Delete contacts
Note: You can only edit contacts available under My Contacts that you created in Phone App or Microsoft Outlook.
Let’s say you added a personal contact to your contact directory, and you would now like to remove it from the list. You can easily delete a contact’s details with a few simple clicks.
To delete a contact:
-
In Phone App
, go to Dial Pad>Contacts/Call History pane, and find the desired contact. -
When the contact displays in the list, click
icon next to the contact’s name. -
From the drop-down list, select Delete Contact.
-
At the prompt, click Yes, delete the contact.
The contact is permanently deleted from the My Contacts list and from your Microsoft Outlook contacts.