Note: AI Studio is an Early Access Program (EAP) product. Features may change after this documentation is published. If a feature is not included in this guide, use the built-in AI Builder to explore available capabilities.
Get started
Use 8x8 AI Studio to create AI agents that handle voice calls, messaging conversations, and automated workflows. In this guide, you will learn how to set up 8x8 AI Studio, create your first agent, and configure it to respond to users and take actions.
Before you begin, make sure you have access to the required tools and permissions, and at least one communication channel configured.
Use 8x8 AI Studio when you need to:
- Handle high volumes of repetitive customer or internal requests.
- Provide 24/7 support across voice or messaging channels.
- Reduce manual routing, ticket creation, or response handling.
- Replace or enhance traditional IVR systems with conversational experiences.
- Connect communication workflows with external systems like CRMs or ticketing tools.
Install the 8x8 AI Studio application
Install AI Studio from the 8x8 App Store in the Admin Console. After installation, access it from the 8x8 Application Panel.
- To install 8x8 AI Studio:
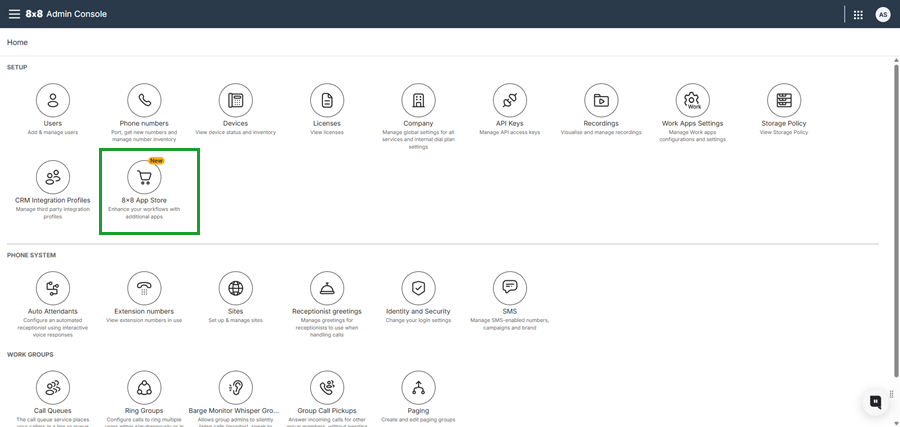
- Log in to the 8x8 Admin Console.
- From the navigation menu, open the 8x8 App Store.
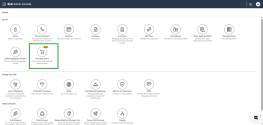
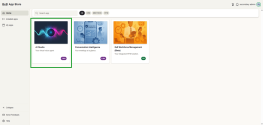
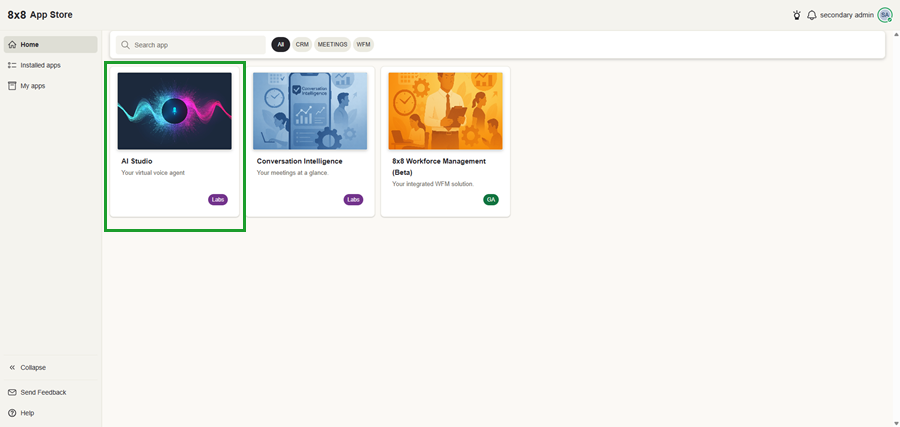
- Select AI Studio from the results or search for AI Studio.
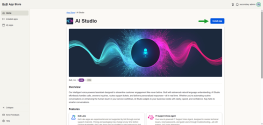
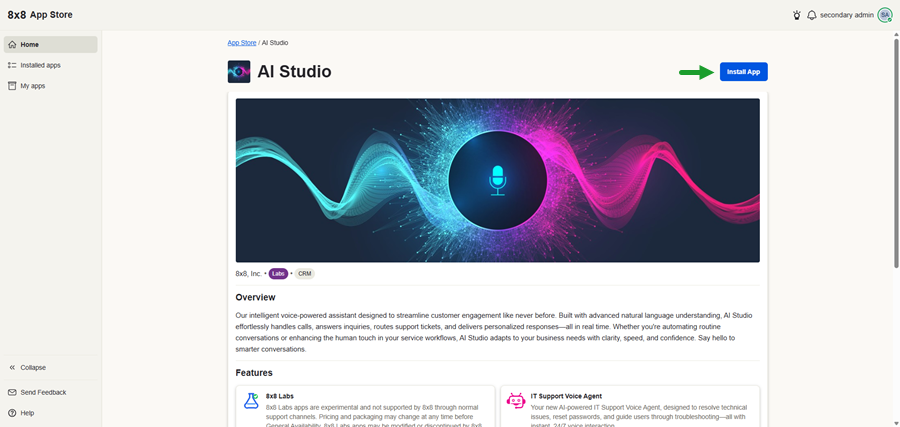
- Click Install to add it to your environment (if not already installed).
- Agree to the terms and services.
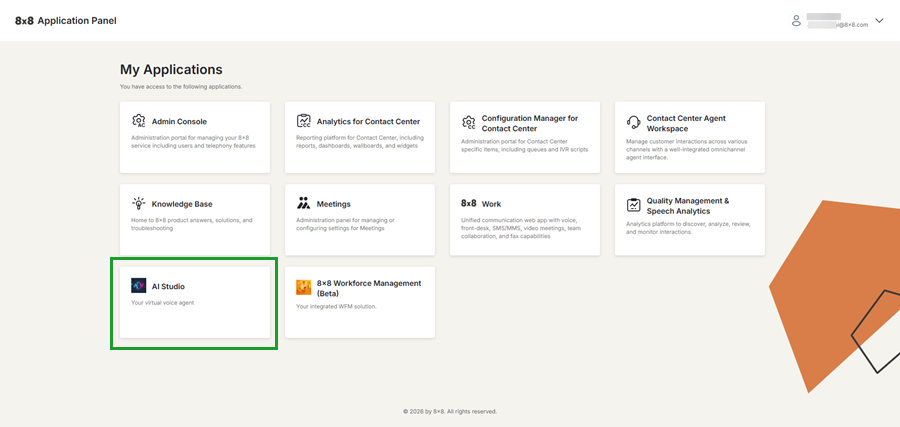
A banner confirms the installation is successful. After installation, the AI Studio tile appears on the My Applications page in the 8x8 Application Panel. Click the AI Studio tile to open it, or access it from the 8x8 App Store.
Configure 8x8 AI Studio access and assign DIDs
Before users can access 8x8 AI Studio, you must configure app visibility, and assign access permissions in the 8x8 App Store.
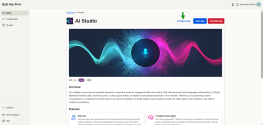
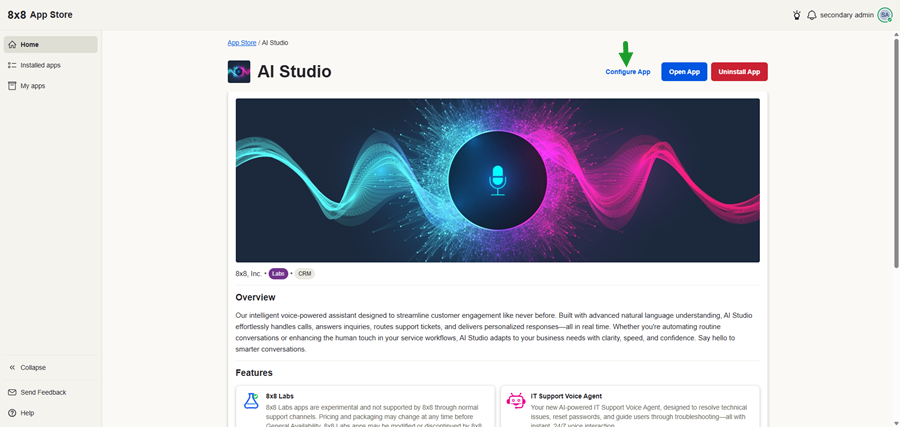
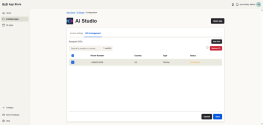
To access the configuration settings, open 8x8 AI Studio from the 8x8 App Store and click Configure App from the upper right side. Use the Access settings tab to define app visibility and the DID management tab to manage any associated phone numbers or routing configurations.
Configure 8x8 AI Studio app visibility
You can make the app available to everyone in your organization, or to specific users and groups.
To configure 8x8 AI Studio:
- Log in to the 8x8 Admin Console.
- From the navigation menu, open the 8x8 App Store.
- Select AI Studio.
- Click Configure App from the upper right side.
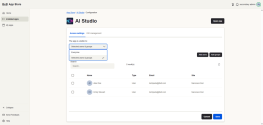
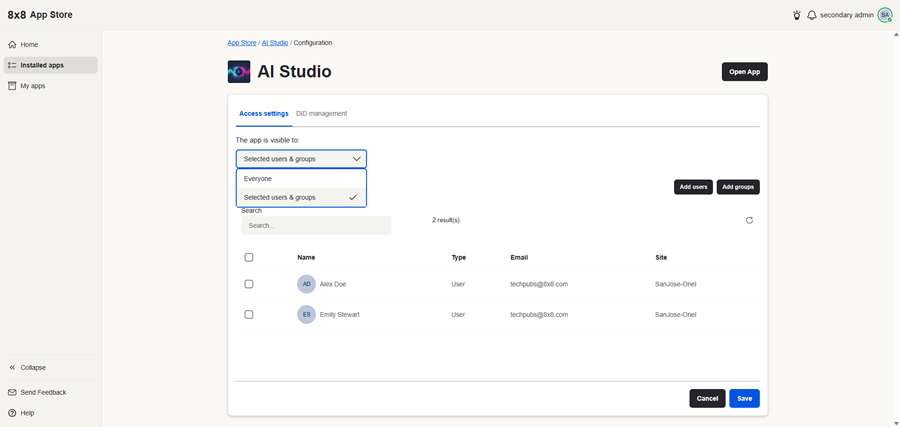
- From the Access settings tab define app visibility by selecting:
- Everyone: Allows everyone from your organization to view the AI Studio app.
- Selected users & groups: Allows you to make the app visible to specific users and groups. Click:
- Add users: To make the app visible to specific users. Select the users, preview the selection, then add them to the list.
- Add groups: To make the app visible to specific user groups.
- Click Save.
Assign a Direct Inward Dialing number
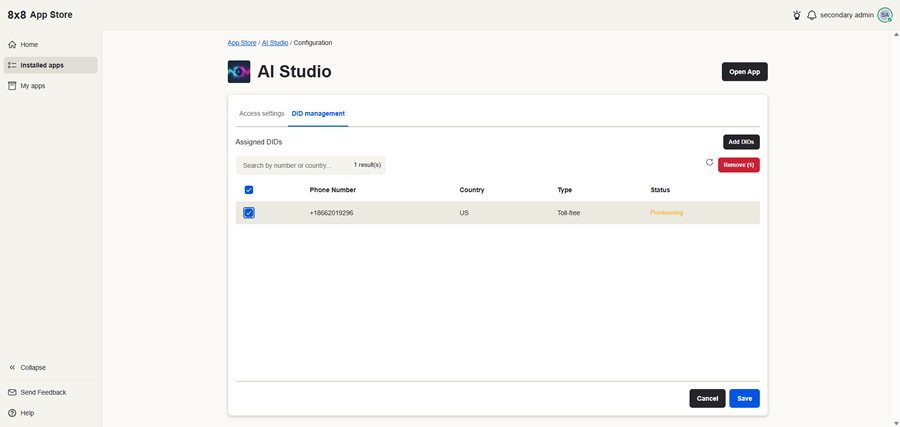
Assign a Direct Inward Dialing (DID) number to allow the AI agent to receive and handle incoming calls. When a user dials the assigned number(s), the call is routed to the AI agent, which can then respond, route the call, or perform actions based on its configuration.
To assign a DID in 8x8 AI Studio:
- Go to the 8x8 App Store and select AI Studio.
- Click Configure App from the upper right side.
- From the DID management tab:
- Click Add DIDs to select numbers, preview your selection, then add the numbers to the list.
- Select existing DIDs and click Remove to delete associated phone numbers.
- Click Save.