Introduction

The integration with 8x8 Contact Center application brings phone ,email, and chat communication in to Zendesk environment. With this app, you can interact with your customers via phone ,email, and chat media without leaving Zendesk. You can be better informed and prepared to answer customer calls by previewing relevant customer record details before accepting a call. During an inbound call, the app tracks if the caller is an existing user by searching the Zendesk database. On finding a matching record, it presents the record for you to preview and prepare for the call.

Key Benefits

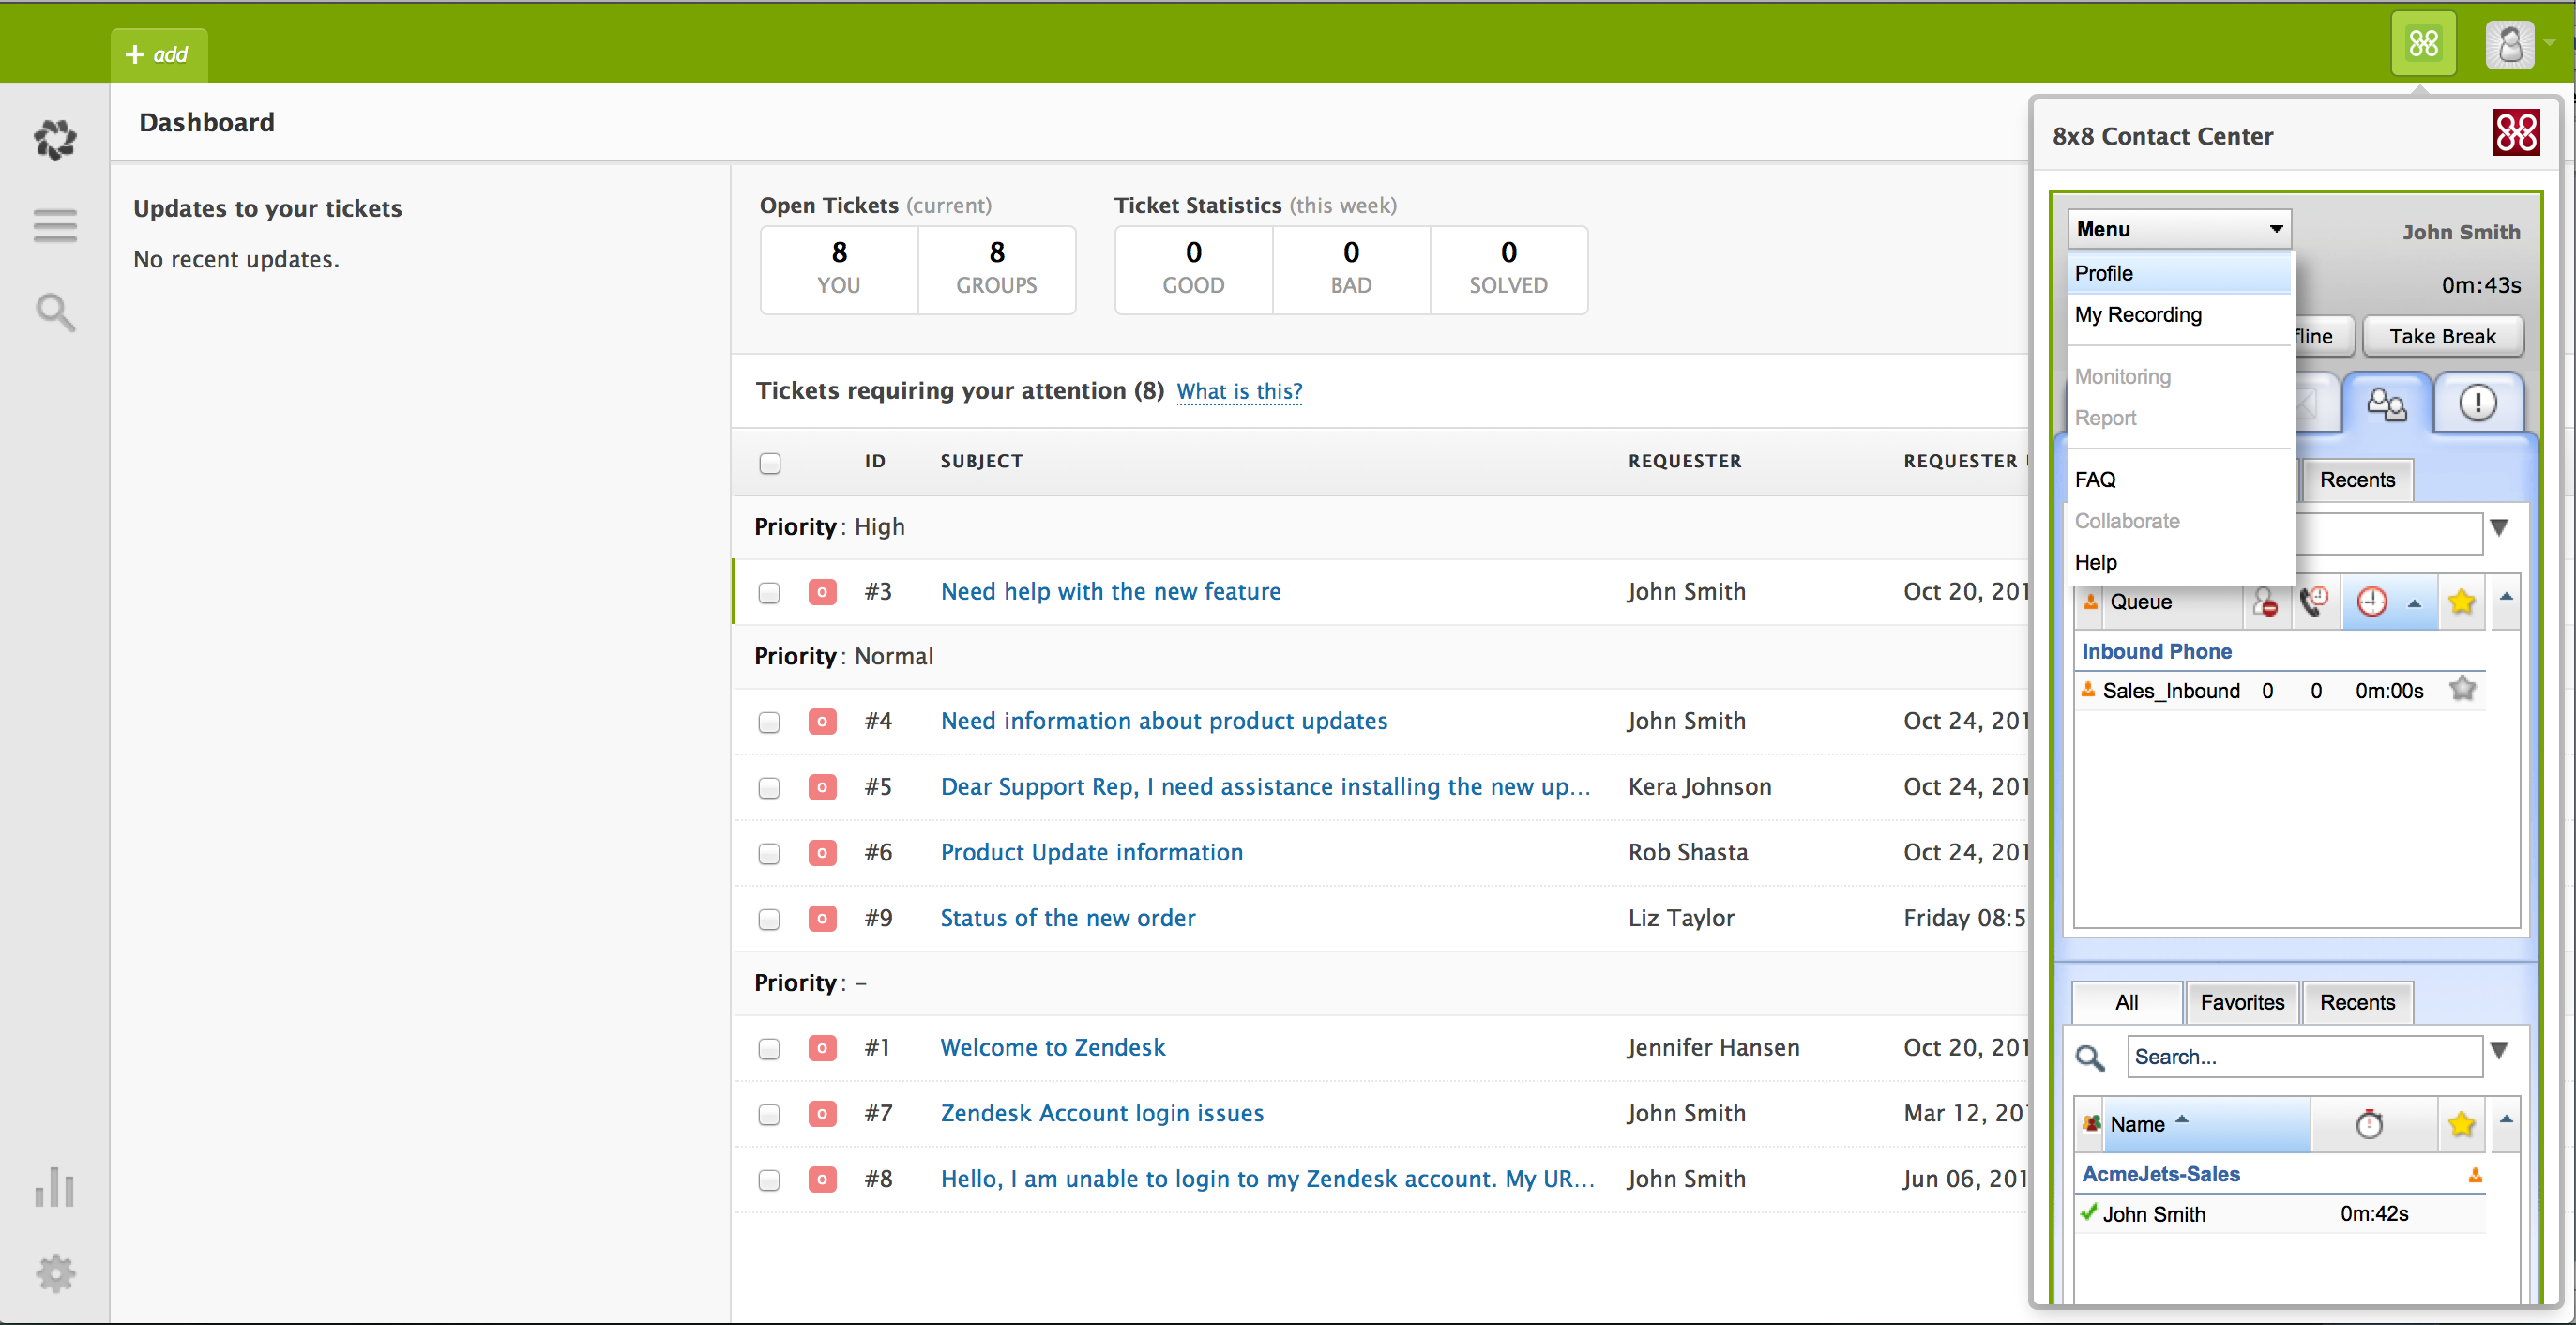
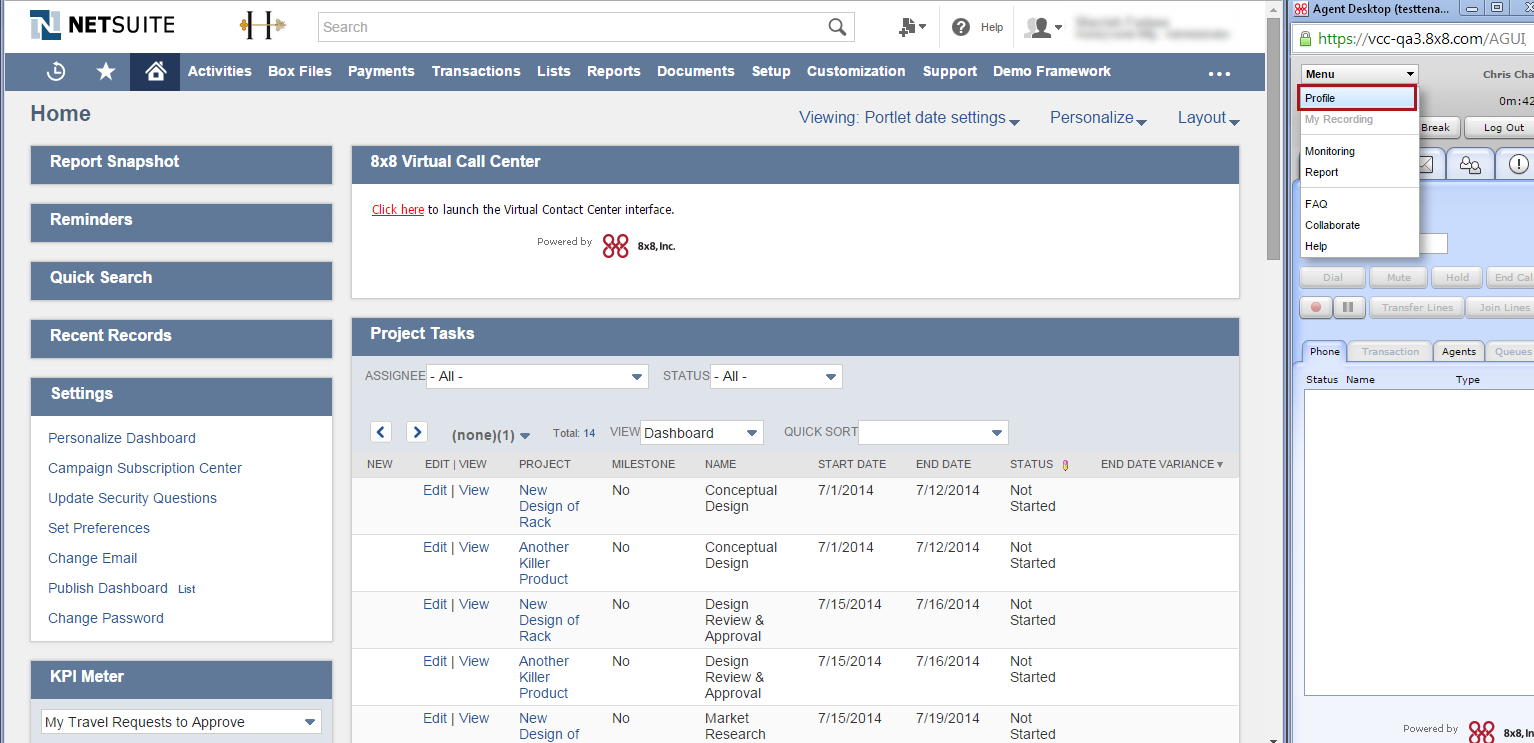
Using the 8x8 contact center app, you can:

Before you begin

Before you begin,

How do I Launch 8x8 Virtual Contact Center?

  1. Log in to your Zendesk account.
  2. On the top right hand corner of the Home screen, click the 8x8 app icon. Click the 8x8 link in the Virtual Contact Center portal.

    The application launches.
  3. At the prompt, enter user Id and password to log in to the app. (Consult your Supervisor for credentials)

    Note: Multiple invalid login attempts may lock you out.

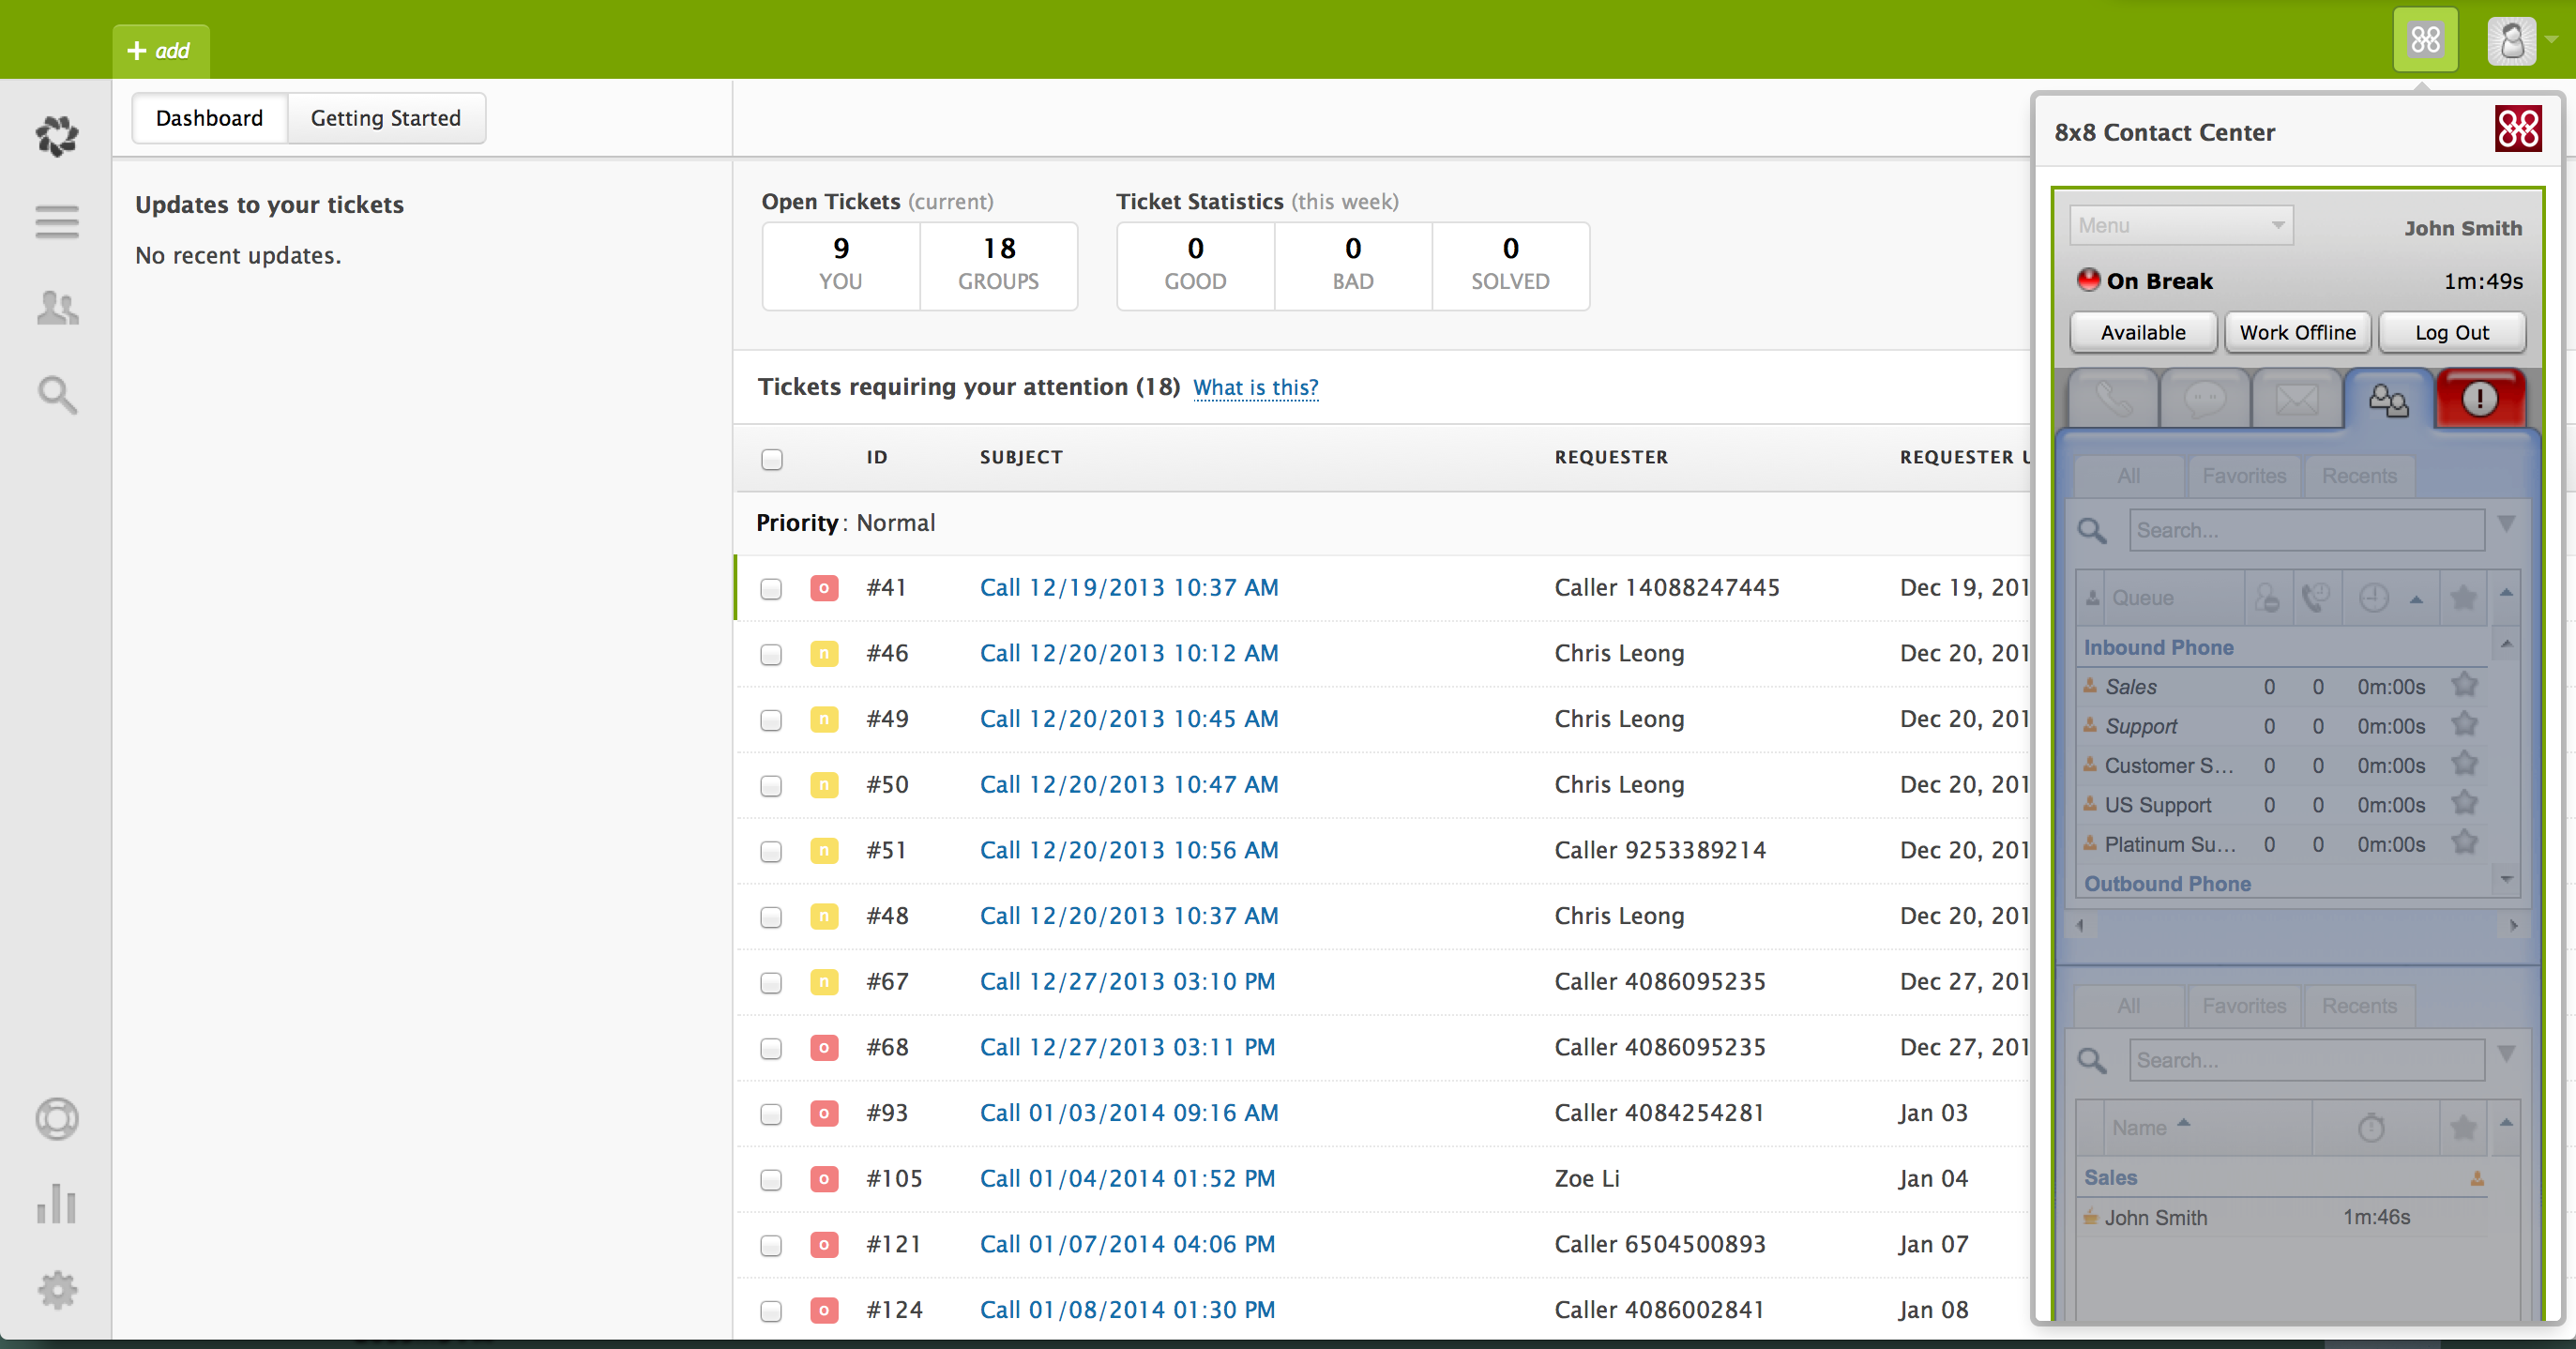
  1. You are now logged into the app. The app launches placing you on Break status.

    For more information on agent status and the overview of Agent Console, refer to the Quick Start Guide.

  1. Change your status to Available or Work Offline.

    Note: The integration does not support email media.

After logging in to 8x8 Contact Center app

Follow this checklist to get started.

How do I activate integration with 8x8 Contact Center?

To activate the integration, you must save your Zendesk login credentials in the 8x8 app.

  1. From the Menu drop-down, select Profile.

    Your agent profile allows you to set up Zendesk credentials.
  2. Navigate to External CRM section.
  3. Add your Zendesk account login information.
    Your integration is now active.

How do I set up a phone to receive calls?

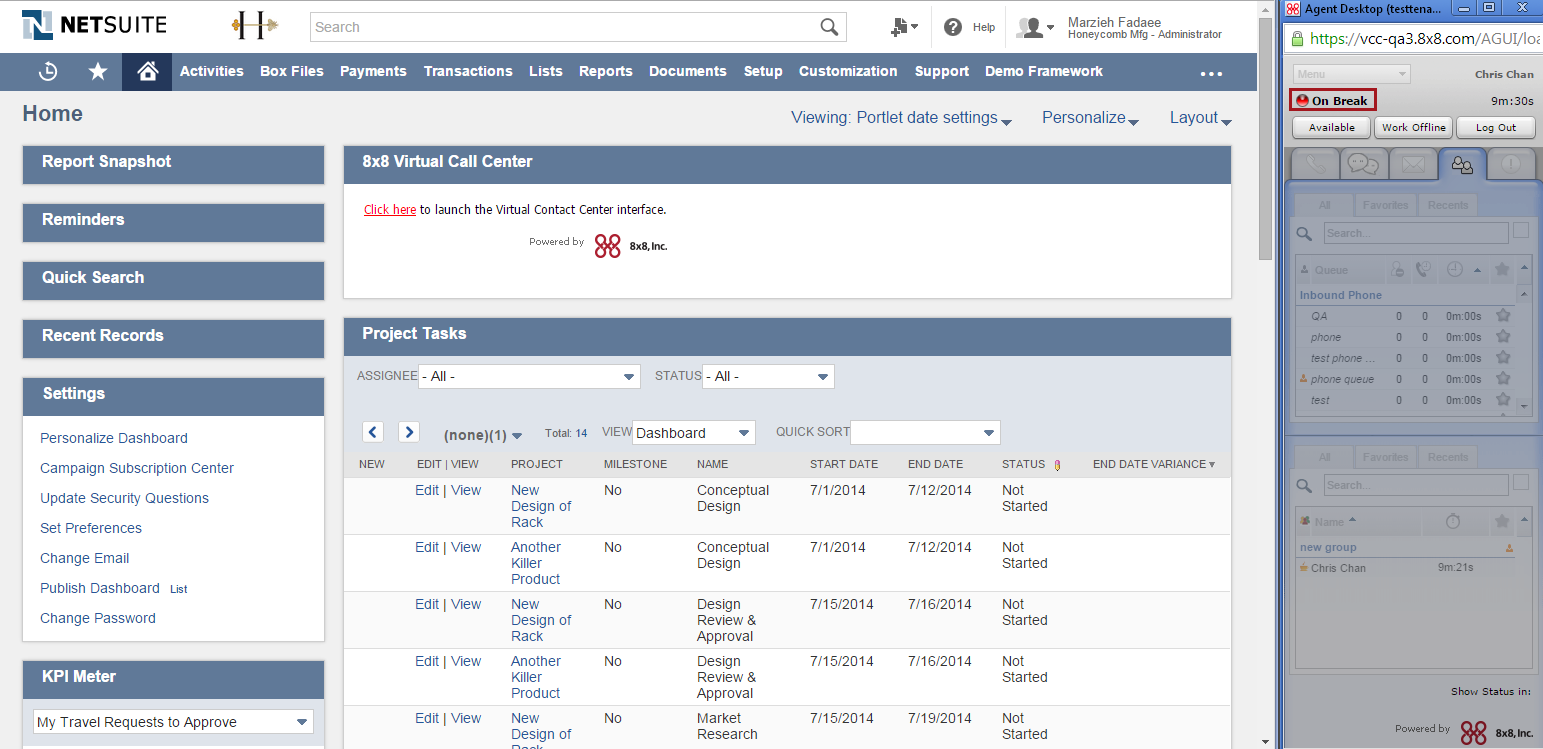
You can set up a softphone or a hard phone to receive calls.

  1. From the Menu drop-down, select Profile.

  2. In the Personal settings, enter a phone number or SIP Phone URI.
  3. Click Make Verification Call to verify the phone number.
  4. Make sure the phone number is in the right format and click Save.

How do I check my queue assignments?

To process phone and chat interactions from the app, you must be a member of phone and chat queues.

Note: Phone queues are separately defined for inbound and outbound communication.

  1. From the Profile, navigate to Assigned Queues area.
  2. Click the tab for phone or chat queues.
  3. Make sure your queue assignment is active.


Send us your Feedback