Overview: HubSpot integration
The 8x8 Contact Center for HubSpot Integration offers seamless, out-of-the-box connectivity with minimal setup. It enhances agent efficiency with features like Screen-Pop for contextual CRM insights, automated interaction logging, click-to-call functionality, and automated record creation for unmatched workflow efficiency. A self-service portal allows easy configuration and customization, ensuring tailored CRM integration to meet business needs.
Audience
This guide is intended for HubSpot administrators configuring the 8x8 Contact Center integration for HubSpot.
Features
- Out-of-the-box integration with minimal setup required.
- Support for SMS channels (Contact Center only).
- Support for WhatsApp channels (Contact Center only).
- Screen-pop and contextual information: Automatically retrieve and present HubSpot records upon initiating or receiving an interaction, offering agents invaluable context, including past call history, to enhance customer interactions.
- Interaction logging and history: Effortlessly record interactions upon completion, accurately linking them to the appropriate record and capturing vital data such as call duration, call recording, and SMS transcript.
- Automated record creation: Automatically generate new records when no match is detected, boosting agent efficiency and ensuring a constantly updated customer relationship system.
- Configuration and customization: Configure CRM Integration workflows via a self-service administration portal.
Availability
The 8x8 for HubSpot Integration is available in the United States, the United Kingdom, Australia, and New Zealand.
The 8x8 for HubSpot Integration is compatible with HubSpot Enterprise.
Browser requirements
This integration is only supported in Google Chrome because it uses a Chrome extension to connect with HubSpot.
Limitations
- The integration doesn’t currently support click-to-dial.
- Limitations related to SMS support:
- We currently don't support SMS messaging to short code numbers. We support messaging to toll-free and regular phone numbers.
- We don't support MMS.
- SMS messaging doesn't support images or emojis. It is plain text only.
- Customer responses to agent initiated messages are not directed to the agent unless a dedicated SMS queue is set up for the agent.
- Group messaging is currently not supported for outbound SMS.
- For outbound SMS, an SMS channel must be set up with a number for that region.
- To send a message while on a call, there must be a disposition code set up.
- Alphanumeric sender ID’s are not available.
- Limitations related to WhatsApp support:
- Agents cannot initiate outbound WhatsApp messages.
- Agents cannot send images to customers; they can only receive images. The images sent by the agent will not be received by the customer.
- When a .txt file is sent, its content appears directly in the conversation and interaction log instead of as a file attachment or link.
- Attachments such as images, video recordings, GIFs, and documents are not supported in the interaction log. They appear as links, but cannot be accessed or opened.
- When Enable Translation is turned on, emojis sent by external users are not transferred to the agent.
- Voice notes are not supported in the interaction log.
- Location pins are not supported in the interaction log.
Supported CRM objects
8x8 integration with HubSpot currently supports the Contact object in HubSpot.
Required permissions
- Users need to have access to Service, Contacts, and Marketing.
- Under Marketing, the minimum requirements include turning on Lists.
- As a Super Admin, enable Edit property settings to grant non-Super Admins permission to create and edit object properties. To enable this permission:
- Log into HubSpot using your Super Admin account.
- Click Settings
 from the top-right corner of the page.
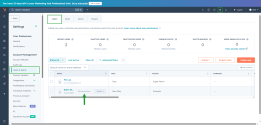
 - From the side navigation menu, select Users & Teams from the Account Management section.
- Hover over a user and click Edit permissions. The user’s access page displays.
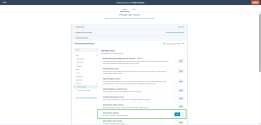
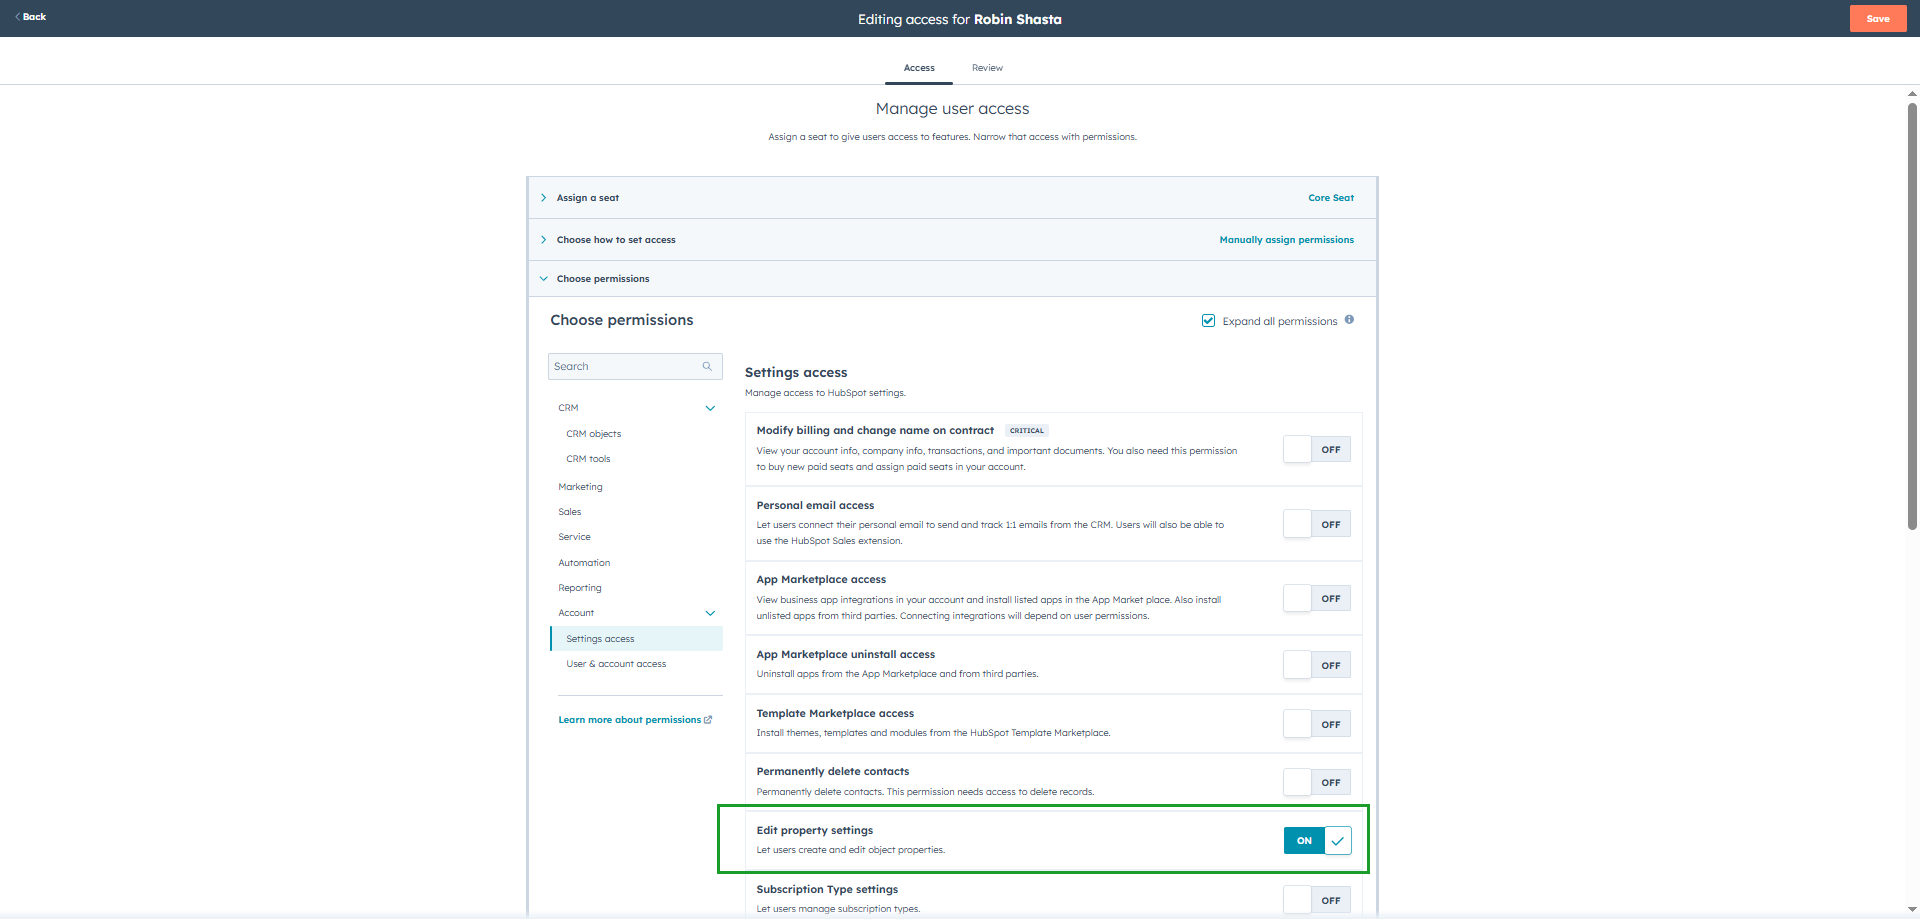
- From the Choose permissions section, go to Accounts to expand the list of options.
- Select Settings access.
- Toggle ON Edit property settings to allow non- Super Admins to create and edit object properties.
- Click Save from the top-right corner of the screen.
Note: The Edit property settings option is unavailable for users with View-Only Seat access.

Allow pop-ups and redirects
To ensure the integration works as expected, you must allow pop-ups and redirects.
- Go to your browser settings.
- Click on Privacy and Security from the side navigation menu.
- Click on Site settings.
- Click on Pop-ups and redirects.
- Click Add and enter <https://cloud8.8x8.com> to the list of allowed sites. Chrome automatically saves these settings.
Note: Ensure that a pop-up blocker is not preventing new tabs from opening from HubSpot. This may not be required if your default settings has allowed all pop-ups and redirects to be displayed.
Allow third-party cookies
- Go to your browser settings.
- Click on Privacy and Security from the side navigation menu.
- Click on Site settings.
- Click on Third party cookies.
- Click Add and enter <https://cloud8.8x8.com> to the list of allowed sites. Chrome automatically saves these settings.
Note: This may not be required if your default settings allow all third party cookies.