Receive calls in 8x8 Work for ServiceNow
8x8 Work for ServiceNow enables you to receive and manage calls from within your company and ServiceNow users.
Note: If your extension does not use a desk phone, you must accept the call in the softphone client.
Depending on the number of the caller, you will go through one of following calling experiences:
- Single-match: The caller number is associated with a single ServiceNow user. By default, single-match calls bring up user records via screen pop.
- Multiple-match: The caller number is associated with multiple ServiceNow users.
- Unknown number: The caller number is not associated with any of your ServiceNow users.
Before you start receiving calls:
- If your 8x8 Work extension uses only a softphone, log in to one of the following clients to facilitate calls:
- If your 8x8 Work extension is assigned with a desk phone, use the control panel in the application to facilitate calls.
Receive from single-match numbers
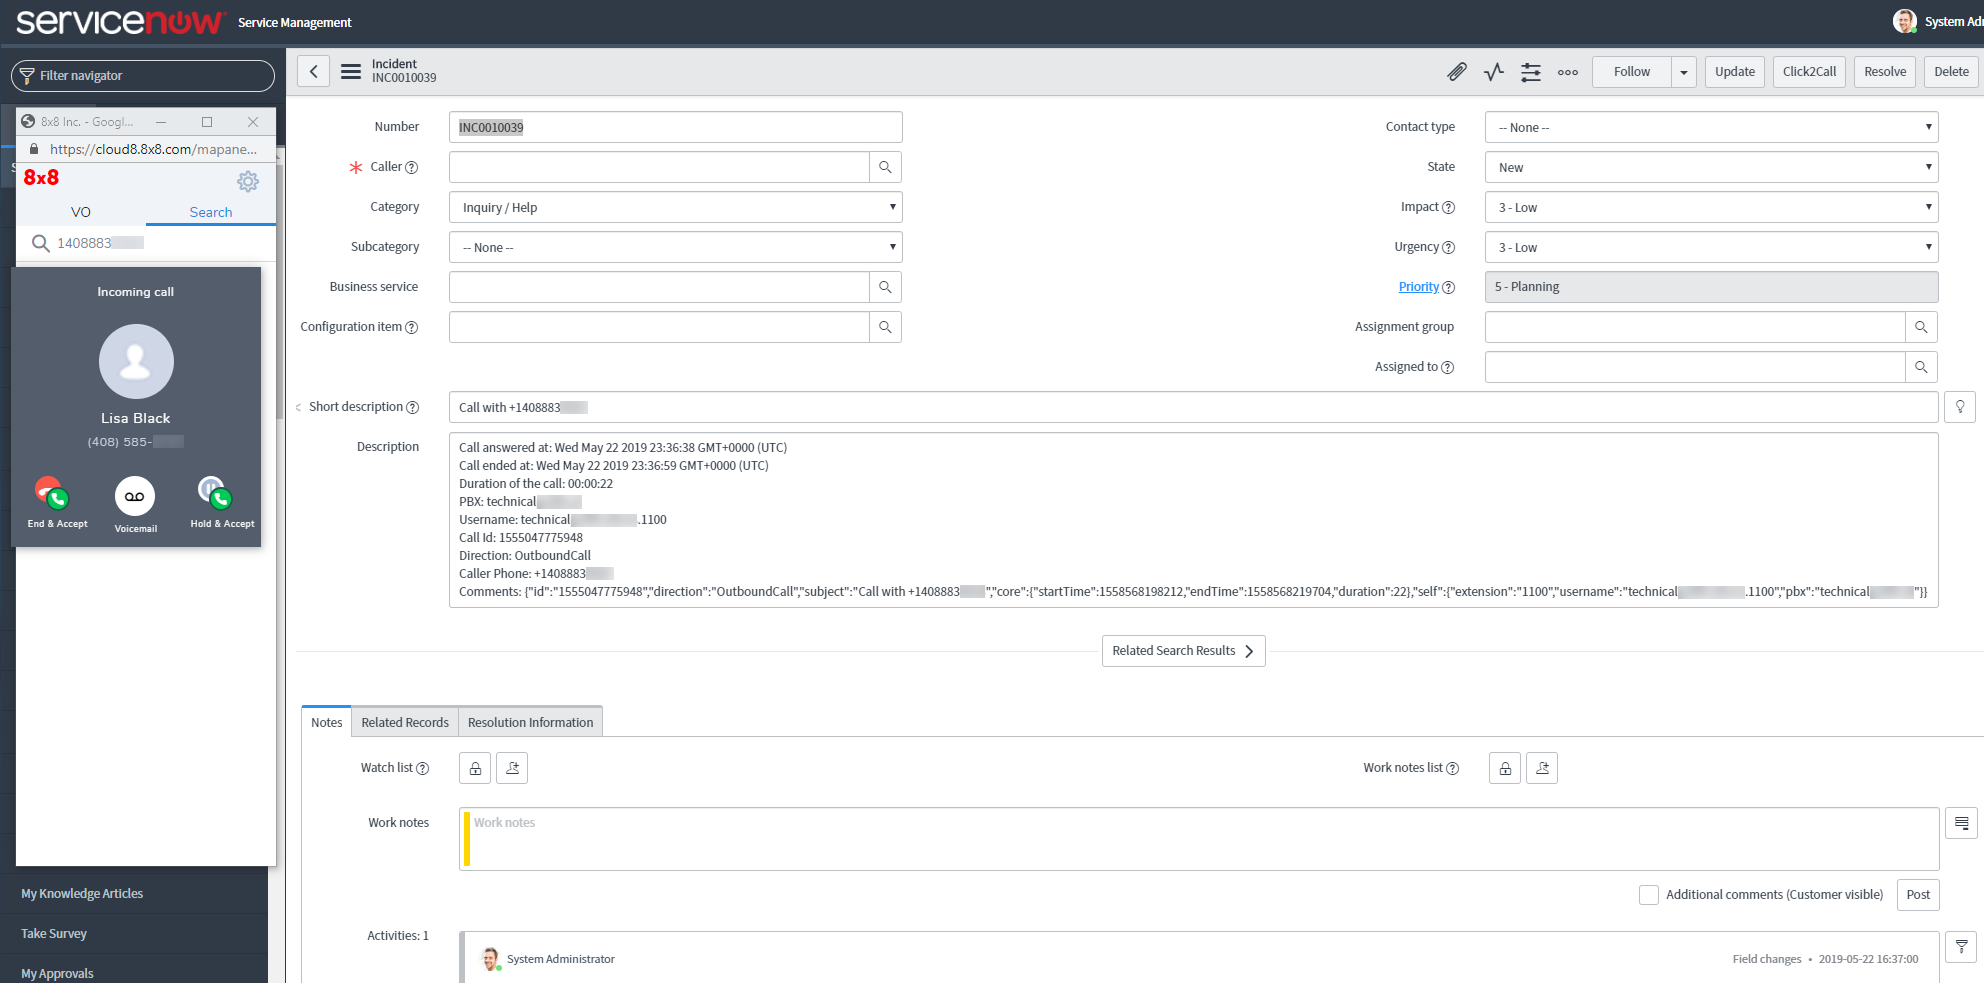
If you receive a call from a ServiceNow user with a unique phone number, you can transition into logging the call (completing incident details) when the call ends.
To receive a call from a user:
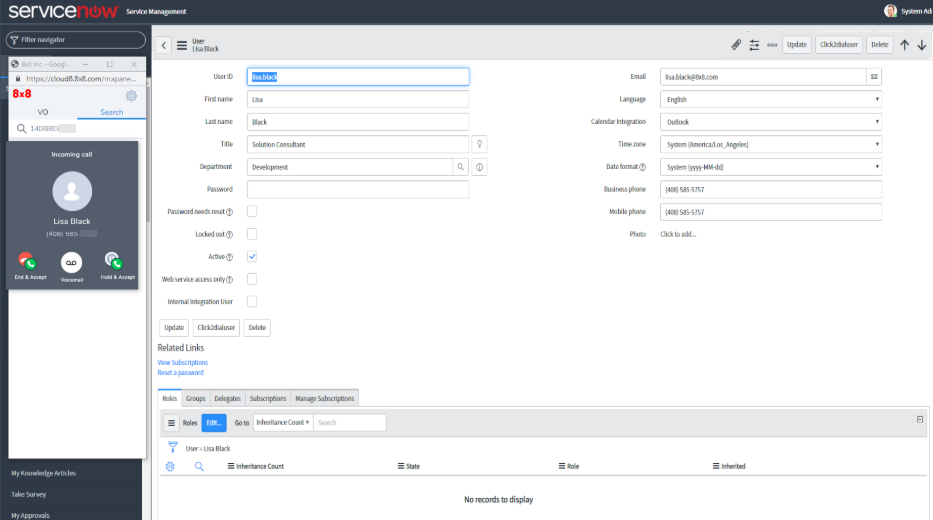
- When you receive a call, the call control panel pops up to indicate an inbound call. Click to accept the call in the 8x8 Work control panel. The matching user record is presented to you via screen pop.
- Once the call ends, an incident (call log) in ServiceNow is automatically created, and pops up in a new browser tab. Add phone conversation details to the incident log for future reference.

- When you finish adding details to your call log, click Update.
Receive from multi-match numbers
If you receive a call from a number that is associated with multiple users (such as a desk phone shared amongst a group of people), the 8x8 Work for ServiceNow integration detects and notifies you that inbound call has more than one match in your user directory. With this information, you can then assign the call to the correct user and ensure an accurate incident report (call log).
To receive a call from a number with multiple matches:
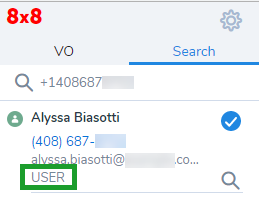
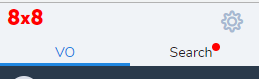
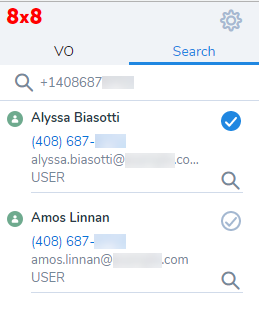
- If the number of the caller is associated with more than one of your users, the call control panel indicates multiple matches. This is shown by a red dot above the Search tab.
- To resolve a multiple match result, verify which of your users is calling you. Once you verify the caller, go to the Search tab in the control panel. Your search results automatically display all users associated with the caller number. From the search results, select the check mark next to the correct user to assign the call to them.

- Once the call ends, an incident (call log) in ServiceNow is automatically created, and pops up in a new browser tab. Add details of your phone conversation to the incident log for future reference.
- When you finish adding details to your incident click Update.

Receive from unknown numbers
If you receive a call from an unknown number that is not yet associated with a user in ServiceNow, the integration detects and notifies you that the number is not associated with any of your known users.
To receive a call from an unknown number:
- If the number of the caller is not associated with any of your users, the caller is listed as Unknown.
- Verify with the caller whether they are an existing user using a new number, such as a landline instead of their mobile device.
To add an unknown number to your ServiceNow database:
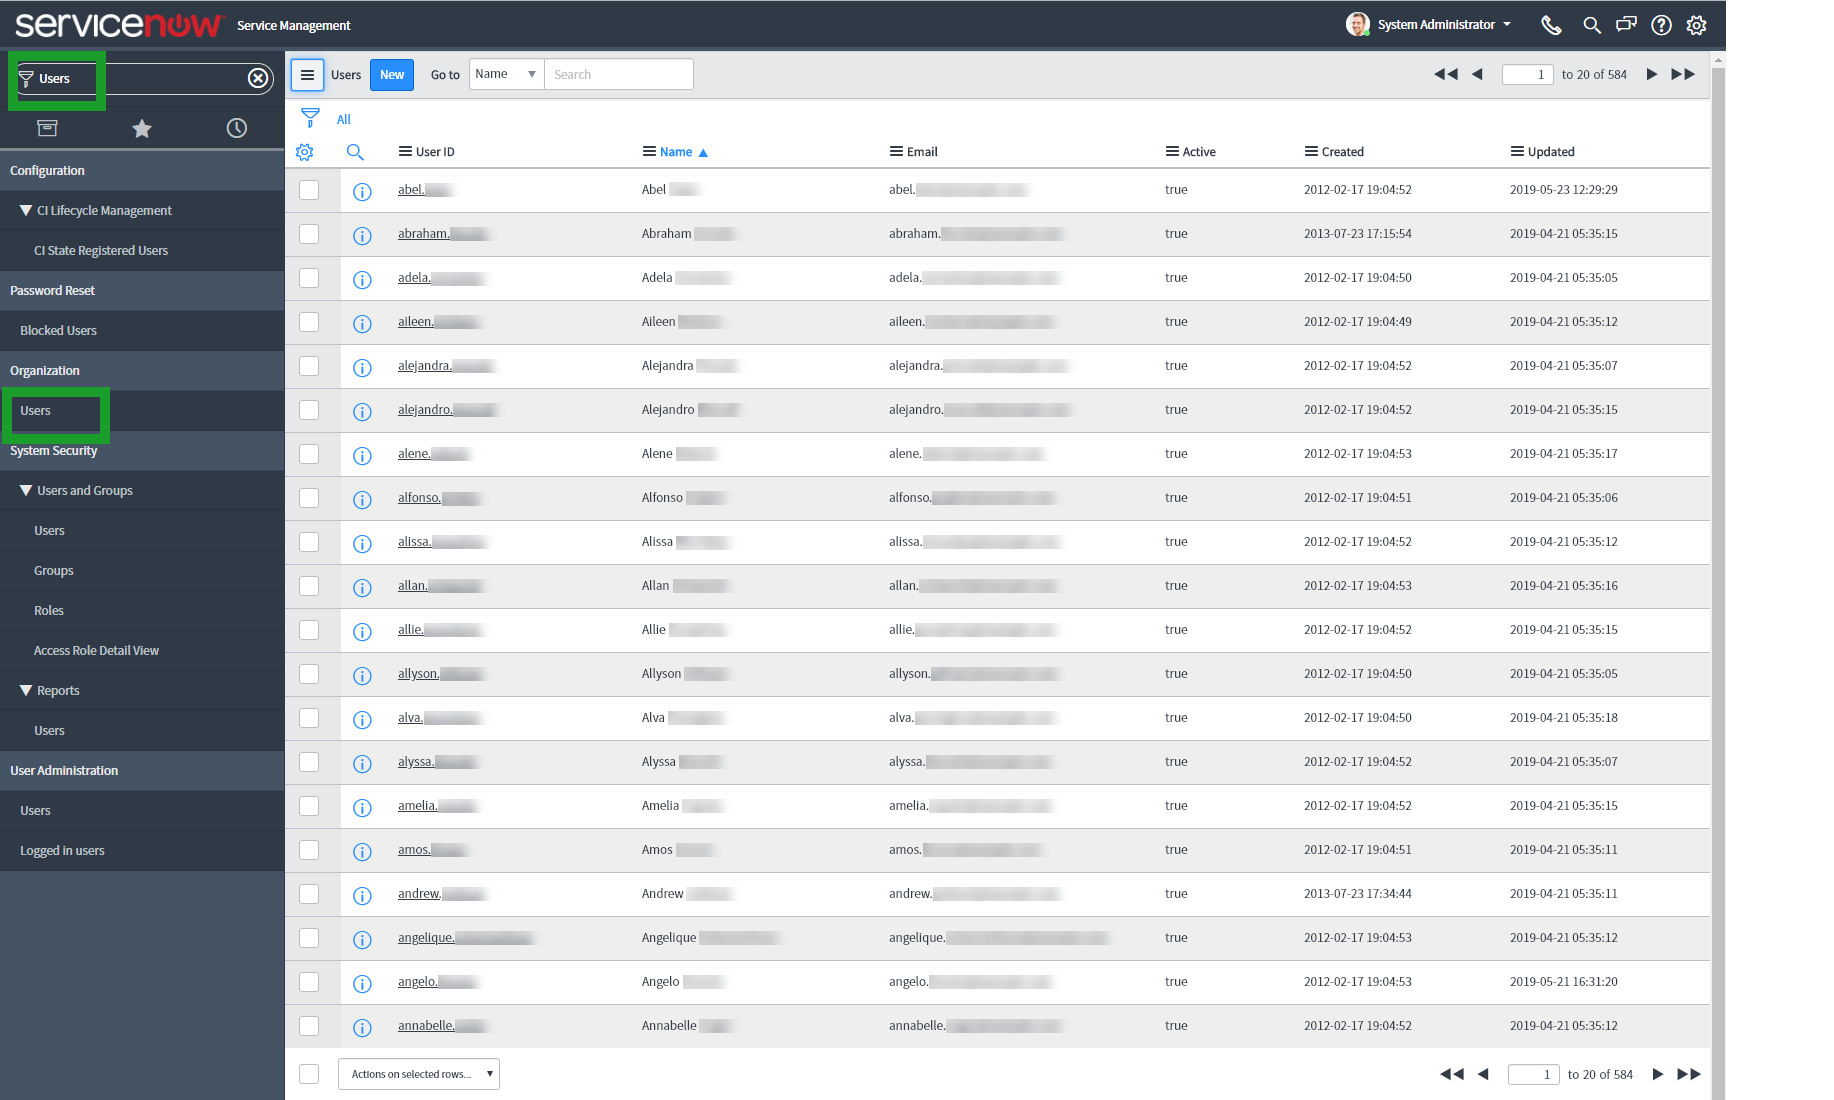
- While on a call, enter the word <Users> in the Filter Navigator field of the ServiceNow dashboard, and confirm to open a list of ServiceNow categories.

- Access the Organization category, and click the User sub-category to open the list of ServiceNow users.
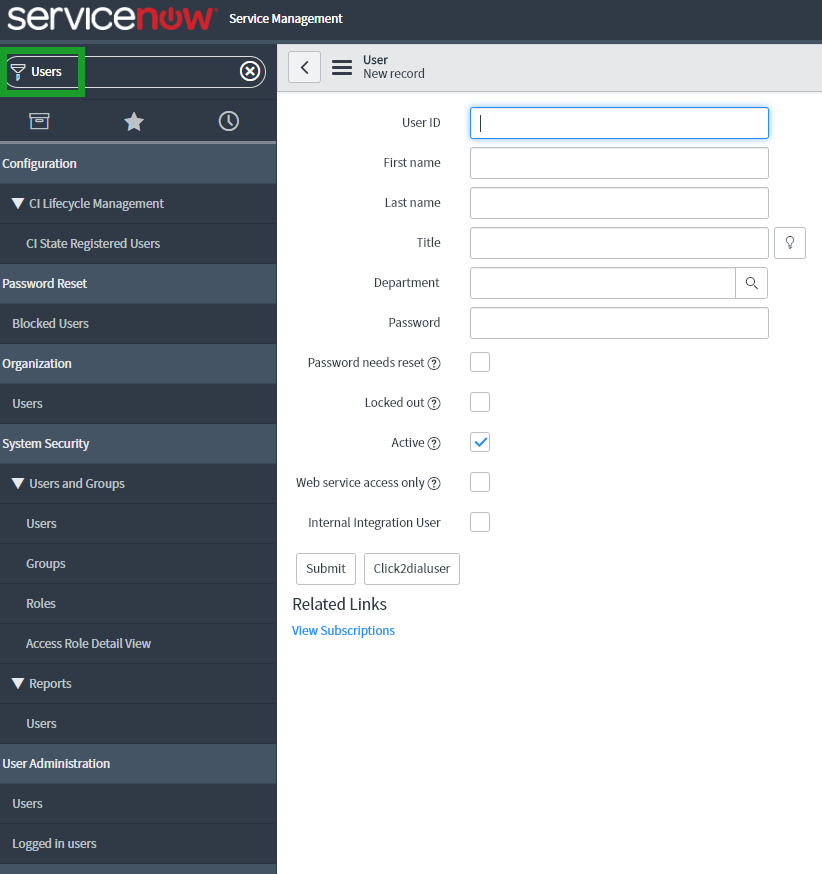
- Click the New button at the top of the listing to open the new user record page.
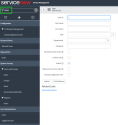
- Input your new user information in the displayed fields.
-
When you have completed entry of all of your new user details, click Submit to add the user to your ServiceNow database. The user now shows up when searched in your control panel.

Note: Test that you can find the new user by inputting their number or name in the search field of the control panel.
- Once the call ends, an incident log in ServiceNow is automatically created, and pops up in a new browser tab. You now have a user you can associate with this current incident.
- Add phone conversation details to the incident log for future reference.
- When you finish adding details to your call log, click Update.