Get started with Salesforce Integration
After logging to the 8x8 Contact Center application, follow the checklist below to get started:
- Activate Salesforce integration
- Tour the interface
- Set up a phone number to receive calls
- Check your queue assignments
Activate integration with 8x8 Contact Center
To activate the integration, you must first connect with Salesforce via Settings.
- Log in to (Undefined variable: 8x8VariablesSet.AgtConsole ).
- Click
 or Settings at the top.
 - Select Integrations > Salesforce
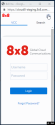
- Click Connect. The 8x8 integration is now established with Salesforce.
- Click X to navigate back to the agent interface. Your integration is now active.
Note: Do not change the settings under the Settings > 8x8 tab. Any changes to the link can break the integration with 8x8 Contact Center.

Tour the interface
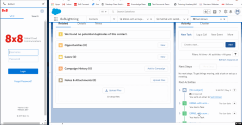
You can enable several integration settings in the floating browser window.
The 8x8 Contact Center interface consists of a navigation menu with the following menu items.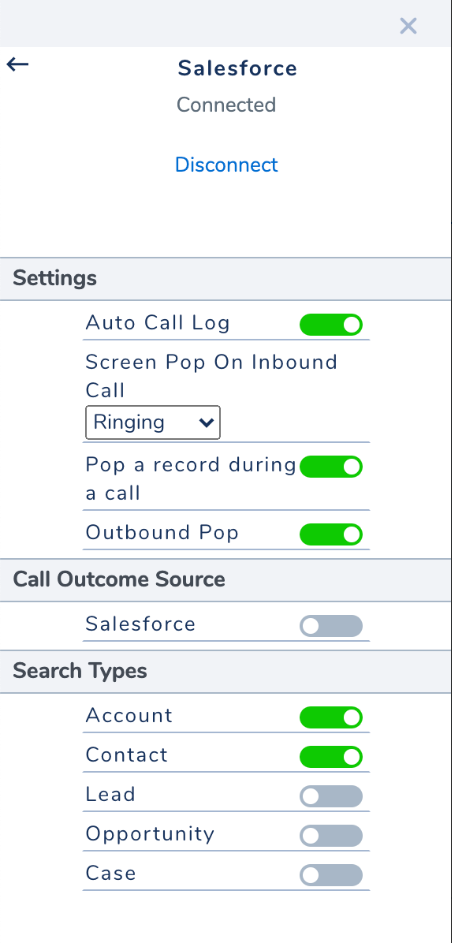
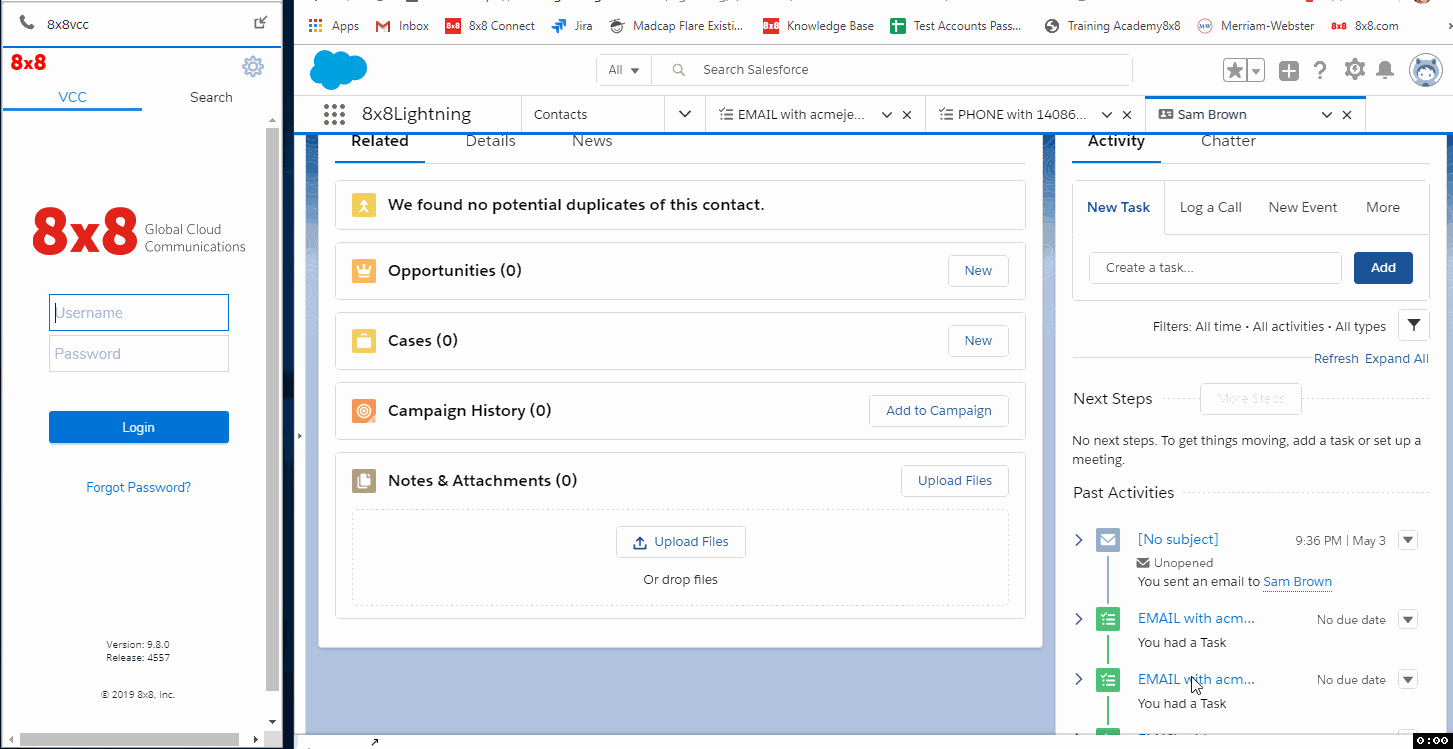
- VCC tab: Access the complete functionality of (Undefined variable: 8x8VariablesSet.AgtConsole ) to manage customer interactions across phone, chat, and voicemail media channels.
- Search tab: View the list of matched records when an inbound call matches multiple records. Select the contact from the list. If the call is from an unknown number but an existing contact, you can look up existing contacts and assign the call to the contact you want. Wildcard search is supported.
- Settings : Customize your app settings.
- Integrations > Salesforce Manage your Salesforce integration settings for call logging. Under Settings, see:
- Auto Call Log: Enable this option to automatically generate a log for all phone calls, chat interactions, and voicemails. A call log includes information about the time a call was initiated, terminated, duration and more. A chat log includes the chat time and transcript. Just like a phone log, the voicemail log includes information about the time a call was initiated, terminated, duration, and more. This option is enabled by default.
- Screen Pop On Inbound Call : Allows you to set a screen pop when the agent's call is ringing, connected, or never.
- Ringing: A contact pops up for a single-match record during an inbound call, chat, or voice mail when the agent's call is ringing.
- Connected: A contact pops up for a single-match record when an inbound call, chat or voice mail connects.
- Never: The contact does not pop up when there is a single-match record during an inbound call.
- Pop a record during a call: This controls the screen pop behavior while handling multiple concurrent inbound calls. If enabled, then during a second call, a contact screen pop displays if the call has single match record. If disabled, then during the second call, no contact screen pop displays.
- Outbound Pop: This controls contact screen pop for outbound calls. If enabled, when an agent makes an outbound call and a single-match record is found for that phone number, then a contact screen pop displays. The contact screen pop does not display if this option is disabled.
- Call Outcome Source Salesforce: This option is unavailable in 8x8 Contact Center for Salesforce.
- Account: Enable this option so a call is searched for an existing Account. This option is enabled by default.
- Contact: Enable this option so a call is searched for an existing contact record. This option is enabled by default.
- Lead: Enable this option so a call is searched for an existing lead record. This option is disabled by default.
- Opportunity: Enable this option so a call is searched by a specific opportunity. This option is disabled by default.
- Case: Enable this option to search cases associated to matched records containing the same phone number or email address as the current interaction. This option is disabled by default.
- Integrations > Salesforce Manage your Salesforce integration settings for call logging. Under Settings, see:
Set up phones to receive calls
You can set up a softphone or a hard phone from the agent profile in (Undefined variable: 8x8VariablesSet.AgtConsole ) to receive calls.
- Log in to 8x8 Contact Center app.
- From the drop-down menu, select Profile.
- In Personal settings, enter a phone number or SIP Phone URI.
- Click Make Verification Call to verify the phone number.
- Make sure the phone number is in the right format and click Save.
Check queue assignments
To process phone and chat interactions from the 8x8 Contact Center, you must be a member of phone and chat queues.
Note: Phone queues are separately defined for inbound and outbound communication.
- From Profile, go to the Assigned Queues.
- Click the desired tab for phone, chat, or voicemail queues.
- Make sure your queue assignment is active by selecting the checkbox.
- Save the changes.