Note: This version of the integration is no longer supported. For the latest version of this guide, see Virtual Office for Salesforce 3.1.
What's New in Release 2.2?
- In this release, we offer compatibility with Salesforce Lighting platform. Agents on Lighting platform can communicate with their customers using the Virtual Office for Salesforce Communication Panel.

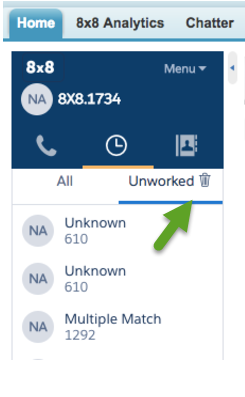
- A quick delete feature to clear the list of Unworked calls, which are calls that were not logged. This allows users to start fresh with a clean and empty Unworked list. The feature appears as a trash can when the Unworked tab is selected within the Recent Calls section of the Virtual Office for Salesforce Communication Panel.

- Improved stability and performance.
For known issues and limitations, click here.
What's New in Virtual Office for Salesforce Communication Panel Release 2.0?
Important: For version 2.0, we have made changes to the Call Center XML in Salesforce. Please check the installation instructions below.
We have introduced some major enhancements in this release that are targeted to improve the efficiency of sales teams. Sales representatives, handling high call volume and managing interactions in Salesforce will find these improvements useful. We recommend that you train employees on the use of the new integration.
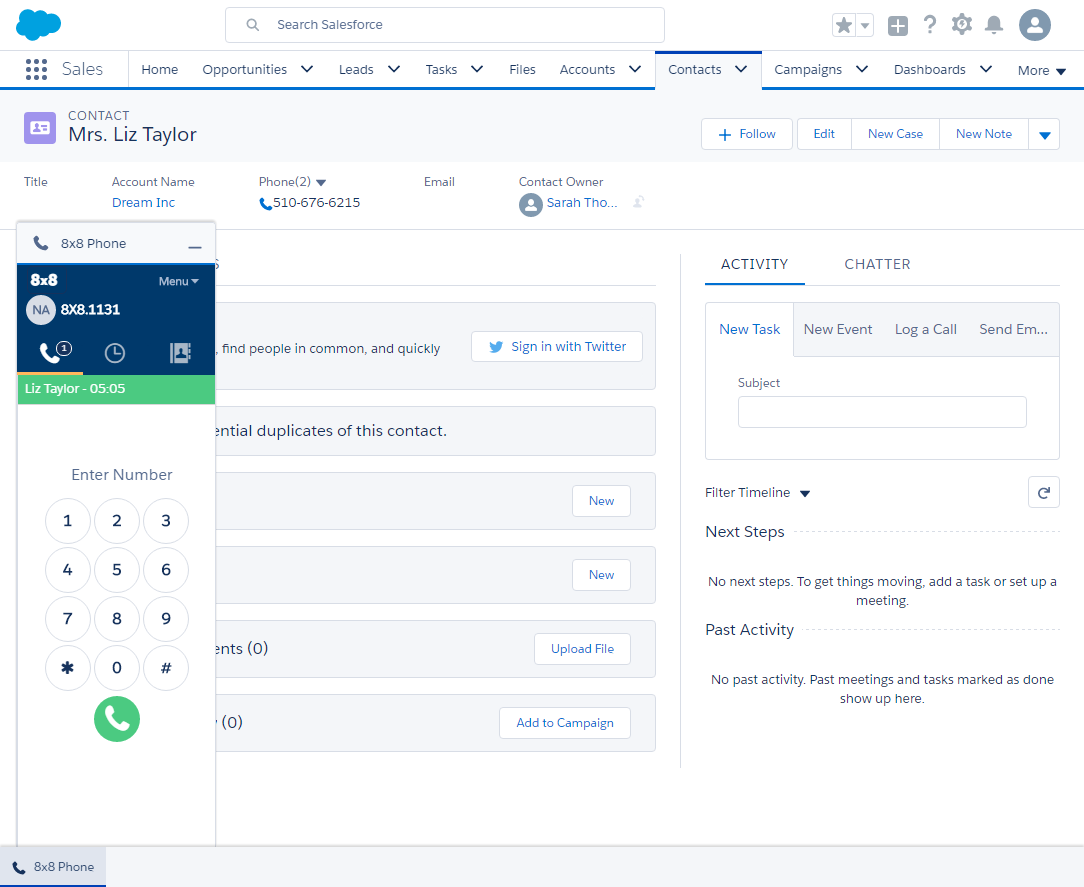
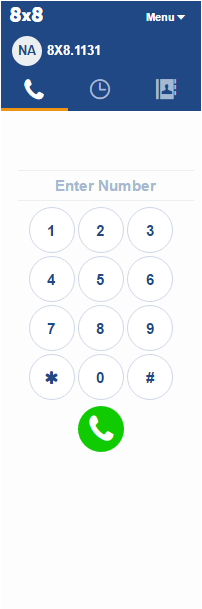
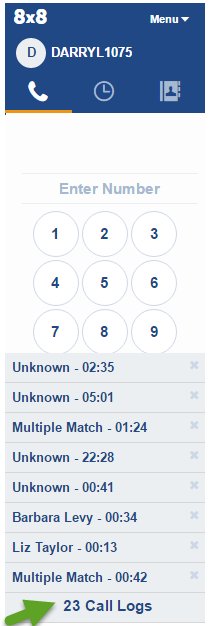
- Updated Interface: The user interface is reimagined and updated completely. The navigation menu is now moved to the top with three items: Phone tab, Call log tab, and Directory tab. Learn more.

- Enhancements in Call Log: Previously, if an incoming call retrieved multiple matching records, you had to select the desired record at the beginning of the call. But now, you have the flexibility to select the desired Salesforce record at anytime during or after the call.

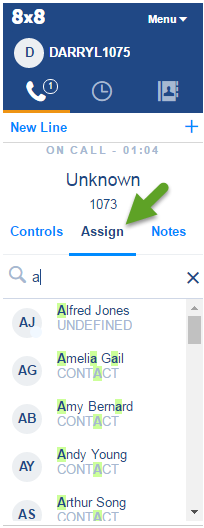
- Enhanced Ability to Assign Call Logs: Ability to assign call logs to existing contacts or new contacts is now improved. You can assign the call log to an existing Salesforce record of any supported object type and at any time during or after the call.

You can also create a new record (Lead, Contact, or Account) and assign it.- Improved ability to search records based on name, case numbers, and more.
- Possible match function allow the rep to assign any supported object that is open in Salesforce (Lead, Contact, Account, Opportunity, or Case).
- Recent Calls: Recent calls includes up to 50 of the most recent calls. Reps can click to add notes, assign the call log to a Salesforce object, or call the person back
- Introducing Call Drawer: For quick access, call logs are organized in a call drawer for agents to review and follow-up. In the Phone tab, click Call Logs to open the drawer.

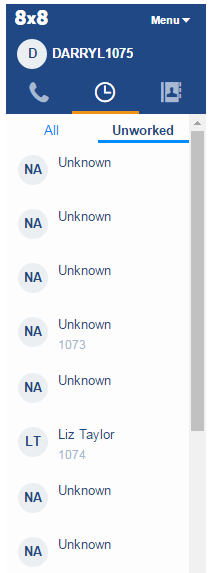
- Tracking Incomplete Call Logs Via Recent Calls (Unworked): If agents are busy and unable to assign the call log and add notes during or after a call, these calls are tagged as Unworked and listed in the Recents tab. This allows agents to access those logs quickly and process them efficiently.

This allows agents to know quickly which calls they need to add information to keep their account teams and management up to date on prospect communication. The system adds a default subject line (Call with John Smith) which can be revised and saved. - Ability to leverage existing call outcome choices: You can now use your existing list of call result choices as defined in the Call Center settings within Salesforce, or use a Salesforce pick list. The selection made by the rep is then stored along with the call log information into the task object.

How to Migrate to the Updated App?
Staged Migration by Adding the New App
Use this method to migrate your team to the updated app (2.0) in small batches. This may help prevent any possible slow-down in productivity. This allows you to use both call centers (1.8 and 2.0) at the same time.
Note: This section assumes that you have previously installed Virtual Office for Salesforce Communication Panel for Salesforce1.8.
Adding the new app involves:
Step 1: Install the New Salesforce Call Center XML File
- Download and save the linked XML document to your hard drive in a location you can find it. Click this link to download the XML file.
- While logged in as an administrator in Salesforce, click Setup.
- Enter <call centers> in the Quick Find/ Search box. From the resulting list, click Call Centers.
- In All Call Centers page, click Import.
- Click Choose File, navigate to the location of the saved XML file, select it, and click Open.
- Click Import.

Step 2: Configure the application
Depending on your integration requirements, you may want to match the configuration settings for the existing version of the app. You may choose to set up Single Sign-On, map the 8x8 call log data to specific Salesforce fields, and more.
Step 3: Add Users
In this step, identify and set up Salesforce users who need to use the new integration. If users are using the current 8x8 Salesforce integration, you will need to remove their Salesforce usernames from the current 8x8 call center before adding them to the newly added call center.
- Go to Setup > Customize > Call Centers.
- Select to open the 8x8 Virtual Office Integration - Next Generation Lightning.
- Click Manage Call Center Users.
- Click Find to list all users or add filters to search for specific users.
- From the list of users, select the desired users and click Add to Call Center.
Once all new users are in this Call Center the previous Call Center can be deleted.This completes the installation of the new 8x8 Salesforce integration.