Get started with the 8x8 integration for Microsoft Dynamics
Once you have access to 8x8 Contact Center for Microsoft Dynamics, you can launch the application and follow the checklist below to get started:
- Check your integration connection.
- Set up a phone number to receive calls.
- Check your queue assignments.
How do I log in to 8x8 Contact Center?
You can log in to 8x8 Contact Center using Individual System Sign-On, or, if enabled by the admin, using Single Sign-On.
Log in using Single Sign-On
The 8x8 integration for Microsoft Dynamics now supports SAML Single Sign-On (SSO).
Note: SSO is only available if configured by your admin.
To log in to the 8x8 Contact Center application using Single Sign-On:
- Log in to your Microsoft Dynamics account.
- If required, open the desired app.
Note: This step is only required when you first log in to your account, or after clearing your browser’s cache.
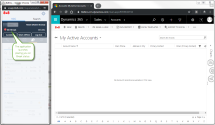
- On the top left corner of your home screen, click
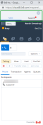
 . The 8x8 Contact Center app opens in a floating window.
Note: Ensure that your browser allows pop-ups from 8x8.
- At the prompt, add your user name then click Continue.
- Click Login with Organization.
Since you already added your login credentials in MS Dynamics, you are automatically logged in to 8x8 Contact Center app.
Log in using Individual System Sign-On
If the admin has not configured Single Sign-On log in, you can authenticate manually using Individual System Sign-On.
To manually log in to 8x8 Contact Center for Microsoft Dynamics:
- Log in to your Microsoft Dynamics account.
- On the top left corner of your home screen, click . The application launches in a floating browser window.
- At the prompt, enter your user ID and password to log in to the (Undefined variable: 8x8VariablesSet.AgtConsole ) application. Consult your supervisor for credentials. You are now logged in to the app. The app launches and places you on Break status.
- Change your status to Available or Work Offline.
Note: Multiple invalid login attempts may lock you out.
For more information on agent status and an overview of (Undefined variable: 8x8VariablesSet.AgtConsole ), refer to the Quick Start Guide.
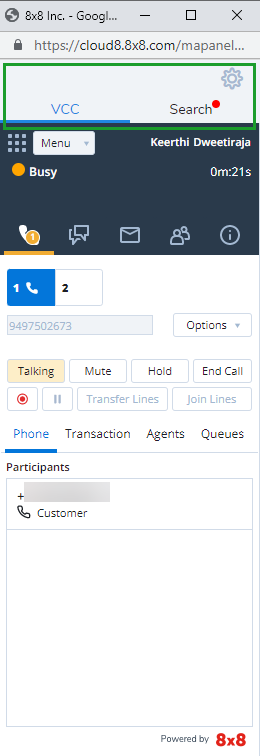
Tour the interface
The 8x8 integration app for Microsoft Dynamics interface consists of a control panel with the following menu items:
- From the VCC tab, access the complete functionality of 8x8 Contact Center app to manage customer interactions across phone, chat, and email media channels, view statuses, and notices.
- From the Search tab, you can search the contacts from the Microsoft Dynamics or 8x8 Contact Center app contact directory, assign contacts to active calls with unknown numbers, or with numbers that have multiple contact matches.
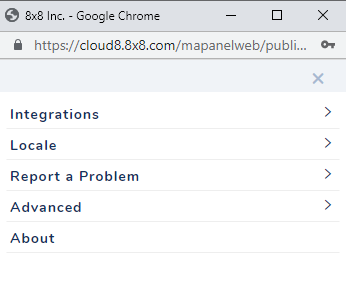
- From Settings
 , you can customize your app as follows:
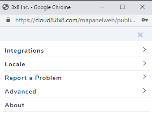
- Integrations > MS Dynamics: Manage your Microsoft Dynamics integration settings for call logging and screen pop.
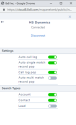
- Auto call log: When enabled, this option automatically generates a call log. A call log includes information about the time a call was initiated, terminated, duration and more. This option is enabled by default.
- Auto single match record pop: This option controls the screen pop behavior for single match records. When enabled, the browser pops the call record details in a new browser tab so the agent can preview and prepare for the call. This option is enabled by default.
- Call log pop: This option controls the call log pop behavior after terminating a call. When enabled, upon ending a call, the call log pops in a new browser tab. The call log typically includes information on the call initiation time, call termination time, call duration, call ID, direction, caller name, etc. This option is enabled by default.
- Auto multi match record pop: This option controls the screen pop behavior for multiple matched records. When enabled, the browser pops the call record details for the first match in a new browser tab. You can select to match the call to another user from the Search tab. Click
 next to the desired record to view the details. By default, this setting is disabled.
 - Account: Enable this option to allow the integration to search for an existing account record. This option is enabled by default.
- Contact: Enable this option to allow the integration to search for an existing contact record. This option is enabled by default.
- Lead: Enable this option to allow the integration to search for an existing lead record. This option is disabled by default.
- Locale: Displays the language of the application.
- Report a Problem: If you encounter problems with the app, report the problem by giving us some information. It sends an automatic log to the 8x8 support team.
- Advanced: Reset the panel to clear call history and end your 8x8 session.
- About: View details on your user extension and the app.
- Integrations > MS Dynamics: Manage your Microsoft Dynamics integration settings for call logging and screen pop.


Connect the integration with Microsoft Dynamics
To connect the 8x8 Integration with Microsoft Dynamics:
- Log in to your Microsoft Dynamics account.
- On the top left corner of your home screen, click .
- Log into the 8x8 Contact Center app that opens in a floating window.
- Click the settings icon in the app.
- Select Integrations > MS Dynamics > Connect.
The 8x8 integration is now established with Microsoft Dynamics and the Connection status changes to Connected.
Click ![]() to return to the VCC/Search tabs.
to return to the VCC/Search tabs.
Set up a phone to receive calls
You can set up a softphone or a hard phone from the agent profile to receive calls.
- From the drop-down menu, select Menu > Profile.
- In the Personal settings section, enter your Workplace Phone number or Workplace SIP URI.
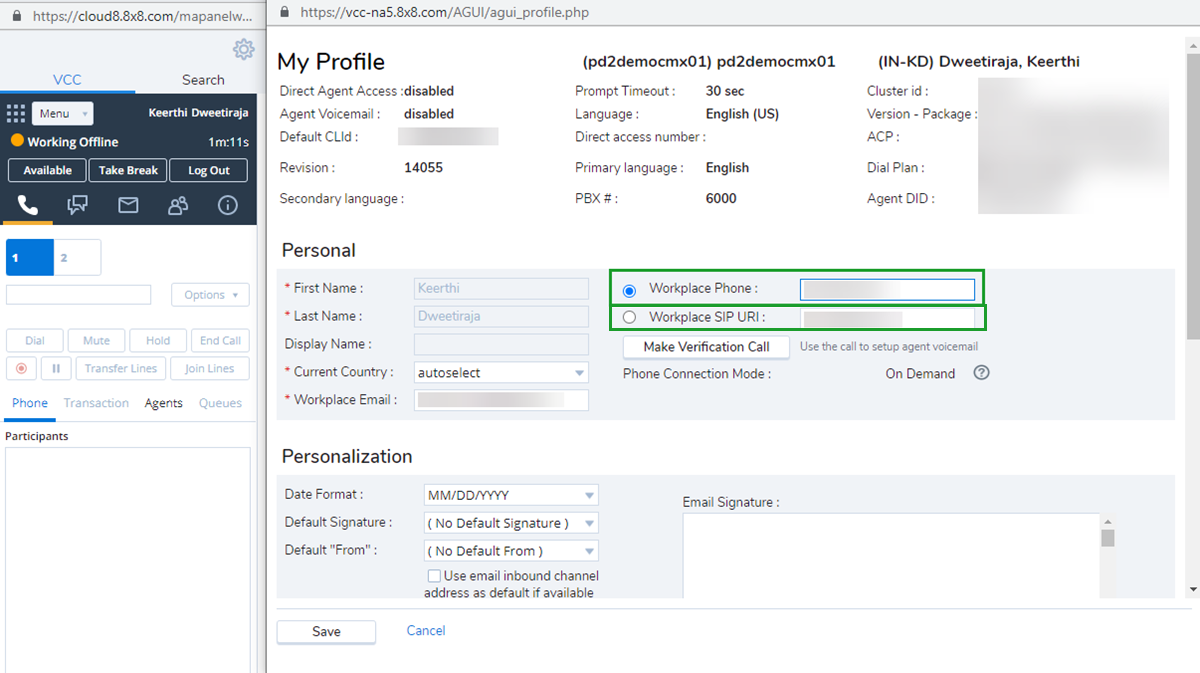
- Click Make Verification Call to verify the phone number.
Note: Make sure the phone number is in the correct format. For example, you may need to add 1 before your area code. Check with your administrator for the correct format and
- Click Save.