Handle calls
To receive or place calls using the 8x8 Contact Center app, you must:
- Be a member of the call queue to which the call is routed.
- Set your status to Available.
What happens when I am offered a call?
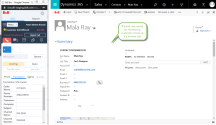
If the application is open, the Phone tab blinks red, indicating an inbound interaction. Click to answer the phone, the end-user record opens in a browser tab, even if the 8x8 Contact Center app floater window is closed.
What is a typical inbound call flow?
- When a call is offered, the phone tab blinks red.
- If the caller is an existing customer, the end-user record opens in a browser tab, allowing you to preview the customer details and prepare to greet accordingly.
- Answer the call.
- End the call. The post-processing time initiates. This is your time to wrap up notes for the call.
Note: Your administrator sets the post-processing timer. If the post-processing countdown interval reaches zero, 8x8 Contact Center automatically sets your status to Available.
- If applicable, click End Post Processing, or wait for the call to terminate.
- At the termination of the call, a call log is automatically generated
-
- Click Work Offline if you need more time to complete any post-processing tasks or add notes.

What is the screen pop behavior for a phone call?
During an inbound call, the 8x8 Contact Center application looks up the phone number of the caller and then searches for a matching record in the CRM. On finding a matching record, it presents the record for you to preview and prepare for the call. This process is referred to as screen pop.
Based on your configuration settings, the screen pop can occur:
- when a call/chat is offered (Inbound)
- when a call is connected (outbound)
- when a call is terminated
The search may return:
- A single match: The matching record is presented in a new browser tab.

- Multiple matches: In the event of multiple matching contacts, the 8x8 Contact Center app lists all matches in the Search tab. Click
 next to the desired record to view the details.
- No match:


What is the call log behavior?
Upon terminating a call, the 8x8 Contact Center app generates a call log. The call log includes information such as transaction ID, the time the call was answered, and the duration of the call. A call log is created for inbound and outbound interactions and automatically saved as 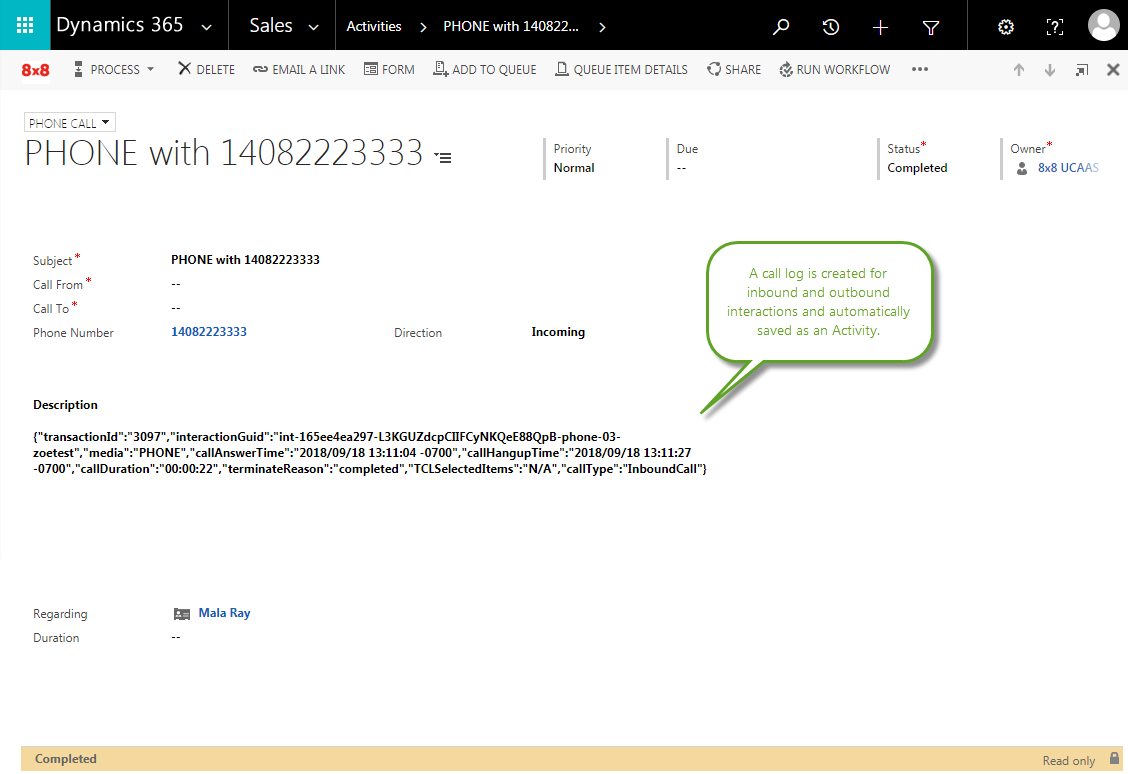
Depending on the number of matches, call log can be linked to the end-user record as follows:
- Single match: If there is a matching record, the call log is created and associated as
- Multiple matches: In the event of multiple matching contacts, there will be no screen pop. The call log is created and associated as
- No match: In the absence of a matching record, a message indicates the lack of a matching record. The call is logged.
How to place outbound calls?
You can place outbound calls using:
-
Control Panel: Ability to dial outbound calls from the control panel by simply entering the desired number in the Phone tab and clicking Dial.
 How do I place calls using control panel?
8x8 Contact Center allows you to make outbound phone calls to:
- Customers
- Agents
The Agent Console uses a two-step process to dial an outbound call:
- Enter a customer phone number under the Phone tab in the 8x8 Contact Center and click Dial. Your agent telephone rings first.
- Answer the call. The call is then directed to the destination. Your external phone number rings next.
- If the phone number is linked to a contact, the contact record pops after the call connects.
Contact your supervisor for your contact center's policies to place outbound calls.
-
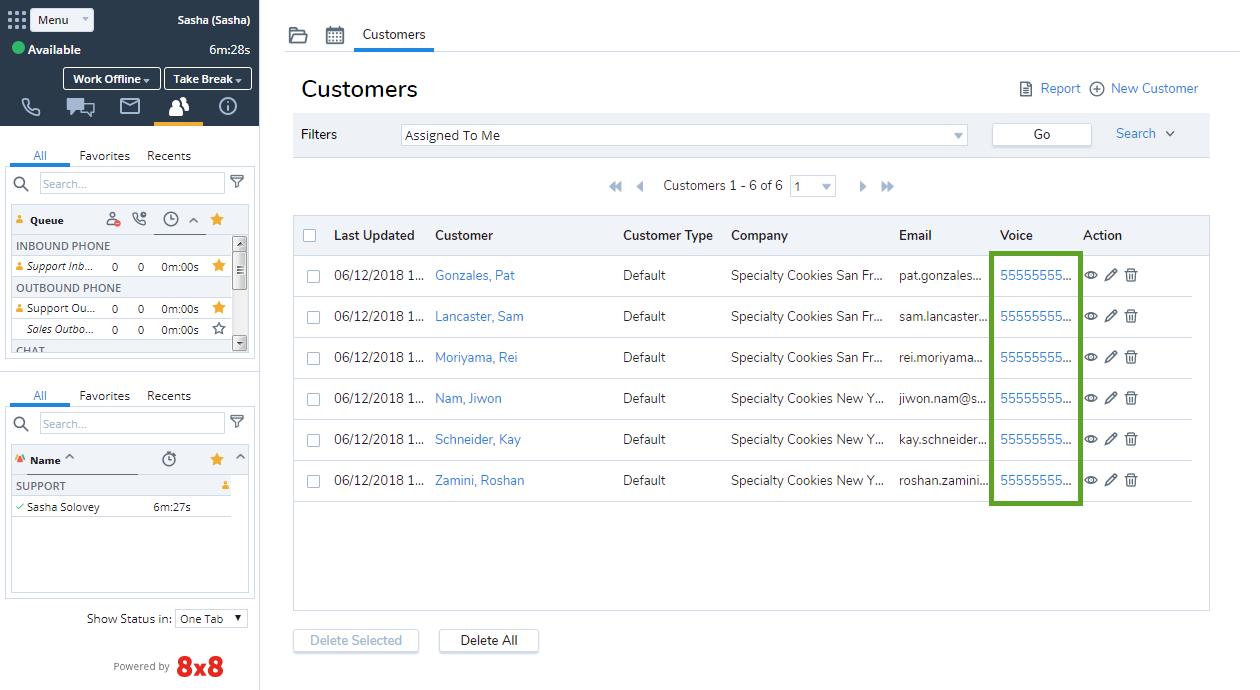
Click-to-dial: Ability to click and dial the phone numbers from end-user records.
How do I place calls using click-to-dial?
If configured by your administrator, you are able to click and dial phone numbers from records in Microsoft Dynamics CRM.
Choosing outbound phone codes
If your contact center administrator has set up phone codes, you have to select the appropriate codes to apply the right calling line ID to your outbound calls.
To select Outbound Phone Codes:
- Dial a number to call, and click Dial in the Control Panel.
- The outbound phone code list shows.
- Select a code from the list and click Dial.
- The calling line ID associated with the code applies to the call and the call dials out.
Transfer calls
Warm and cold call transfers between agents is now supported. This new integrated functionality aims to increase efficiency in communication and improve customer experience.
Let’s say as an agent, you receive a call from a customer with questions that are best suited for a more experienced agent. You can now transfer the call to the agent that can provide a solution to the customer. While on a call, click the transfer ![]() icon, and select:
icon, and select:
- Warm transfer: Implies notifying the agent you wish to transfer the call to before transferring the call. The customer is placed on hold while you are connected with the other agent. After briefing the agent, you can complete the transfer.
- Cold transfer (blind transfer): The call is transferred without notifying the other agent. The agent receiving the call transfer will not see which agent transferred the call.
Notes:
- A warm/cold transfer can only be performed if the agent you are transferring the call to has the status set to Available.
- The agent receiving the warm/cold transfer via an agent/queue/direct agent routing is presented with a screen pop with the customer information if a record of the customer already exists in the CRM. If the search does not yield a matching record, the system pops a new record entry screen.
- The call context such as the reason for the call, the reason for the call transfer, the agent's notes, etc., is not transferred.