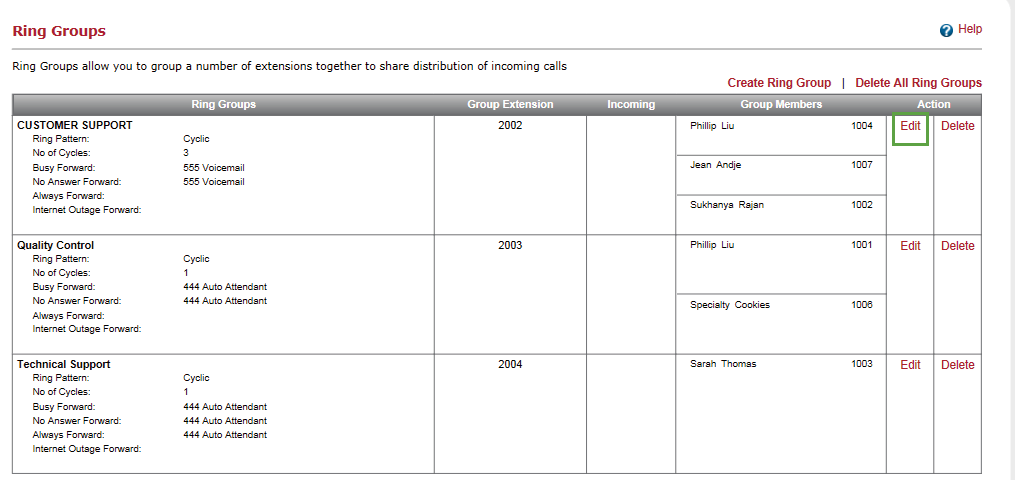
Ring groups allow you to group a number of extensions together to share distribution of incoming calls. When a number or extension is dialed, multiple phones ring. It is a great way for a business to share the distribution of incoming calls among employees.
Note: If a Cost Center is bound to a Branch, selecting the Branch results in a read-only Cost Center field. However, if there is no Cost Center bound to the selected branch, the Cost Center must be selected manually.
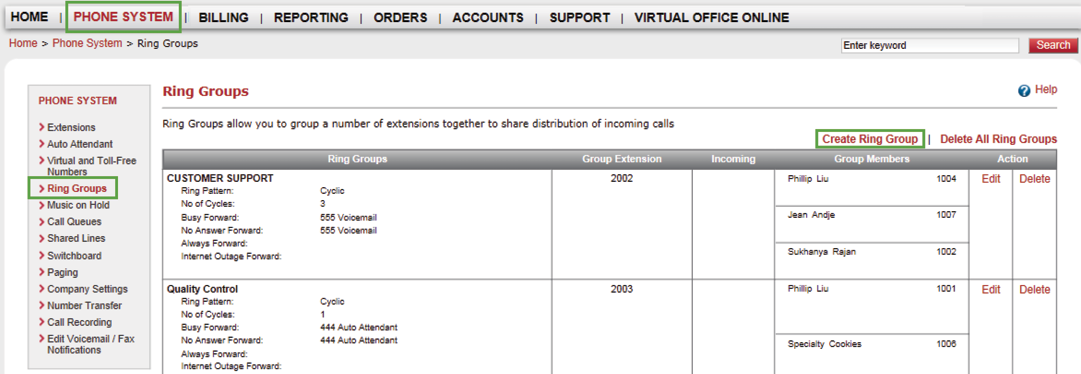
- Click Phone System in the top navigation bar.
- Under the Phone System menu, click Ring Groups.
- Click Create Ring Group.

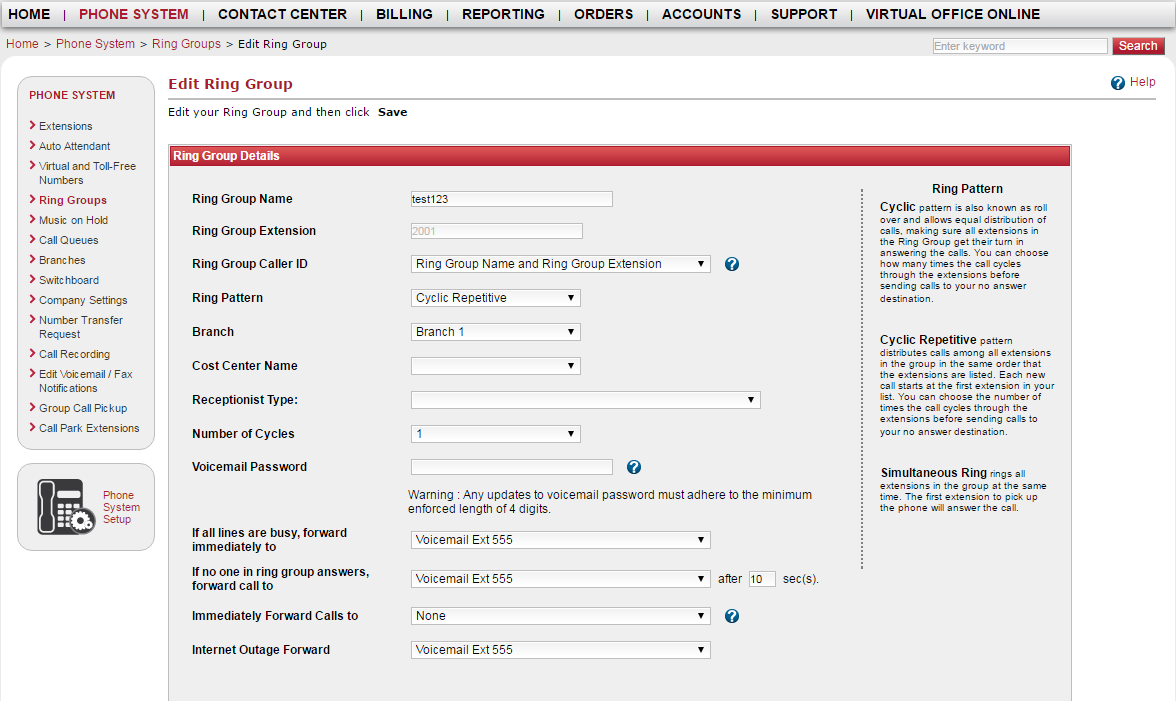
- Enter or select Ring Group details, and make changes as desired through the Ring Group Details window.
Note: If you would like Virtual Office to suggest an extension number for the ring group, click
 Suggest next to Ring Group Extension.
 -
For voicemail password, enter a password that meets the security guidelines. Ring group members use this password to access the voicemails directed to the ring group.
 Voicemail Password Security Guidelines
To secure your voicemail password, the following password restrictions are enforced. The password:
- Should be 4-15 digits long.
- Should not use same digits such as 1111, 2222.
- Should not use years from 1900 till present.
- Should not be of ABAB format such as 1010, 2121,3131.
- Should not use sequential numbers such as 1234, 4567.
- Should not use easy to key in numbers from the center of keypad. The following numbers are not allowed - 2580, 0582, 5683 (spells LOVE).
- Under Members of Ring Group, you can:
- Click the drop-down arrow to select an extension number.
- Click
 and
and  to add or delete extensions.
- To change the order a call goes to in a ring group, you must change the list order for the extensions in the ring group, you can:
- Enter a new number in the List Order field, such as 1, 2, 3, etc.
- Click Update List Order.
- Click Save. The list order for that ring group is changed.

- Click Phone System in the top navigation bar.
- Under the Phone System menu, click Ring Groups.
- Locate the ring group you want to change, and click Edit.
- Edit the Ring Group Details.

- Under Members of Ring Group, click and to add or delete extensions.
- If you want to change the list order for the extensions in the ring group:
- Enter a new number in the List Order field, such as 1, 2, 3, etc.
- Click Update List Order.
- Click Save.
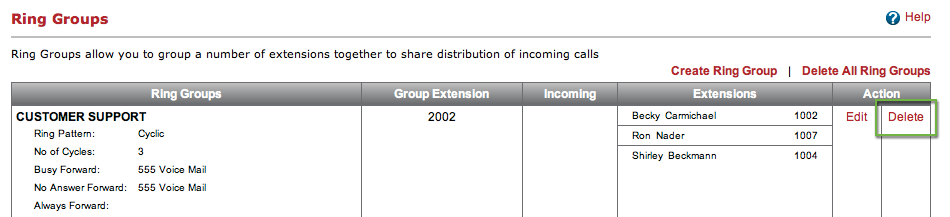
- Click Phone System in the top navigation bar.
- Under the Phone System menu, click Ring Groups.
- Locate the ring group you want to remove, and click Delete.

- When the dialog box appears confirming the deletion, click OK.